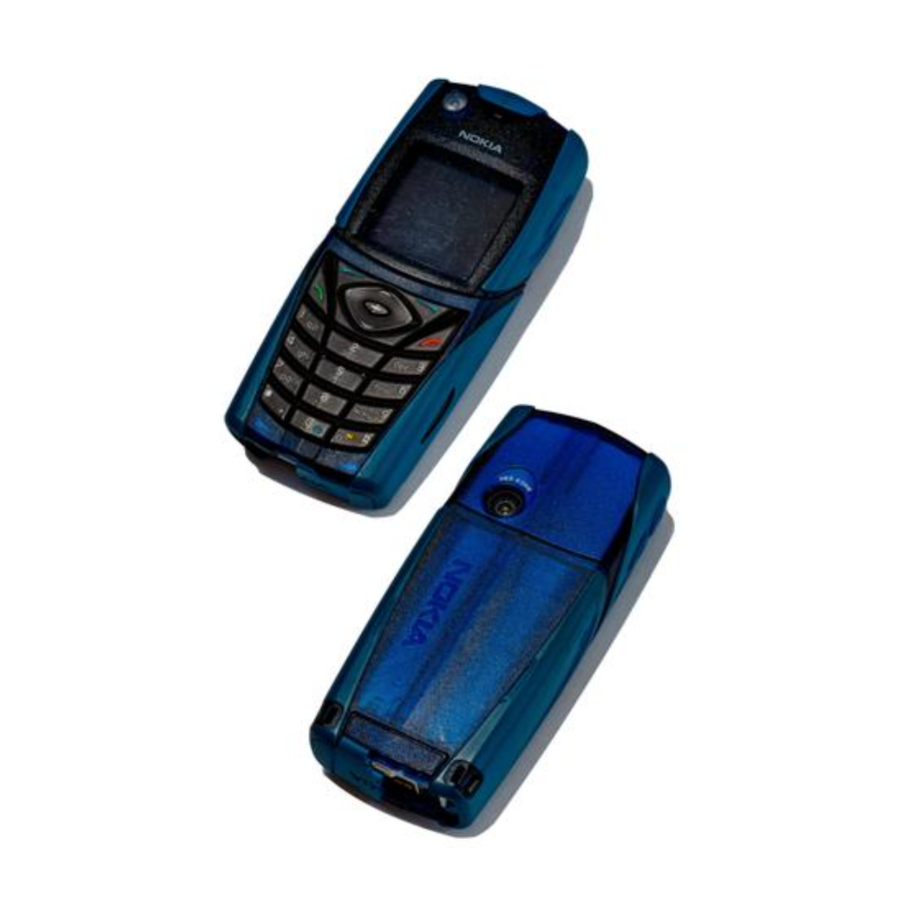
Summary of Contents for Nokia NPL-4 Series
- Page 1 Nokia Customer Care NPL-4/5/RM-104 Series Transceivers Disassembly Instructions Copyright © 2005 Nokia Corporation. All rights reserved Issue 2 05/05...
- Page 2 NPL-4/5/RM-104 Disassembly Instructions Nokia Customer Care Table of Contents Page No Disassembling Instructions ........................3 Exchange of System Connector......................5 Reassembly procedure ......................... 6 Copyright © 2005 Nokia Copyright. All rights reserved Page 2 Issue 2 05/05...
- Page 3 Take away the UI Module Assy with Engine Module. For assembly, the reverse screwdriver TORX PLUS® size 6. order and a torque of 32Ncm have to be used. Copyright © 2005 Nokia Copyright. All rights reserved Issue 2 05/05 Page 3...
- Page 4 Camera Module is attached with four snaps into its Use tweezers to take away the Camera module. guidance. Place SRT-10 as shown in the picture and unlock the snaps on both sides. Note releasing order. Copyright © 2005 Nokia Copyright. All rights reserved Page 4 Issue 2 05/05...
- Page 5 System Connector. Remove protection foil from System Connector. To remove the remaining adhesive gasket use SRT-6 only. Do not use sharp-edged tools for this procedure. Copyright © 2005 Nokia Copyright. All rights reserved Issue 2 05/05 Page 5...
- Page 6 Now press connector to C-Cover firmly, while taking care not to slip C-Cover on your table. Reassembly procedure Reassembly takes place in reversed order compared to disassembly. Copyright © 2005 Nokia Copyright. All rights reserved Page 6 Issue 2 05/05...


