Advertisement
Advertisement
Table of Contents

Related Manuals for QIDI I-mate


Summary of Contents for QIDI I-mate
- Page 1 This guide only applies to i-mate 3D printer...
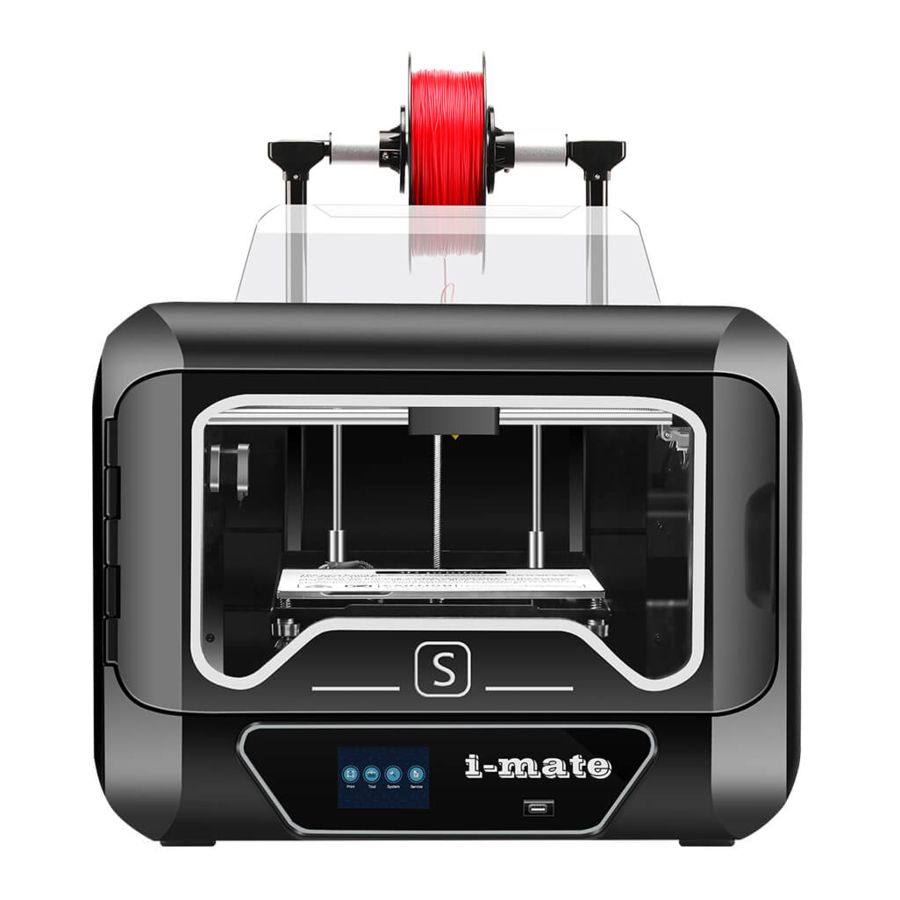
- Page 2 i-mate...
- Page 8 2. Take out the instructions and take out the foam. 4. Remove the protective film on the outside of the machine. 5. Cut off the cable tie on the 6. Cut off the cable tie on the left right Y axis. Y axis.
- Page 9 7. Remove the belt fixing clip of 8. Remove the belt fixing clip of the X axis. the right Y-axis. 9. Remove the belt fixing clip of 10. Take out the foam in the di- the left Y-axis. rection of the arrow. 11.
- Page 10 18. The accessories in the foam 17. Take out the foam at the at the bottom of the platform bottom of the platform when the include solid glue and U disk. platform rises to the middle. 19. Congratulations! You’ve finished the unpacking process. (Tip: Save your printer packaging for future transportation and storage.
- Page 16 If you newly purchased filament, you can install and print according to the following instructions: 1. Pull up the rod. 2. Make the roll of filament through the spool holder. 4. Take out the filament guide. 3. Tighten the retaining screw of the retainer ring 6.
- Page 17 7. Thread the filament into the 8. The installation is completed extruder. as shown in the picture. If need to close the pull rod, push the spring button opposite direc- tion firstly, then push down the pull rod.
- Page 19 When the user is exchanging the filament, the user needs to use the unload function as described below: 1. Click“Tool”icon. 2. Click“Filament”icon. 3. Wait for the temperature to reach 220℃, and then click the down icon①. When the filament starts to come out from the extruder click on the return icon②.