Advertisement
Quick Links
Advertisement

Summary of Contents for Magellan FSMGCT5000
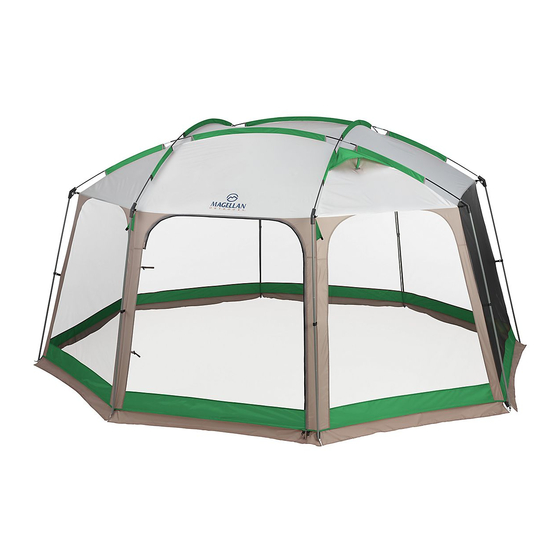
- Page 1 Assembly Instructions DELUXE 14 ft. X12 ft. SCREEN HOUSE FSMGCT5000 Please keep this instruction manual for future reference Customer Service: (888) 922-2336 7:00 am to 12:00 am CST (daily) Live Chat at: www.academy.com Email: customerservice@academy.com Made In Bangladesh...
- Page 2 Table of Contents Warnings……………………………………………………………… 2 Parts List………………………………………………………………… 3 Assembly Instructions……………………………………………… 4-6 Care and Maintenance…………………………………………………7 Note: Before beginning assembly of product, make sure all parts are present. Compare parts with package content list and hardware contents. If any part is missing or damaged do not attempt to assemble the unit.
-
Page 3: Warnings
Warnings IMPORTANT SAFETY AND TIP INFORMATION TO MAXIMIZE THE ENJOYMENT OF YOUR PRODUCT PLEASE ASSEMBLE AND USE YOUR PRODUCT AS SAFELY AS POSSIBLE. THE PURPOSE OF THE SAFETY ALERT SYMBOL IS TO CALL YOUR ATTENTION TO POSSIBLE HAZARDS RELATING TO THE USE AND ASSEMBLY OF YOUR PRODUCT. -
Page 4: Parts List
Parts List Yellow Coded fiberglass pole Red Coded fiberglass pole Gray steel pole Screen house body Stakes Page 3 of 7... -
Page 5: Assembly Instructions
Assembly Instructions Verify Parts Step 1: Refer to the parts list and verify all the parts are included and undamaged. Tip: Do this at home prior to your first use of the product. On a level surface, unfold the screen house so all the corners are visible. - Page 6 Assembly Instructions Step 3: Insert one end of gray steel poles (C) into the larger diameter hole(smooth) of the two way plastic hub. Refer to image 1. Step 4: Place the pin (located at the bottom of the screen house) into the other end of gray steel pole (C).
- Page 7 Assembly Instructions Step 5: Secure the screen house into the ground by using the stakes (F). Refer to image 1. Extend the guy ropes and secure them down using the stakes (F) to stabilize the screen house. Refer to image 2. Page 6 of 7...
-
Page 8: Care And Maintenance
Care and Maintenance • Your product must be stored dry. One of the easiest ways to damage your product is storing it while it is wet. Storing a wet product as short a 24 hours in warm weather is likely to cause mildew on the fabric coatings and are not covered by the limited warranty.