Table of Contents
Advertisement
Available languages
Available languages
Owner's Manual / Manual del Propietario
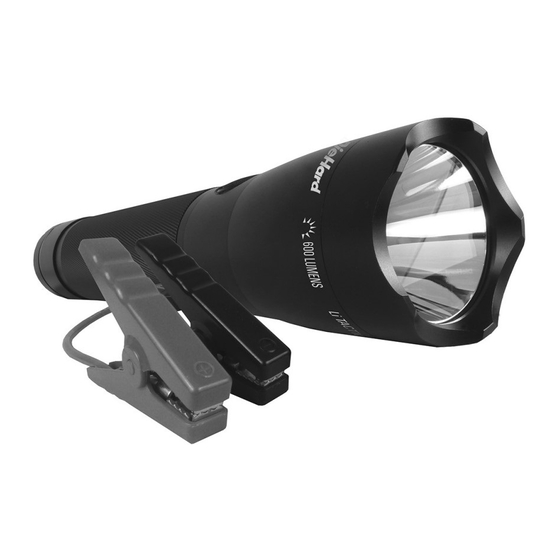
Lithium Ion
Tactical Jump Starter Light
Luz táctica de arrancador
de emergencia de ion litio
CAUTION:
Read and follow all safety
rules and operating
instructions before every
use of this product.
SAVE THESE INSTRUCTIONS.
Model
DH154
Lea y siga todas las reglas
de seguridad e instrucciones
de uso antes de cada uso
GUARDE ESTAS INSTRUCCIONES.
ATENCIÓN:
de este producto.
0099002165-00
Advertisement
Table of Contents

Summary of Contents for DieHard DH154
- Page 1 Owner’s Manual / Manual del Propietario Lithium Ion Tactical Jump Starter Light Luz táctica de arrancador de emergencia de ion litio Model DH154 CAUTION: ATENCIÓN: Read and follow all safety Lea y siga todas las reglas rules and operating de seguridad e instrucciones...
- Page 2 WITH PROOF OF SALE, a defective product will receive free warranty service. The DieHard brand name is used under license. Direct all claims for warranty service to: Schumacher Electric Corporation, 1-800-621-5485, www.batterychargers.com...
- Page 3 Schumacher Electric Corporation, Mount Prospect, IL 60056 DieHard y el logotipo de DieHard son marcas registradas de KCD IP, LLC y / o Transform SR Brands LLC y se utilizan bajo licencia de Schumacher...
-
Page 4: Important Safety Instructions
1. IMPORTANT SAFETY INSTRUCTIONS SAVE THESE INSTRUCTIONS. WARNING! RISK OF ELECTRIC SHOCK OR FIRE. 1.1 SAVE THESE INSTRUCTIONS – This manual contains important safety and operating instructions. 1.2 Read, understand and follow all instructions, cautions and warnings listed in this manual. Failure to follow all instructions and abide by all cautions and warnings could result in personal injury, injury to others and property damage. -
Page 5: Personal Safety Precautions
2. PERSONAL SAFETY PRECAUTIONS WARNING! RISK OF EXPLOSIVE GASES. A SPARK NEAR THE BATTERY MAY CAUSE A BATTERY EXPLOSION. TO REDUCE THE RISK OF A SPARK NEAR THE BATTERY: 2.1 NEVER smoke or allow a spark or flame in the vicinity of a battery or engine. 2.2 Remove personal metal items such as rings, bracelets, necklaces and watches when working with a lead-acid battery. -
Page 6: Preparing To Use The Unit
3. PREPARING TO USE THE UNIT WARNING! RISK OF CONTACT WITH BATTERY ACID. BATTERY ACID IS A HIGHLY CORROSIVE SULFURIC ACID. 3.1 Make sure the area around the battery is well ventilated while the unit is in use. 3.2 Clean the battery terminals before using the jump starter. During cleaning, keep airborne corrosion from coming into contact with your eyes, nose and mouth. -
Page 7: Setup Instructions
5. SET UP INSTRUCTIONS 5.1 Remove any cord wraps and uncoil the charging cable. 6. FEATURES 1. Jumper cable output socket 2. USB 2.1A output port 3. Battery level LED 4. Power button 5. Flashlight 6. Smart cable/clamps 7. Micro USB 5V, 1A input port 8. - Page 8 CHARGING THE INTERNAL BATTERY NOTE: Use a 1A USB charger (not included) to recharge the jump starter. Using a charger with less than 1A will increase charge time. 1. When charging the internal battery, work in a well ventilated area and do not restrict the ventilation in any way.
-
Page 9: Using The Flashlight
8. When the green LED is solid, the unit is ready to jump start the vehicle. NOTE: If the vehicle battery is extremely discharged, the initial current draw from the jump starter may activate short circuit protection in the smart cable. Disconnect and reconnect the smart cable to reset. 9. -
Page 10: Maintenance Instructions
9. MAINTENANCE INSTRUCTIONS After use and before performing maintenance, unplug and disconnect the unit. 9.2 Use a dry cloth to wipe any dirt or oil from the smart cable, charging cable and case. 9.3 Ensure that all of the unit’s components are in place and in good working condition. -
Page 11: Specifications
Smart Cable LED and Alarm Behavior BEHAVIOR REASON Green LED flashing Ready to connect the smart cable to the jump starter, and ready to connect the clamps to the vehicle. Green LED solid Detecting the condition of the vehicle (with clicking sound) and jump starter. -
Page 12: Instrucciones Importantes De Seguridad
1. INSTRUCCIONES IMPORTANTES DE SEGURIDAD CONSERVE ESTAS INSTRUCCIONES. ¡ADVERTENCIA! RIESGO DE INCENDIO O DESCARGA ELÉCTRICA. 1.1 CONSERVE ESTAS INSTRUCCIONES – Este manual contiene importantes instrucciones de funcionamiento y seguridad. 1.2 Lea, comprenda y siga todas las instrucciones, precauciones y advertencias explicadas en este manual. El incumplimiento de estas instrucciones, precauciones y advertencias puede causar lesiones a propios y ajenos y daños materiales. - Page 13 1.19 NO mire directamente a la luz ni la dirija directamente a los ojos de una persona o de un animal. 1.20 NO deje la batería descargada. 1.21 NO use el aparato con un cargador que tenga el cable o el enchufe dañado, cambie el cable o el enchufe inmediatamente.
- Page 14 2.15 Recicle o tire la batería usada conforme a la normativa local. 2.16 Si el electrolito le salpica la piel, lávese con abundante agua y jabón. Si le entra en los ojos, lávese con abundante agua fría y consulte a un médico inmediatamente.
-
Page 15: Instrucciones De Uso
4.6 En caso de tratarse de un vehículo con conexión a masa negativa, conecte la pinza POSITIVA (ROJA) entre el arrancador de emergencia y el borne POSITIVO (POS, P, +) de la batería no conectado a masa. Conecte la pinza NEGATIVA (NEGRA) al chasis del vehículo o bloque motor, lejos de la batería. -
Page 16: Instrucciones De Funcionamiento
CARGAR EL APARATO ¡IMPORTANTE! CARGUE EL APARATO INMEDIATAMENTE DESPUÉS DE COMPRARLO, DESPUÉS DE CADA USO Y AL MENOS CADA 3 MESES. O CUANDO EL NIVEL DE CARGA BAJE DEL 50 % PARA MANENER LA BATERÍA INTERNA CARGADA AL MÁXIMO Y PROLONGAR LA VIDA ÚTIL DE LA MISMA. De no hacerlo, se reducirá... - Page 17 4. En caso de tratarse de un vehículo con conexión a masa negativa, conecte la pinza POSITIVA (ROJA) entre el arrancador de emergencia y el borne POSITIVO (POS, P, +) de la batería no conectado a masa. Conecte la pinza NEGATIVA (NEGRA) al chasis del vehículo o bloque motor, lejos de la batería.
-
Page 18: Instrucciones De Mantenimiento
8.2 USAR LA LINTERNA 1. Mantenga pulsado el botón de potencia para encender la luz. 2. Pulse levemente el botón de potencia para alternar entre los siguientes modos: • Iluminación estable • Destello en modo estroboscópico • Destello para señal de auxilio •... -
Page 19: Resolución De Problemas
11. RESOLUCIÓN DE PROBLEMAS PROBLEMA CAUSA PROBABLE SOLUCIÓN El aparato no La batería no está Cargue completamente funciona. cargada. la batería. El aparato no se No hay alimentación en Asegúrese de que haya recarga. el enchufe hembra. corriente en la fuente de alimentación. -
Page 20: Especificaciones
12. ESPECIFICACIONES Tipo de batería ..........Litio-polímero, 37 Wh Corriente de cresta ..............800 A Corriente inicial ............... 400 A Luz ..............LED Cree , 600 lm ® Entrada microUSB ............... 5 V, 1 A Salida USB ................ 5 V, 2,1 A Cree es una marca registrada de Cree, Inc.