
Related Manuals for Fellowes esi LOTUS-RT1-BLK

Summary of Contents for Fellowes esi LOTUS-RT1-BLK
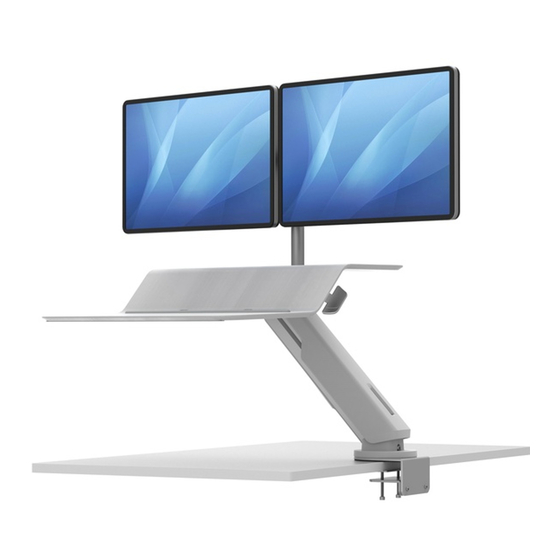
- Page 1 Lotus ™ assembly and operation instructions sit-stand workstation Model #’s LOTUS-RT1-BLK LOTUS-RT1-WHT LOTUS-RT2-BLK LOTUS-RT2-WHT...
- Page 2 Lotus RT intentionally left blank Page 2...
-
Page 3: Safety Instructions/Warning
• DO NOT lean on the keyboard platform. • Only compatible with Fellowes monitor arm kit for Lotus. • Make sure the desk or mounting surface is level and can support the combined weight of the workstation and accessories. -
Page 4: Product Parts
Lotus RT product parts parts provided (A) 10.5 x 2.5mm, (B) M4 x 10mm Cap x1 16mm OD Lock Socket Head Cap Washer Screw Vesa Assembly x1 Fitting x1 (D) 10.5 x 2.5 mm, (C) 4mm Allen Key x1 Pole x1 16mm OD Lock Pole Clip x1 Washer... -
Page 5: Product Assembly
Lotus RT product assembly step 1a: Clamp install for thicker worksurfaces • The clamp comes assembled to accommodate tables up to 1 ⅝” (41.27mm) thick and requires 3 / ” (96.52mm) of clearance behind the desk. If your table is thicker than 1 ⅝”, continue with Step 1a. If your desk is close to a wall and has limited space, ¼”... - Page 6 Lotus RT product assembly step 1c Unbox and determine sitting height position • Use two people to lift the base and worksurface out of the box. (Image A) • Carefully place the base and worksurface onto the table. (Image B) • Determine your desired sitting position. (Image C) Note: If your desired sitting position is in the center of the table, choose a base mounting position that Image A Image B...
- Page 7 Lotus RT product assembly step 4a Attach monitor arm • Install monitor pole by placing it into the cutout on the platform. (Image A) • Insert the M10 screw (D) with lock washer (A) through the underside of the platform. • Tighten the M10 screw (D) using 8mm Hex L-Key (E). (Image B) •...
- Page 8 Lotus RT product assembly/cord management Image A step 5 Attach Monitor(s) • Attach your monitor(s) to the VESA assembly using the included Phillips pan head screws M5x12mm (F) or M4x 12mm (G), depending on your monitor. all 4 corners step 6 (optional) Adjust platform level •...
-
Page 9: Tension Adjustment
Lotus RT Tension adjustment step 7 Cord management • Ensure the workstation is raised to the highest position. • Route the keyboard and mouse cords through the holes in the worksurface. (Image A) • Route the monitor cords down the pole and clip with included cord clip. (Image B) •... - Page 10 Lotus RT tension adjustment step 8 Tension adjustment • workstation to the highest position with all equipment and accessories placed on the workstation. • Page 10...
-
Page 11: Usage Guidelines
Lotus RT usage guidelines recommended usage Start by standing for 15 minutes each hour. Adjust based on what is comfortable for you. Page 11... - Page 12 To make a warranty claim, contact ESI at 800-833-3746 or customerservice@esiergo.com. You must provide proof of purchase, such as the original purchase order number. © 2020 Fellowes, Inc. Part # 412043 Lotus RT Rev D 9/2020...