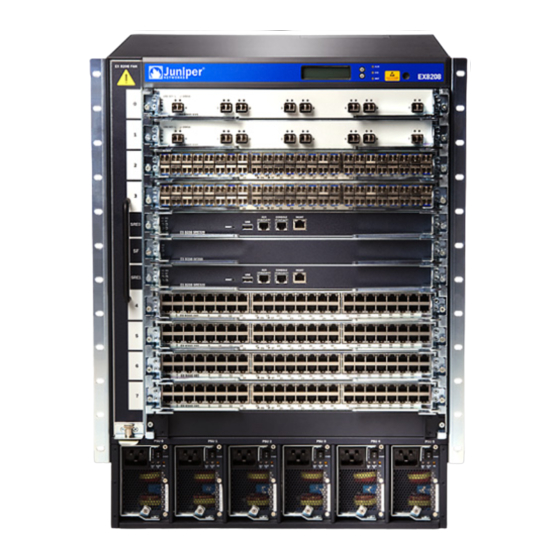
Juniper EX8200 Series Quick Start Manual
Hide thumbs
Also See for EX8200 Series:
- Brochure & specs (8 pages) ,
- Quick start manual (5 pages) ,
- Installing (4 pages)
Advertisement
Quick Links
Connecting Power to an EX 8200 series Switch
An EX 8208 switch can be configured with up to six AC power supplies. After you
have installed at least one power supply, you can connect power to the switch.
CAUTION: To meet safety and electromagnetic interference (EMI) requirements and
to ensure proper operation, EX 8200 series switches must be adequately grounded
before they are connected to power.
For installations that require a separate grounding conductor to the chassis, use the
protective earthing terminal on the EX 8200 series switch chassis to connect to the
earth ground. For instructions on connecting an EX 8200 series switch to ground
using a separate grounding conductor, see Connecting Earth Ground to an EX-series
Switch.
An EX 8200 series switch gets additional grounding when you plug the power supply
in the switch into a grounded AC power outlet by using the AC power cord appropriate
for your geographical location. See AC Power Cord Specifications for an EX 8200
series Switch.
NOTE: Each power supply must be connected to a dedicated AC power source outlet.
Before you begin to connect power to the switch:
Ensure you understand how to prevent ESD damage. See Prevention of
Electrostatic Discharge Damage on EX-series Switches.
Install power supplies in the switch. See Installing an AC Power Supply in an EX
8200 series Switch.
Ensure that you have the following parts and tools available to connect power to the
switch:
Electrostatic discharge (ESD) grounding strap
Power cords appropriate for your geographical location. See AC Power Cord
Specifications for an EX 8200 series Switch.
WARNING: Ensure that the power cords do not block access to switch components
or drape where people can trip on them.
To connect AC power to an EX 8200 series switch:
Attach the electrostatic discharge (ESD) grounding strap to your bare wrist, and
1.
connect the strap to the ESD point on the chassis.
Ensure that the power supply is fully inserted and latched securely in the chassis.
2.
See Installing an AC Power Supply in an EX 8200 series Switch.
Connecting Power to an EX 8200 series Switch
1
Advertisement

Summary of Contents for Juniper EX8200 Series
- Page 1 Connecting Power to an EX 8200 series Switch An EX 8208 switch can be configured with up to six AC power supplies. After you have installed at least one power supply, you can connect power to the switch. CAUTION: To meet safety and electromagnetic interference (EMI) requirements and to ensure proper operation, EX 8200 series switches must be adequately grounded before they are connected to power.
- Page 2 Flip the Enable switch, which is next to the appliance inlet on the power supply faceplate, to the Standby position. Squeeze the two sides of the power cord retainer clip, and insert the L-shaped ends of the clip into the holes in the bracket on each side of the AC appliance inlet on the AC power supply faceplate.
- Page 3 Figure 2: Connecting the Power Supply Cord to an EX 8200 series Switch AC Power Supply in an EX 8200 series Switch Related Topics Power Supply LEDs in an EX 8200 series Switch Connecting Power to an EX 8200 series Switch...
- Page 4 Connecting Power to an EX 8200 series Switch...


