Fluke 199C Operation
Hide thumbs
Also See for 199C:
- User manual (159 pages) ,
- Service manual (86 pages) ,
- Getting started manual (18 pages)
Advertisement
Quick Links
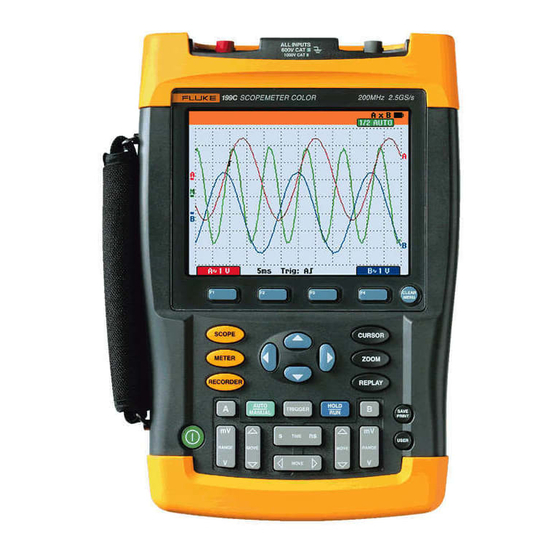
Operation of Fluke 199C Oscilloscope:
Automatic Operation: This is the simplest and quickest way to capture a
signal, knowing little about what you are measuring.
A. Turn scope on – circular button in lower left hand corner.
B. Push the yellow button labeled "Scope".
C. Press the lime green Auto/Manual button.
D. Connect to where you wish to measure.
1. The oscilloscope will auto-range to the correct voltage range, time
scale, etc. The trigger will go to "Auto Level", and the trigger mode
will go to "Automatic".
2. Adjustments may be made from that point, such as changing the time
scale, voltage scale, readings, using cursors and using screen capture.
Use of "Screen Replay"
A. The scope meter will (automatically) capture up to 100 of the most recent
scope screens. (This is the case whether triggering for the scope is set to
automatic trigger, one shot, or "on trigger". Each refresh will result in a
screen stored in the memory.)
B. To look at what has been saved, press the "Replay" button.
1. A control panel will appear at the bottom of the screen, allowing you
to scroll through each screen one at a time for a close look, scroll back
one at a time, or hit play and rapidly go through all of the replay
screens.
2. On any recalled screens you may use the cursors and zoom functions
to get a better look at the waveform.
3. Individual Screens may be saved to one of the 15 memory positions.
C. If any scope adjustments are made (time scale, voltage scale, trigger
level, etc), everything previously captured by the replay memory will be
lost.
Use of the Scope Memory
A. Press the light blue "hold/run" button to freeze the scope screen. The
word "Hold" will appear in a box in the upper right hand side of the
scope screen.
1
Advertisement

Related Manuals for Fluke 199C


Summary of Contents for Fluke 199C
- Page 1 Operation of Fluke 199C Oscilloscope: Automatic Operation: This is the simplest and quickest way to capture a signal, knowing little about what you are measuring. A. Turn scope on – circular button in lower left hand corner. B. Push the yellow button labeled “Scope”.
- Page 2 A. Connect the scope to your computer via the optical coupler supplied with the scope meter. B. Open Fluke View. The softwear will automatically prompt you about your desire to connect to the Instrument. C. Turn on the Scope Meter.
- Page 3 Capturing Fencer and Trainer Transients. A. Basic Setup: Scope. 3. Turn scope on – circular button in lower left hand corner. 4. Push the yellow button labeled “Scope”. a. A blue set of options will show up along the bottom the screen b.
- Page 4 2) You will be automatically be moved to the “bandwidth” submenu portion of the screen. Use the up/down arrows to highlight “Full”, and press F4 Enter. This will close out the submenu, and return you to the Input A menu. f.
- Page 5 5. Press F4 save, and your setup and the screen that was on the scope will be saved in the location you selected. C. Recalling a Setup. 1. Press the round “Save/Print” button to open the save menu. 2. Press the F2 Recall button. 3.
- Page 6 3. Change the scale down to a point where you can identify the up and down undulations (like that word?) on the screen which will enable you to determine the Phase duration. On the Fluke 199C, you can change the time scale all the way down to 5 nanoseconds/ division (ns) and still have the glitch detect activated.
- Page 7 e. The computer will automatically bring the active screen from the scope, and insert it into the work document. You can then finish filling out the report by inserting the name, etc. You can then save the document as you would any word document. 3.