Melitta Cafina XT4 Operating Instructions Manual
Professional coffee solutions
Hide thumbs
Also See for Cafina XT4:
- Operating instructions manual (32 pages) ,
- Service manual (40 pages)

Related Manuals for Melitta Cafina XT4


Summary of Contents for Melitta Cafina XT4
- Page 1 Operating Instructions Melitta Cafina ® ® Melitta Professional Coffee Solutions...
-
Page 2: Table Of Contents
Contents Dispensing multiplicator products ....General ������������������������������������������������������������� Multiple dispensing of a single product ... Manufacturer information ......... 6.10 Preparing coffee from ground coffee ....About these instructions ........Explanation of symbols ........Settings ����������������������������������������������������������� Description ............Manager menu ..........Accessories ............7.1.1 Opening the manager menu ...... - Page 3 Chapter overview General Safety Technical data Installation Operation Dispensing products Settings Cleaning Maintenance Translation of the original operating instructions Recycling and disposal 35878 • 20201001...
-
Page 4: General
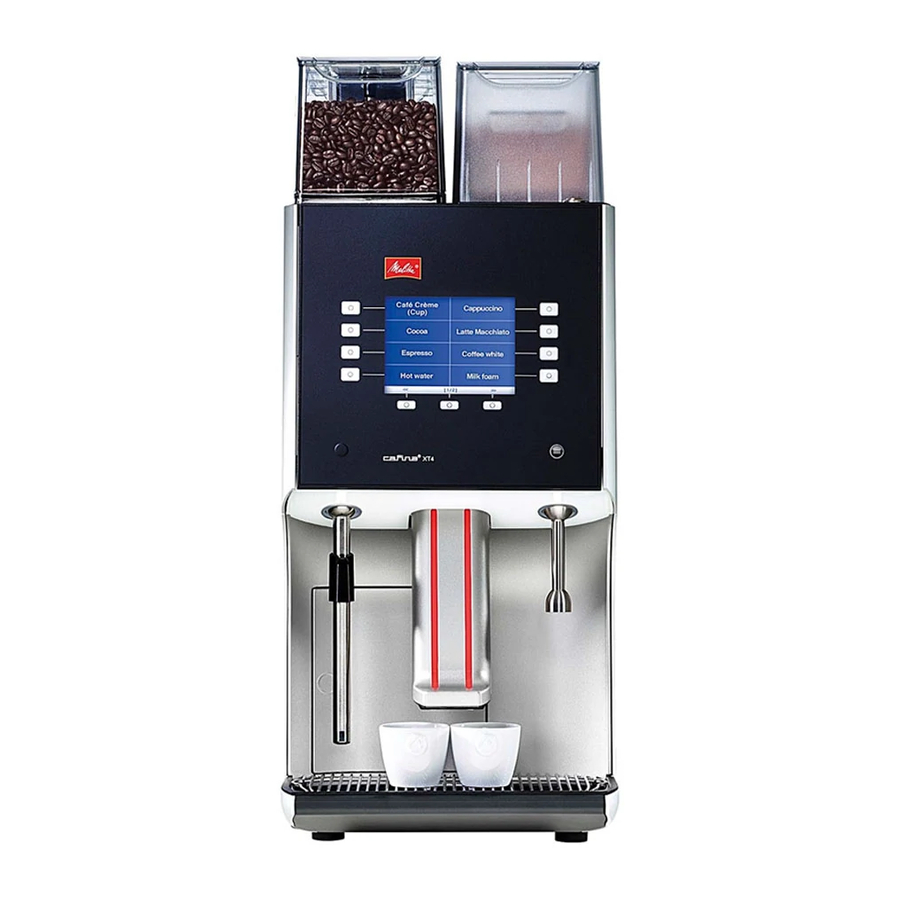
This machine is a fully automatic coffee machine. 1�1 Manufacturer information Depending on the machine equipment level, the following products can be dispensed: Melitta Professional Coffee Solutions GmbH & Co. KG ͵ Coffee, coffee and milk, and milk products Zechenstr. 60 32429 Minden ͵ Instant products Germany ͵... -
Page 5: Accessories
• Non-pressurized operation via fresh water and waste ͵ 1 microfiber cloth water canisters ͵ 1 tin of Melitta® Cafina® Multi TF-Tabs • Stationary installation within dry, enclosed rooms (art. no. 31547) ͵ 10 bags of Melitta® Cafina® AMC cleaner This machine is not intended for the following uses: (art. -
Page 6: Safety Information
Repairs and maintenance work may only be • carried out by Melitta customer service or by specialist personnel authorized by the manu- facturer. Incorrectly performed repair work can result in considerable risk to the user. -
Page 7: Technical Data
Technical data Do not hold any body parts under the outlets Technical data • when hot liquids or steam are being dispensed. This occurs in the following situations: Machine specifications After switching on ͵ Dimensions (W x D x H) 300 x 580 x 715 mm When beverages are being dispensed ͵... -
Page 8: Installation
Installation Installation 4�1�3 Installation location The machine is only to be installed and used in enclosed, The machine is set up, installed, and handed over ready dry areas; it must not be operated outdoors. for use by customer service. Due to the associated The effects of humidity and temperature may adversely hazards, modifications to the installation or setup must affect the function and safety of the equipment. -
Page 9: Canister Operation (Option)
Installation 4�2 Canister operation (option) In daily operation, the fresh water canister must be filled with sufficient water and the waste water canister must If your machine cannot be permanently connected to be drained when necessary. the fresh water and waste water system, you can also operate it with two canisters. -
Page 10: Operation
Operation Operation 5�1�2 Stand-by operation In daily operation, it is sufficient to switch the machine Initial commissioning is carried out by customer service. on and off via the display only (stand-by operation): If you want to put the machine back into operation following a standstill, clean the machine as described 1. -
Page 11: Switching Off
Operation 5�1�3 Switching off For an extended standstill Note If the machine will not be used for an extended period, For hygiene reasons, the machine must be turn off the water supply and switch off the main switch. switched off only in a cleaned state. Note Always use the “Clean and switch off full For hygiene reasons, the machine must be... -
Page 12: Filling The Instant Powder (Option)
Operation To simplify filling, the relevant container can be removed. 5�2�2 Filling the instant powder (option) ATTENTION Damage to the instant container cover! The lid on the instant container cover cannot be removed. Trying to remove the lid could damage the cover. Only open the container cover with the machine key. -
Page 13: Filling The Milk (Option)
Operation 9. Turn the powder chute downwards to direct it into 5�3 Operating modes and operation the mixer housing. Two operating modes are available for running the 10. Flap down the instant container cover. machine: 11. Close the machine door. •... -
Page 14: Confirming Filling Levels
Operation 5�4 Confirming filling levels You can adjust the filling levels even more accurately. The filling level must be confirmed at the machine each 4. Press the required filling level display, e.g., of the time a supply container is filled. bean container 1 (3). -
Page 15: Emptying The Coffee Grounds Drawer
Operation 5�5 Emptying the coffee grounds drawer 5�6 System messages The coffee grounds drawer must be emptied if the coffee 5�6�1 Messages in self-service operation grounds are not disposed of via the optional container In self-service operation, system messages are indicated discharge. -
Page 16: Switching The Milk System On And Off (Option)
Operation 5�7 Switching the milk system on and off 5�8 Switching the instant system on and off (option) (option) If you do not want to dispense milk products or if you If you do not want to dispense instant products or if want to take the milk preparation system out of service you want to take the instant preparation out of service temporarily, you can switch off the milk system. -
Page 17: Dispensing Products
Dispensing products Dispensing products You can select dispensing products sorted into groups by opening the specified group via touch and accessing the required product for dispensing. After a product Note from a group has been dispensed, use the button “Close Before dispensing products, all supply con- group”... -
Page 18: Dispensing Coffee, Coffee And Milk, And Milk Products
Dispensing products 6�3 Dispensing coffee, coffee and milk, and milk 2. On the display, press the button for dispensing hot products water. 9 The product is dispensed. 6�5 Dispensing steam (option) CAUTION Danger of burns due to hot steam wand! Contact with the steam wand and steam can result in burns. -
Page 19: Dispensing Milk Foam Via Wand (Option)
Dispensing products 4. Position the steam wand over the drip grid. 1. Position a cup (1) in the center underneath each dis- 5. Then press the button for steam dispensing again to pensing nozzle (2). blow out the steam line. 2. -
Page 20: Dispensing Multiplicator Products
Dispensing products 6�8 Dispensing multiplicator products 6�10 Preparing coffee from ground coffee Under product settings (see chapter 7.6 on page 26), The manual coffee chute can be used to prepare coffee you can set up products as multiplicator products. With from ground coffee without taking beans from the bean this you can issue multiple portions of a product in suc- container. -
Page 21: Settings
Settings Settings 7�1�1 Opening the manager menu 1. On the display, press the menu symbol “≡” (1) (see The machine is preset to ensure that it is ready for Fig. 11) and then “Service menu”. immediate use for normal operation. ͵... -
Page 22: Carrying Out Inputs
Settings 7�1�3 Carrying out inputs 7�2 Tab “Information” The machine allows you to enter designations and quan- Here you can display general information about the tities via a screen keyboard. machine as well as product statistics. When the screen keyboard appears on the display, you can use the following functions: Information General... -
Page 23: Opening The Product Statistics
Settings 7�2�2 Opening the product statistics 4. Close the machine door. 5. Press the “Export” button (1) (see Fig. 29). Press the “Product counters” button (1) (see Fig. 28) to 6. Select one of the following options: see how many times a product has been dispensed. •... -
Page 24: Tab "Cleaning
Settings 7�3 Tab “Cleaning” 7�4 Tab “Filling levels” Here you have the option of cleaning the machine or Besides confirming the filling levels as described in switching it off. chapter 5.4 on page 14, you can also make further settings on the filling levels in the manager menu. Cleaning Next cleaning Filling levels... -
Page 25: Tab "Product Selection
Settings 7�5 Tab “Product selection” Creating product groups Here you can select which pre-programmed products In self-service and waiter operation, you have the option are displayed for dispensing. to group related products together. This means you can display and output more than eight assigned products. Select a product Product Group... -
Page 26: Sorting The Dispensing View
Settings 7�5�3 Sorting the dispensing view 7�6 Tab “Product parameters” 1. Press the required product group or product button. Here you can change the values for product components, 2. Press the “Move” button (5) (see Fig. 34). if enabled by customer service. ͵... -
Page 27: Tab "Configuration
Cleaning Cleaning 7�7 Tab “Configuration” Here you can adjust settings for the machine. Clean the coffee machine carefully in accordance with the following specifications to maintain the value and hygiene of the machine. Configuration Note Mode The following website provides all specific Time / Date information on the machine and cleaning Language... -
Page 28: Cleaning Intervals
After every use Steam wand Emit steam for approx. 2 seconds. • Melitta® Cafina® Multi TF-Tabs (art. no. 31547) Then clean with a • Melitta® Cafina® AMC cleaner (art. no. 35289) clean, damp cloth. Daily... -
Page 29: Cleaning The Coffee Grounds Drawer
Cleaning 8�6 Cleaning the coffee grounds drawer The coffee grounds drawer must be cleaned daily if the coffee grounds are not disposed of via the optional container discharge. 1. Empty the coffee grounds drawer as described in chapter 5.5 on page 15. 2. -
Page 30: Cleaning The Milk System (Option)
Cleaning 2. Select one of the following options: 1. Place the cleaning container underneath the hot water outlet of the machine. ͵ If there is no hot water wand fitted, hot water is Button Function dispensed via the beverage outlet. Clean full system Clean the milk and brewing system, then continue machine... -
Page 31: Cleaning The Brewing System
Cleaning 6. Press the “OK” button (1) to confirm that the Note machine has been prepared for the cleaning of the The touch screen can be cleaned while the milk system. cleaning program is running without the need ͵ The machine starts the automatic cleaning pro- to deactivate the display for inputs beforehand cess. -
Page 32: Cleaning The Instant System
Cleaning 8�8 Cleaning the instant system 3. Remove the powder chute (2). 4. Repeat the steps 1 to 3 for the second instant container if necessary. 5. Remove the tube (6) on the mixer housing and on the beverage outlet. 6. -
Page 33: Rinsing The Mixer Unit
Cleaning Assembling the mixer unit 4. Turn the mixer flange (5) clockwise until the arrow is pointing to the “closed lock” symbol. Assembly is carried out by reversing the order of the 5. Fit the tube (6) fully onto the nozzle of the mixer unit removal process. -
Page 34: Cleaning The Bean Container
Cleaning 8�10 Cleaning the bean container 8�11 Cleaning the instant container There will be one or two bean containers depending on the equipment. Fig. 51: Opening the instant container cover 1. Open the machine door using the key (2). 2. Lift the instant container cover (1) upwards carefully. Fig. -
Page 35: Cleaning The Touch Screen
Cleaning 8�12 Cleaning the touch screen 8�13 External cleaning Cleaning is required if there is any visible dirt. Note Do not use any abrasive agents or sharp 1. On the display, press the menu symbol “≡” (1) (see objects. Fig. 40) and then “Cleaning”. •... -
Page 36: Maintenance
Incorrectly performed repair work Repairs and maintenance may only be carried out by can result in considerable risk to the user. Melitta customer service or by specialist personnel authorized by the manufacturer. WARNING Malfunctions! -
Page 37: Recycling And Disposal
Recycling and disposal Recycling and disposal This machine has been designed and manufactured to allow environmentally friendly disposal. 10�1 Waste disposal The waste produced during brewing is purely organic and can therefore be disposed of in normal household waste. 10�2 Waste water disposal The waste water produced during the brewing and cleaning processes complies with the definitions of... - Page 38 Notes 35878 • 20201001...
- Page 39 Notes 35878 • 20201001...
- Page 40 Melitta macht Kaffee zum Genuss ® Melitta Professional Coffee Solutions GmbH & Co. KG • Zechenstr. 60 • 32429 Minden • GERMANY Phone: +49 571 5049-0 • Fax: +49 571 5049-233 • professional@melitta.de • www.melitta-professional.de...