Table of Contents
Advertisement
SUSZARKA DO BIELIZNY
125995110
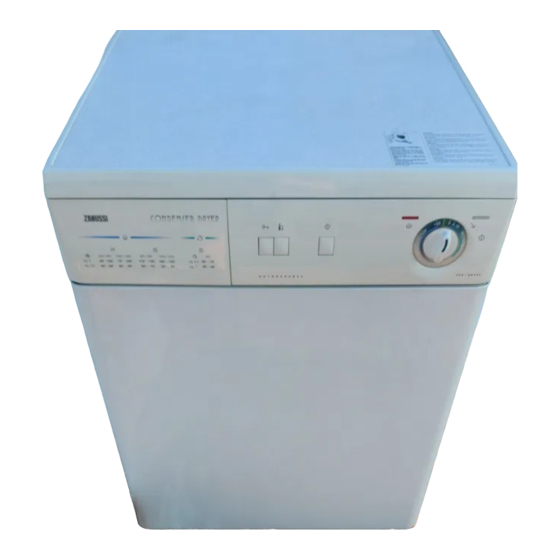
TUMBLE DRYER
SUŠILNI STROJ
BUBNOVÁ SUŠIČKA
TCS 683 LT
800 / 900
1000 / 1200
800 / 900
1000 / 1200
kg 5
85' -105'
75' - 100'
110' - 130'
100' - 125'
kg 2
45' - 55'
45' - 60'
40' - 55'
60' - 75'
55' - 70'
25' - 35'
kg 2,5
kg 1
INSTRUCTION BOOKLET
NAVODILA ZA UPORABO
NÁVOD K OBSLUZE
INSTRUKCJA OBSŁUGI
650
A U T O R E V E R S E
Advertisement
Table of Contents

Related Manuals for Zanussi TCS 683 LT


Summary of Contents for Zanussi TCS 683 LT
-
Page 1: Tumble Dryer
BUBNOVÁ SUŠIČKA SUSZARKA DO BIELIZNY 125995110 TUMBLE DRYER SUŠILNI STROJ TCS 683 LT 800 / 900 1000 / 1200 800 / 900 1000 / 1200 kg 5 85' -105' 75' - 100' 110' - 130' 100' - 125' kg 2... -
Page 2: Your New Tumble Dryer
YOUR NEW TUMBLE DRYER With your new tumble dryer you will have soft dry laundry with any weather conditions. It is fitted with a condensing device that condenses the moist air drawn from the laundry which is then collected in a water container. The water container can be discharged directly by means of a suitable drain hose. -
Page 3: Table Of Contents
Warnings ...Page Description of the appliance Technical specifications Installation ...Page Positioning...Page Electrical connection ...Page Stacking kit ...Page Connecting a drain hose ...Page ...Page Control panel ...Page Drying Times ...Page Useful hints ...Page Drying sequence ...Page Maintenance ...Page External cleaning...Page Cleaning the filter ...Page Cleaning condenser ...Page Emptying water container...Page Something not working... -
Page 4: Warnings
Repairs carried out by inexperienced persons may cause injury or serious malfunctioning. Refer to your local Zanussi Service Centre. Always insist on genuine Zanussi spare parts. General safety It is dangerous to modify or try to modify the specifications of this appliance in any way. -
Page 5: Description Of The Appliance
DESCRIPTION OF THE APPLIANCE 01 Top cover 02 Programme chart 03 Door opening button 04 Low temperature button 05 Start button 06 “Water container full” light 07 Drying time selector dial 08 Mains-on light 09 Fluff filter 10 Lock 11 Rating plate 12 Ventilation grid 13 Water container 14 Condenser... -
Page 6: Installation
Positioning The tumble dryer can be positioned on any firm level surface. Check that it is absolutely level with the aid of a spirit level. If it is not, raise or lower the feet until it is. Air must be able to circulate freely all round the appliance. -
Page 7: Use
Control panel 800 / 900 1000 / 1200 800 / 900 1000 / 1200 kg 5 85' -105' 75' - 100' 110' - 130' 100' - 125' kg 2 45' - 60' 40' - 55' 60' - 75' 55' - 70' kg 2,5 kg 1 1 Programme Chart... -
Page 8: Drying Times
Drying Times Cotton and Linen Selector dial: up to 150 minutes Degree of drying required Iron dry Store dry Synthetics Selector dial: up to 100 minutes Degree of drying required Store dry Iron dry The laundry must be suitably spun in your washing machine before being placed in the tumble dryer (800 rpm minimum). -
Page 9: Useful Hints
Useful hints Try to load to the maximum capacity of the machine as small loads are uneconomical. For information, here is a list of the average weights of some common laundry items. Sheet Tablecloth Kitchen towel Table napkin Towelling hand towel Bathrobe Man’s shirt Pillowcase... -
Page 10: Drying Sequence
Drying sequence Before starting up for the first time it is advisable lo load a few moist cloths into the dryer and to let it run for about 20 minutes. This ensures that no dust and dirt is left in the drum. Operation 1. -
Page 11: Maintenance
MAINTENANCE You must disconnect the appliance from the electricity supply, before you can carry out any cleaning or maintenance work. External cleaning Use only soap and water and then dry thoroughly. Important: do not use methylated spirit, diluents or similar products. Cleaning the filter Your dryer will only function well if the filter is clean. -
Page 12: Emptying Water Container
Emptying water container Water extracted from the laundry being dried is collected in a special container. This container must be emptied after every cycle. Important: should the container be filled during a drying programme, the corresponding light will light up on the panel to indicate that the container P0637 has to be emptied. -
Page 13: Something Not Working
SOMETHING NOT WORKING Before contacting your local Service Centre, please make the following checks: Problem The dryer does not start up The dryer does not dry properly If, after the above checks, there is still a fault, call your local Service Centre. Please make sure you give the model and serial number of the appliance.