Advertisement
Quick Links
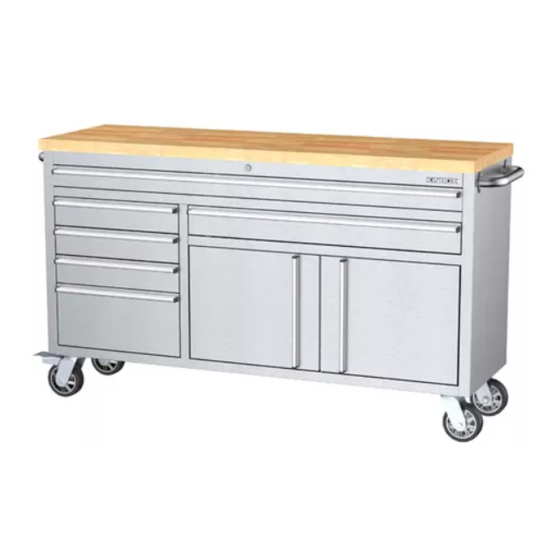
60" STAINLESS STEEL ROLLING WORKBENCH
INSTRUCTION BOOKLET
CAUTION
Please take safety precautions when using the tool chest.
o New drawer glides may be stiff and difficult to open when first expanding the glide. A
gentle outward pull should release the safety catch that is built into the glide to prevent
drawer opening while moving the tool chest.
o Gently set parts on a flat, protective surface.
o Do not open more than one drawer at a time.
o Do not step or climb on drawers.
o Do not let children near the tool chest.
o Fill the bottom drawer first. If the tool chest is filled from the top drawer down, then the
tool chest will be top-heavy and might fall over.
o Set the brake on locking casters unless you are moving the tool chest.
o Lock drawers and lid before moving the chest.
o Make sure all drawers are closed tightly before closing the lid.
THIS INSTRUCTION BOOKLET CONTAINS IMPORTANT SAFETY INFORMATION.
PLEASE READ AND KEEP FOR FUTURE REFERENCE.
CT1973
Page 1 of 6
Advertisement

Related Manuals for Neilsen CT1973

Summary of Contents for Neilsen CT1973
- Page 1 60" STAINLESS STEEL ROLLING WORKBENCH CT1973 INSTRUCTION BOOKLET CAUTION Please take safety precautions when using the tool chest. o New drawer glides may be stiff and difficult to open when first expanding the glide. A gentle outward pull should release the safety catch that is built into the glide to prevent drawer opening while moving the tool chest.
- Page 2 M A X I M U M L O A D C A P A C I T Y MAXIMUM LOAD 1,130 lb / 513.5 kg FOR WOOD TOP (EVENLY DISTRIBUTED) MAXIMUM LOAD 15 lb / 6.8 kg MAXIMUM LOAD 25 lb / 11.3 kg MAXIMUM LOAD 40 lb / 18.2 kg FOR DRAWERS (EVENLY DISTRIBUTED) MAXIMUM LOAD 60 lb / 27.3 kg...
- Page 3 Parts and Hardware List Please read completely through the instructions and verify that all parts listed are included before beginning assembly. Tools required for assembly: Wrench (not included). A- Tool Chest (1) B- Side Handle (2) C- Small Bolt (8) D- Swivel Caster (2) E- Locking Caster (2) F- Large Bolt (16+1 extra)
-
Page 4: Hardware Required
Handle Assembly Instructions 1 Unpack the unit and confirm that you have all the hardware and required parts listed. 2 Stand the unit upright and attach Side Handle (B) to Tool Chest (A) securing with Small Bolts (C) as shown below figure. 3 Repeat step for the other side handle. -
Page 5: Care And Maintenance
Attach Locking Casters (E) and Swivel Casters (D) to the bottom of Tool Chest with Large Bolts (F). Securely tighten all the bolts with Wrench . Make sure the Locking Casters (E) locate at same side of the unit. Note: Please adjust the bins and liners in the drawers after finishing the casters. - Page 6 Drawer Liner Large 10 Drawer Liner Extra Large 11 Small Drawer 12 Middle Drawer 13 Large Drawer 14 Big Drawer 15 Door Kit 16 Left Door 17 Bin 18 White Labek Insert Complete Hardware CANNON TOOLS LTD Add: 20 station road, Rowley Regis, west midlands,B65 0JU.U.K. Made in China 6 of 6...