Electrolux EKC6046 User Manual
Hide thumbs
Also See for EKC6046:
- User manual (41 pages) ,
- Operating instructions manual (32 pages) ,
- User manual (36 pages)
Table of Contents
Advertisement
Quick Links
Advertisement
Table of Contents

Related Manuals for Electrolux EKC6046


Summary of Contents for Electrolux EKC6046
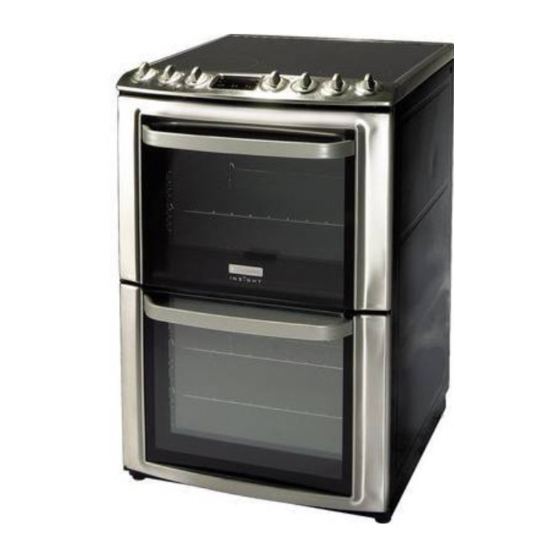
- Page 1 Cooker EKC6046 EKC6047...
-
Page 2: Table Of Contents
2 electrolux Electrolux. Thinking of you. Share more of our thinking at www.electrolux.com Contents Safety information What to do if… Product description Installation instructions Before first use Technical data Operation Environment concerns Helpful hints and tips Guarantee/Customer Service Cooking tables... -
Page 3: Product Description
3 • Never place plastic or any other material, Warning! Never leave the appliance which may melt in or on the oven. unattended when the oven door is open. • Do not leave the grill pan handle in position •... - Page 4 4 electrolux Hob controls 1 Cranked shelf (For grilling and top Main oven temperature control oven cooking) Electronic timer Top oven / Grill function selector control Top oven / Grill temperature control Main oven indicator neon Top oven / Grill indicator neon...
-
Page 5: Before First Use
5 1 Grill pan grid Before first use Rating plate • During the initial period the cooling fan may turn on and off, this is quite normal. • This is usually situated on the front frame of the appliance and can be seen upon Warning! Always allow the cooling fan opening either of the oven doors. -
Page 6: Operation
6 electrolux Operation The timer If necessary depress the decrease control (-) to achieve the correct time interval. This must be completed within 5 sec- onds of first pressing the Selector Con- trol button. During the operation of the 'Countdown', the remaining time period will be shown in the display. - Page 7 7 terval is achieved. The maximum cooking To cancel an automatic programme time is 10 hours 1. To cancel an automatic programme 5. Release the buttons. The 'Cook Time' in- press the Selector Control button until the dicator neon will be illuminated.
- Page 8 8 electrolux • The highest number represents the hottest economy purposes, the centre section only setting and the lowest number represents can be used when cooking smaller quantities the coolest setting. of food. • Choose a setting appropriate to the quan- Using the dual grill tity and type of food to be cooked.
- Page 9 9 • Turn the top oven temperature control to the required setting. Things to note • The oven light will illuminate. • The indicator neon will glow. It may turn ON and OFF during use to show that the setting is being maintained.
-
Page 10: Helpful Hints And Tips
10 electrolux For recipes needing high temperatures, e.g. the front to that the stops clear the side sup- bread, pastries, scones, soufflés etc., best ports. Lift shelf clear. results are achieved if the oven is preheated To install a shelf, reverse the above steps. - Page 11 11 • Ensure that the hob and saucepans are cakes, pastry, scones bread etc., place clean and dry before the start of cooking. the tins or baking trays centrally on the • Follow the cleaning instructions very close- shelf.
-
Page 12: Cooking Tables
12 electrolux Using defrost • Joints of meat up to 2kg/4½lb in weight can be thawed using the defrost function. • Place the frozen food in a single layer • All joints of meat and poultry must be where possible and turn it over half way thawed thoroughly before cooking. - Page 13 13 To ensure optimal performance when cook- chilled ready meal, always preheat the oven ing convenience foods, pizza or frozen and first. Food Shelf position Cooking Time (Total Temp Hours) Biscuits 170 - 180 0:10 - 0:20 Bread 200 - 220...
- Page 14 14 electrolux Main oven cooking chart For best results, moist recipes (for example pizza, fruit flans etc) should be baked on one The temperature and baking times are for level. guidance only, as these will depend on the To ensure optimal performance when cook-...
-
Page 15: Care And Cleaning
15 Food Shelf position Cooking Time (Total Fan Temp Hours) Large Yorkshire Pud- 200 - 210 0:25 - 0:40 dings Individual Yorkshire 190 - 200 0:15 - 0:25 Puddings Note: Shelf positions are counted from the bottom of the oven. - Page 16 16 electrolux Stainless Steel cream cleaners are abrasive Daily cleaning and should be avoided as they may dull the Use the recommended hob cleaner daily. surface finish. If soilage is not allowed to burn on it will be Any spillage on the stainless steel finish must much easier to clean off.
- Page 17 17 and leave on the discoloured areas over- Soaking first in hot soapy water will make night. cleaning easier. The marks should be easily removable the Cleaning inside the grill and oven next day provided they have not been ex- compartments cessively burnt on.
- Page 18 18 electrolux joint to cook through before the outside is over browned. Cleaning the doors Warning! To prevent damaging or weakening the door glass panels avoid the use of the following: • Household detergents and bleaches • Impregnated pads unsuitable for non- stick saucepans •...
-
Page 19: What To Do If
19 Warning! Disconnect the appliance from the electricity supply before replacing the bulb. 1. Make sure the appliance is cool before replacing the bulb. 2. Open the door and remove the shelves and wire work runners. 3. Remove the glass cover by turning it to the left. -
Page 20: Installation Instructions
20 electrolux Problem Possible solution Check that the recommended temperatures and shelf positions are being used. The oven light fails to illuminate. The oven light bulb may need replacing. If the Main Oven is set for automatic cooking the light will illuminate when the cook time begins. - Page 21 21 • Make connection as shown. ENSURE THAT THE LINKS ARE FITTED AS SHOWN Air gap Blanking plates not to be removed Always ensure an air gap is maintained at • Proceed as follows :- hotplate level. Tiles or other forms of deep –...
-
Page 22: Technical Data
• Damage, calls resulting from transport, im- Standard guarantee conditions proper use, neglect, light bulbs, removable We, Electrolux, undertake that if within 12 parts of glass, plastic. months of the date of the purchase this Elec- • Costs for calls to put right appliance which... -
Page 23: European Guarantee
Elec- below: trolux products, contact our Customer Care Electrolux Group (Irl) Ltd, Long Mile Road, Department by letter or telephone at the ad- Dublin 12, Republic of Ireland dress below or visit our website at www.elec- Tel: +353 (0)1 4090751, Email: serv- trolux.co.uk... - Page 24 +41 62 88 99 111 Industriestrasse 10, CH-5506 Mägenwil Slovenija +38 61 24 25 731 Gerbičeva ulica 98, 1000 Ljubl- jana Slovensko +421 2 43 33 43 22 Electrolux Slovakia s.r.o., Elec- trolux Domáce spotrebiče SK, Seberíniho 1, 821 03 Bratislava Suomi www.electrolux.fi...
- Page 25 25 Sverige +46 (0)771 76 76 76 Electrolux Service, S:t Görans- gatan 143, S-105 45 Stockholm Türkiye +90 21 22 93 10 25 Tarlabaşı caddesi no : 35 Tak- sim İstanbul Россия +7 495 937 7837 129090 Москва, Олимпийский проспект, 16, БЦ...
- Page 26 26 electrolux...
- Page 27 27...
- Page 28 To buy accessories, consumables and spare parts at our online shop please visit: www.electrolux.co.uk 349169900-C-052009...