Table of Contents
Advertisement
Quick Links
TO BE REMOVED FOR USE BY OCCUPANT
Product Warnings
Safety Guidelines
General Information
Installation Procedure
Cleaning & Maintenance
Warranty Information
Register your warranty at www.swanstone.com.
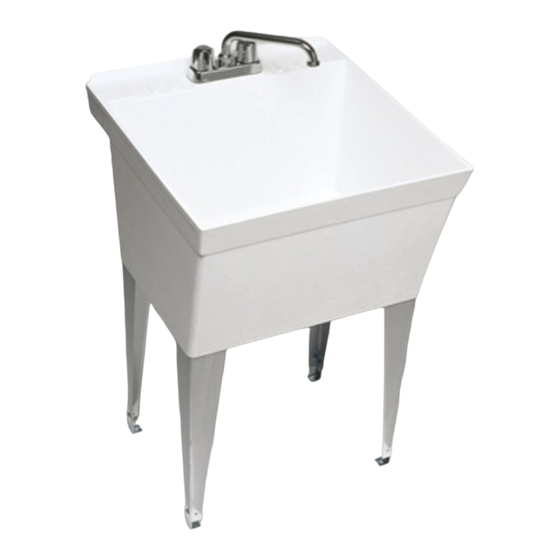
Laundry Tubs
MF-1F
(Single Bowl, Floor Mount Metal Legs)
MF-1PF
(Single Bowl, Floor Mount Plastic Legs)
MF-1W (Single Bowl, Wall Mount)
MF-2F
(Double Bowl, Floor Mount Metal Legs)
MF-2W (Double Bowl, Wall Mount)
MF-4PF
(Single Bowl, Floor Mount Plastic Legs)
MF-4W (Single Bowl, Wall Mount)
Form # 513-03-12
Form #513-3-14-3M
Advertisement
Table of Contents

Summary of Contents for Swann MF-1F
- Page 1 TO BE REMOVED FOR USE BY OCCUPANT Laundry Tubs MF-1F (Single Bowl, Floor Mount Metal Legs) MF-1PF (Single Bowl, Floor Mount Plastic Legs) MF-1W (Single Bowl, Wall Mount) MF-2F Product Warnings (Double Bowl, Floor Mount Metal Legs) Safety Guidelines MF-2W (Double Bowl, Wall Mount)
-
Page 2: Safety Guidelines
Safety Guidelines IMPORTANT NOTICE The Swan Assurance — if our product is IMPORTANT NOTICE: Indicates that equipment or property properly installed and maintained, as stated in damage can result if instructions are not followed. these instructions, it will not leak. –... -
Page 3: General Information
Safety Guidelines General Information Personal Protection Electrical Shock Hazard Be sure to use all personal protective Contacting live electrical wiring with power tools equipment, such as sturdy work boots, or hand tools can cause serious injury or death. preferably with steel toes, gloves, and hard hat, if necessary, Make sure all related circuit breakers are turned OFF. - Page 4 Installation of a 1a. Attach Metal Legs — MF-1F and may have occurred. If damage is found, report it may have occurred. If damage is found, report it damaged product will void the warranty.
-
Page 5: Installation Procedure
Installation Procedure 1b. Attach Filler Brackets and Wall Mount — MF-1W and MF-2W (Single and Double Bowl Models) MF-4W (Single Bowl Model) Place the laundry tub upside down on a flat surface. Protect the top edges of the laundry tub from scratches or other damage by placing cardboard or other scratch resistant material on the floor. - Page 6 Installation Procedure 2. Attach Wall Mounting Plate Note: Trial fit the wall mounting plate to the laundry tub. If the mounting plate is too long, break off the left side of the 2a. Attach Wall Mounting Plate to Framed Walls wall mounting plate by snapping it along the plate’s scored ridge.
- Page 7 Installation Procedure 2c. Attaching Wall Mounting Plate to Concrete WARNING or Block Walls with Tapcon Wall Anchors Oversized pilot holes may make it impossible to properly (User Supplied) set the anchor and will reduce the anchor's load (holding) Locate the wall mounting plate in the same manner as capacity.
- Page 8 Installation Procedure 4. Final Installation If replacing an existing laundry tub, loosen and remove the hot and cold water lines and waste pipe connections. Use For models with legs, place the laundry tub where it will be a container to catch any water remaining in the P-trap. installed.
- Page 9 Installation Procedure Attach the flexible water supply lines to the water shut off valves. The threaded ends of the water lines can be wrapped with Teflon pipe tape to ensure a tight, leak-proof seal. Tighten the fitting with a wrench but do not over- tighten.
-
Page 10: Care And Cleaning
Care and Cleaning Warranty 6. Splash Guard Day-To-Day Cleanup As an added precaution to water splatter and/or damage to the Simply wipe the surfaces with a clean towel to remove wall behind the sink, you can install a piece of 1/8” plastic onto watermarks and residues. - Page 12 Save these Installation Instructions for future reference. They provide important information on cleaning and maintenance of the Swan Corporation Laundry Tub. Form #513-3-14-3M www.swanstone.com Form # 513-03-12...