Table of Contents
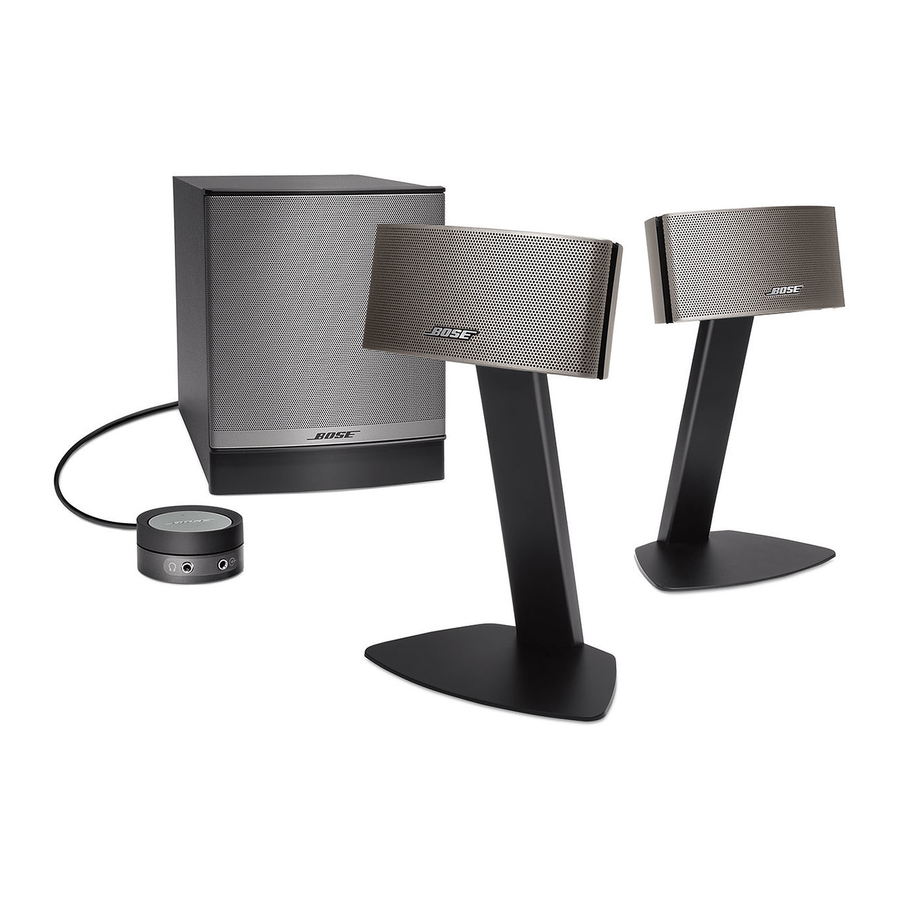
Advertisement
Advertisement
Table of Contents

Related Manuals for Bose Lifestyle 50


Summary of Contents for Bose Lifestyle 50
- Page 1 The Bose Lifestyle 50 System ® ® Owner’s Guide October 17, 2001 AM189854_05_V.pdf...
-
Page 2: Safety Information
Safety Information WARNING: To reduce the risk of fire or electric shock, do not expose the system to rain or moisture. CAUTION: TO REDUCE THE RISK OF ELECTRIC SHOCK, These CAUTION marks may be located on the bottoms of your Lifestyle center, Acoustimass CAUTION: To prevent electric shock, match wide blade of plug to wide slot, insert fully. - Page 3 – Do not attempt to service this product yourself. Opening or removing covers may expose you to dangerous voltages or other hazards. Please call Bose to be referred to an authorized service center near you. 15. To prevent risk of fire or electric shock, avoid overloading wall outlets, extension cords, or integral convenience receptacles.
-
Page 4: Note To Catv System Installer
Important Safety Instructions 18. Use proper power sources – Plug the product into a proper power source, as described in the operating instructions or as marked on the product. 19. Avoid power lines – Use extreme care when installing an outside antenna system to keep from touching power lines or circuits, as contact with them may be fatal. -
Page 5: Table Of Contents
Operating a Multi-Room Lifestyle Connecting additional rooms ...40 Operating in more than one room ...41 Using more than one Personal™ music center ...43 Maintaining Your Lifestyle® 50 System ...44 Finding a misplaced Personal™ music center ...44 Replacing batteries ...44 Cleaning the system ...45 Troubleshooting ...46... -
Page 6: Setting Up
The other elements of the Lifestyle • The elegant Lifestyle • The hideaway powered Acoustimass • The Bose multi-room interface, with four independent audio outputs that allow you to enjoy Bose sound throughout your home. Realism and impact Your Lifestyle signal processing. -
Page 7: Unpacking The Carton
Carefully unpack your system. Save all packing materials for possible future use. The original packing materials provide the safest way to transport your Lifestyle the product appears damaged, do not attempt to use the system. Notify Bose authorized Bose dealer immediately. -
Page 8: Selecting The Locations For Your Lifestyle
Note: The Jewel Cube speakers are magnetically shielded so you can place them close to the TV without affecting picture quality. Figure 2 Recommended front speaker locations Left front 50 system ® ® speakers and Acoustimass ® 50 system (Figures 2 and 3). Center Right front ® October 17, 2001 ® module to AM189854_05_V.PDF... - Page 9 Surround speakers The surround (rear) speakers create an area of sound around the listener. Place them in the back half of your room. The surround cables allow up to 50 feet (15.2 m) from the Acoustimass module. 1. Place the speakers at ear height or higher, if possible.
- Page 10 2. Place the multi-room interface close enough to the sound sources (TV, VCR, DVD, etc.) to allow for cable length. If you need additional audio and/or video cables to connect all of your components, see your dealer or call Bose CD changer Select a convenient location for the CD changer.
-
Page 11: Connecting Your System
To lengthen the cable, connect speaker wire with male phono (RCA) plugs on each end to your supplied speaker cable. Use a female-to-female adapter (“barrel” connector). Or, splice in 18-gauge (.75 mm wire, see your dealer or electronics store, or call Bose Figure 7 Ridge... - Page 12 Connecting the CD changer to the multi-room interface Connect the CD changer to the interface with the CD changer cable (Figure 8). 1. Plug a blue multi-pin connector (flat side facing up) into the jack marked BOSE CD on the back of the interface.
- Page 13 The multi-room interface comes with either a 100V, 120V, 230V, or 240V power pack. See Figures 1 and 10. Dual voltage models include both the PS71 and PS72 power packs. CAUTION: Be sure to use the correct Bose may damage your power pack or your system.
-
Page 14: Connecting Your Home Theater Components To The Lifestyle
® Non-digital video sound source outputs to VIDEO inputs ® 50 system has two sets of video sound inputs, VIDEO 1 and VIDEO 2, for your ® 50 system includes one 6-foot (1.8 m) stereo cable to connect the right... - Page 15 Cable TV AM189854_05_V.PDF ® 50 multi-room interface, and select the sound source using the speakers switch, select external speakers. Do not connect any speakers to the TV.) SAP. They prevent proper surround sound processing through your Lifestyle Digital audio output...
- Page 16 Figure 13 Alternate home theater connec- ® tions to the Lifestyle 50 system Cable TV face. connection on the audio input cable (connecting the multi-room interface with the module) using a male-to-male RCA cable. speakers switch, select external speakers. Do not connect any speakers to the TV.) SAP.
-
Page 17: Connecting Other External Components
AM189854_05_V.PDF ® 50 system. ® Customer Service (See the inside back cover ® 50 system cannot turn on or off a connected component. AUDIO INPUT AUDIO OUTPUT RECORD ROOM A VIDEO 1 VIDEO 2 TAPE IN... -
Page 18: Connecting The Antennas
3. Move the loop part of the antenna as far away from the multi-room interface as possible, but at least 20 inches (50 cm) away, and at least 4 feet (1.2 m) from the Acoustimass module. Experiment with the orientation of the loop for optimum AM reception. -
Page 19: Connecting Power To Your System
Connecting power to your system Plug the Acoustimass multi-room interface power pack. Note: Your speakers will not operate unless you complete all cable and power connections before turning on the system. CAUTION: Be sure the three shipping screws on the bottom of the CD changer have been removed before turning on the system. -
Page 20: Operating Your Lifestyle ® 50 System
“Selecting the number of speakers” on page 22. Figure 18 Waking up the display Figure 19 Turning on a source Turning the system off • Press the ON/OFF button. ® 50 System ® system. Your Personal™ music center places October 17, 2001 AM189854_05_V.PDF... - Page 21 The SLEEP indicator flashes Set time with arrow buttons Press START to begin countdown SLEEP CLEAR The CLEAR button is shown and the START button disappears October 17, 2001 ® 50 System DONE VOLUÂE ÂUTE VOLUÂE...
-
Page 22: Using The Personal™ Music Center Display
The next three lines let you set tuner or CD functions, using the center area also includes indication of CD modes such as RANDOM and REPEAT, or if the SLEEP function is on. ® 50 System SOURCE Current status buttons display... - Page 23 37. AM189854_05_V.PDF Operating Your Lifestyle STEREO SEEK PRESETS CD OPTIONS SPEAKERS WIPE SCREEN PRESET RECORD OUT SIGNAL LEVELS MENU items display area October 17, 2001 ® 50 System KEYPAD DONE VOLUÂE ÂUTE VOLUÂE STORE...
-
Page 24: Listening To The System
The system remembers the center and surround level settings for the room in which they were adjusted. ® 50 System ® 50 system uses digital signal processing to bring even greater realism and ® module) from DVD, digital TV, next-generation cable ® decoding steers front information to the left, center, and October 17, 2001 ®... - Page 25 AM189854_05_V.PDF Operating Your Lifestyle ® Videostage decoding can process a one-channel program into five-speaker sound, arrow buttons to select between On or – – (Off). Initially, this October 17, 2001 ® 50 System arrow buttons to select 1ch:5 (Figure 25).
-
Page 26: Listening To Digital Sound
Even with surround-encoded material there are times when no sounds are directed to the surround speakers. ® 50 System compression ® on DVD-Video discs. Your Lifestyle October 17, 2001 ® system does not ® 50 system cannot process AM189854_05_V.PDF... -
Page 27: Operating The Special Features
Simulated surround is compression ® Digital Dynamic Range is October 17, 2001 ® 50 System To change this Press the FILM BASS button. Press the FILM BASS button. Not applicable. You cannot select enhanced mode for CD, AM or FM. -
Page 28: Listening To The Radio
On some multi-room interfaces, the AM and FM channel spacing can be set for North America (US: 10 kHz for AM and 200 kHz for FM) or Europe (EU: 9 kHz for AM and 50 kHz for FM). Select the channel spacing most appropriate for your area. - Page 29 25 FM and 25 AM station presets. You can set presets Press and hold here to store a preset, or to quick-store a preset, press and hold any button 1 through 9 October 17, 2001 ® 50 System points toward...
- Page 30 • You can reserve different number groups for different types of stations. • For easy reference, you may want to keep a written record of your presets. ® 50 System October 17, 2001 AM189854_05_V.PDF...
-
Page 31: Listening To Compact Discs
Loading and unloading the CD magazine AM189854_05_V.PDF Operating Your Lifestyle 6 D IS A G A Z IN E Z IN A G A 6 D IS October 17, 2001 ® 50 System AZ IN M AG 6 DI SK Eject button... - Page 32 To play another disc Press the DISC forward in the changer and starts playing the CD. The message CHANGING is displayed until play begins. Empty disc changer slots are automatically skipped. ® 50 System Scan CD Elapsed play time backward for current track...
- Page 33 Display after pressing PLAY LIST SLEEP ÂENU AM189854_05_V.PDF Operating Your Lifestyle or backward SOURCE LIST PLAY DISC LIST PLAY PAUSE STOP TRACK October 17, 2001 ® 50 System button (these are the ones to the left or backward button. VOLUÂE ÂUTE VOLUÂE...
- Page 34 Repeat track list Repeat random list Note: If you select random and repeat modes that cannot be combined (REPEAT TRACK and RANDOM DISC, for example), the system accepts the most recently entered choice. ® 50 System CD OPTIONS EDIT PLAY DISC...
- Page 35 ITEM number stops flashing. 4. Press the ITEM right 5. Repeat steps 2, 3 and 4 to add more items to the list. When the list has 50 programmed items, the STORE button disappears. 6. When you have completed your play list, press DONE to exit.
- Page 36 SLEEP ÂENU To erase the entire CD play list 1. From the CD OPTIONS menu, press CLEAR LIST. 2. Press YES to confirm. ® 50 System ITEÂ CD OPTIONS DISC TRACK Press to remove item from list...
-
Page 37: Using The System With External Components
The RECORD OUT menu display AM189854_05_V.PDF Operating Your Lifestyle ® 50 system cannot turn a connected component on or off. ® module is not an immediate risk to ® 50 system are designated by the letters A through October 17, 2001 ®... -
Page 38: Fine-Tuning Your System
0 to 99. The manual tuning keys are provided so that you can check the signal strengths of multiple stations. Figure 40 AM/FM antenna signal strength display ® 50 System ® 50 system treble and bass controls are located on the Acoustimass October 17, 2001 ® patented integrated signal process- ® module AM189854_05_V.PDF... -
Page 39: Operating Your Lifestyle ® 50 System
(VIDEO 1, VIDEO 2, AUX, TAPE). For example, you can adjust the gain level of an external source so that volume level 50 on this source sounds as loud as level 50 from a built-in source. - Page 40 Selecting the display mode of the KEYPAD buttons SLEEP ÂENU ® 50 System (Yes). SOURCE = SOURCE buttons are removed following certain operations. Press SOURCE to access them again. = SOURCE buttons remain as you last set them with the SOURCE button, except for when the system is off.
- Page 41 A negative number allows the display to fade sooner than the initital setting. 4. Press DONE to exit this mode. Figure 46 Fade control display AM189854_05_V.PDF Operating Your Lifestyle October 17, 2001 ® 50 System...
-
Page 42: Operating A Multi-Room Lifestyle
Then review your plan for how to connect these speakers to the multi-room interface in your primary room. If you have questions or need extension cables to complete the connections, call Bose Customer Service at the numbers listed on the back inside cover of this owner’s guide. -
Page 43: Operating In More Than One Room
AM189854_05_V.pdf Operating a Multi-Room Lifestyle ® 50 system can control up to four sets of Bose The HOUSE button lets you control all connected rooms as one The room indicators tell you what was selected by the ROOM or HOUSE button October 17, 2001 ®... - Page 44 ROOM button again to gain control of a single room. Press ROOM until the room you want is displayed ( , ® 50 System . Press the FM source button and adjust , or ). Control that room as desired.
-
Page 45: Using More Than One Personal™ Music Center
You can accept this time or change it for all the rooms. To cancel the HOUSE - SLEEP command, press HOUSE, SLEEP, CLEAR, and then DONE. Turn off the entire system. October 17, 2001 ® 50 System... -
Page 46: Maintaining Your Lifestyle® 50 System
The LOCATE MUSIC CENTER button Replacing batteries The LOW BATTERY message appears when batteries are nearly depleted. As batteries get weaker, the message flashes faster and display timeouts become shorter. Figure 50 The LOW BATTERY warning message SLEEP ÂENU System settings are not lost when batteries are changed or battery power fails. -
Page 47: Cleaning The System
CAUTION: Do not allow liquids to spill into any openings of the system. If liquids accidently get into any system component, turn the system off and allow it to air dry. Then turn it on again. If you notice any problems with its functioning, turn it off and contact Bose Service. -
Page 48: Troubleshooting
10 seconds, you should hear two beeps to confirm that the link is established. Note: The music center establishes a link with the closest multi-room interface. Maintaining Your Lifestyle ® module, the power pack and power cord October 17, 2001 ® 50 System AM189854_05_V.pdf... -
Page 49: Warranty Period
Please fill out the information section on the card and mail it to Bose. Customer Service For additional help in solving problems, contact Bose Customer Service. See the inside back cover for Bose Customer Service offices and phone numbers. AM189854_05_V.pdf ®... -
Page 50: Product Information
To find out about mounting brackets, stands, CD magazines, and connecting additional ® Bose back cover for phone numbers). 230V~ 50 Hz 25VA powered loudspeakers, contact your Bose dealer. Or call Bose directly (see inside October 17, 2001 Product Information Dimensions Personal music center 8.8"... -
Page 51: Index
Acoustimass ® module best bass performance 8 connecting 10 location 8 magnetic field 8 power cord 5, 17 rubber feet 5, 8 treble and bass controls 36 ventilation 8 Additional powered speakers 40 Additional rooms connecting 40 operating 41–43 AM 18, 20, 26–27, 28 AM/FM radio antenna 5 antenna connections 16... - Page 52 Index SIGNAL LEVELS 36, 37 Multi-room interface inputs/outputs 48 location 8 power pack 5, 11 rear panel connections 12–15, 16 MUTE 20, 42, 43 NO RESPONSE 17, 43, 46 noCd 30, 47 OMIT TRACK 31 OMITTED 31 ON/OFF 17, 18, 20 PAUSE 30 Personal™...
- Page 53 Index AM189854_05_V.pdf October 17, 2001...
- Page 54 Phone hours - ET (eastern time): Weekdays 8:30 a.m. to 8 p.m. Saturdays 9 a.m. to 3 p.m. Canada Bose Ltd., 1-35 East Beaver Creek Road Richmond Hill, Ontario L4B 1B3 1-800-465-2673 Phone hours - ET (eastern time): Weekdays 9 a.m. to 5 p.m.
- Page 55 ©2001 Bose Corporation The Mountain, Framingham, MA 01701-9168 USA 189854 AM Rev. 05 JN20413...