Advertisement
Quick Links
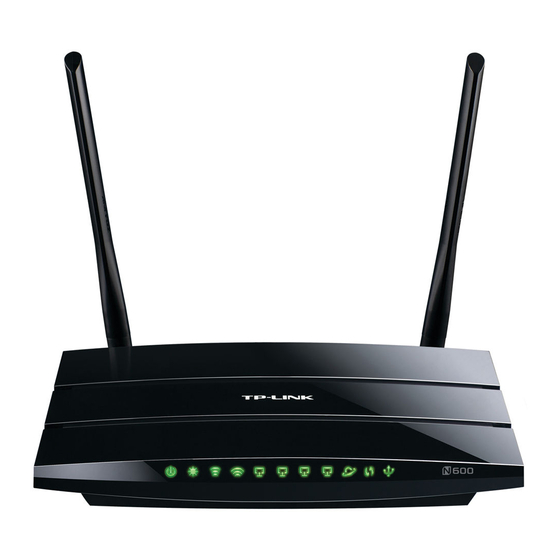
TP Link TL-WDR3500 setup for the XSCE
Factory Reset
First, if you aren't on factory settings, or you aren't sure if you are, use the reset button to get the
router back to the factory settings. On the back of the unit, to the right of the ports, you'll see a
button labeled "WPS/Reset." While you're looking back there, make sure no cables are plugged
in except the power.
Resetting a router depends on the model, but usually you hold down the reset button for 30
seconds while the router is powered on. After releasing the reset button, the router should reboot
into factory settings. However, that procedure doesn't necessarily work all the time, so you
might want to go ahead and do a full hard reset instead.
For most routers, a hard reset can be accomplished with the full 30-30-30 procedure. You simply
hold the reset button down for 90 seconds total (don't let go of the reset button!) while cycling
the power:
1. With the router powered on, hold the reset button down for 30 seconds.
2. Keep holding the reset button down, unplug the router for 30 seconds.
3. Still holding down the reset button, plug the router back in and wait for another 30 seconds.
Release the reset button and set the router down. At this point, I like to unplug the power and go
do something else for a couple of minutes, then plug the power back in. Probably not necessary,
but it doesn't hurt.
With the factory reset settings, the router will be doing DHCP, so to talk to it, all you need to do
is plug an ethernet cable into a LAN port on the router, then plug the other end into an ethernet
port on a computer. Don't have any other cables connected. The TP-Link has the credentials on
a sticker on the bottom of the unit:
Go to http://tplinklogin.net (or http://192.168.0.1)
Username: admin Password: admin
Setting up the TP Link for the XSCE
Follow these instructions in order, or you may not be able to talk to the router again and you'll
have to factory reset it and start over.
1. Disable wifi security:
On the left hand pane, click on Wireless 2.4GHz, then under the menu that expands in the left
hand pane, select Wireless Security. Click "Disable Security" then scroll to the bottom of the
page and click the "Save" button.
Advertisement

Related Manuals for TP-Link TL-WDR3500


Summary of Contents for TP-Link TL-WDR3500
- Page 1 LAN port on the router, then plug the other end into an ethernet port on a computer. Don’t have any other cables connected. The TP-Link has the credentials on a sticker on the bottom of the unit: Go to http://tplinklogin.net (or http://192.168.0.1)
- Page 2 You’ll see a popup warning that changes won’t be committed until rebooting. That’s fine, just click OK.
- Page 3 In the left hand pane, underneath the Wireless 2.4 GHz entry, you’ll see the Wireless 5GHz entry. Click on that. This procedure is exactly how you disabled 2.4 GHz security. Under Wireless 5GHz, click on Wireless Security. Click the radio button next to “Disable Security.” Scroll down, click the “Save”...
- Page 4 2. Turn off NAT Next, we need to turn off NAT (Network Address Translation). Since the XSCE does NAT, the router doesn’t need to do it. On the left hand pane, click NAT. Next to “Current NAT Status,” click “Disable.” Click Save. 3.
- Page 5 In the left hand pane, click DHCP. Next to “DHCP Server” click the radio button next to “Disable.” Click “Save.” You’ll get a popup warning that DHCP changes won’t take effect until you reboot the router. That’s fine, just click OK.
- Page 7 The page will warn you again that the DHCP change won’t take effect until you reboot the router. That’s fine, we don’t want to reboot yet. 4. Set the Router’s IP in the XSCE’s Range Now, for the last task of the setup. We need to put the router on an IP address in the XSCE’s static IP range so we can talk to it once we’ve connected it to a working XSCE.
- Page 8 On the left hand pane, click on Network. Under Network in the left hand pane, click on LAN. You’ll see two fields: 1. “IP address” where you can enter in an XSCE static IP address. 2. Subnet Mask: Select “Other Mask” from the dropdown box to open up a box where you can manually enter in the XSCE’s netmask.
- Page 9 Click the Save button.
- Page 10 Now the router really, really has to reboot. We’re not going to be able to connect to it again until it’s functioning as the XSCE’s AP. But that’s it for the initial configuration. Wait a minute or so for the router to reboot, then unplug the power and wait a couple of minutes. Plug it back in.
- Page 11 Once the XSCE is up and running, and you’ve made sure clients can connect and everything’s working OK, log into the router’s web interface. From the XSCE or from a client connected to the XSCE, you can go to http://172.18.126.100 (or whatever IP address you set it to) to log in.