Table of Contents
Advertisement
Quick Links
Advertisement
Table of Contents

Related Manuals for Rio 600


Summary of Contents for Rio 600
- Page 1 ETTING TARTED...
- Page 2 Rio is a registered trademark of RioPort, Inc. in the USA and/or other countries and is used under license. The RealPlayer and the RealJukebox are included under license from RealNetworks, Inc.
-
Page 3: Table Of Contents
NTRODUCTION ............7 ETTING UP YOUR Step 1: Unpack package contents ......7 Step 2: Power up your Rio ........10 Step 3: Install the software ........13 Step 4: Using the software ........15 Step 5: Plug in the USB cable .........16 Step 6: Register your Rio ........17 Step 7: Check out the User Guide .......18... - Page 4 Page 4...
-
Page 5: Introduction
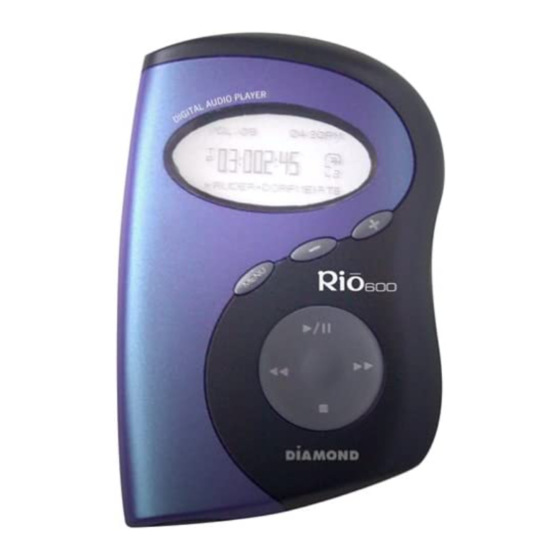
Congratulations on your purchase of the Rio 600 portable digital audio player! Rio is the perfect companion for active people—delivering skip- free music for people on the go. Your Rio connects easily to a PC or Mac for downloading compressed digital audio tracks. Use the included software to convert tracks from your audio CDs or to download tracks from the Internet for playback on your new Rio 600. - Page 6 Click on the RealJukebox, AudibleManager or SoundJam software Help menus for detailed instructions on using the software to download digital audio tracks, convert tracks from CD-ROM or transfer tracks to your Rio. • Visit the Rio Web site at: www.riohome.com...
-
Page 7: Setting Up Your Rio
Page 7 Setting up your Rio Step 1: Unpack package contents Your Rio 600 package includes the following items: • Rio 600 portable digital audio player with battery backpack and RioTone color cover. • One AA size alkaline battery. •... - Page 8 Setting up your Rio Page 8 Using your Rio Multifunction port On/Hold/Off Volume Menu Navigation Select Navigation button includes (clockwise from top) Play/Pause Forward , Stop , Reverse , and Select.
- Page 9 • On/Hold/Off (Power): Slide this switch on top of your Rio to turn the power on and off, or to put the Rio settings in Hold mode. Hold temporarily locks the buttons on your Rio except the Power switch—a useful feature while exercising.
-
Page 10: Step 2: Power Up Your Rio
Page 10 Step 2: Power up your Rio Firmly press the button on the back of the Rio 600 and slide the backpack toward the bottom of the player to detach the backpack. Remove the backpack from the Rio 600. - Page 11 Setting up your Rio Page 11 Battery compartment cover Remove the cover over the backpack battery compartment. Lightly squeeze the cover to unsnap the tabs that hold it in place. Insert the AA size alkaline battery into the backpack battery compartment.
- Page 12 Reattach the backpack to the Rio. Slide the backpack from the bottom of the player toward the top. Plug the earphones into the port on top of the Rio, slide the power switch to On, and press to listen to the introduction...
-
Page 13: Step 3: Install The Software
Setting up your Rio Page 13 Step 3: Install the software Place the Rio software CD in your computer’s CD-ROM drive. After a few seconds, the installation menu displays. Note: If the installation menu does not display automatically, skip to the next page for instructions. - Page 14 CD-ROM drive uses a letter other than “d”, substitute that letter for “d”. Click the OK button and follow the on-screen instructions. Place the Rio software CD in your computer’s CD-ROM drive. The CD contents display automatically. To manually display the CD contents, double-click the icon on your computer’s desktop.
-
Page 15: Step 4: Using The Software
Page 15 Step 4: Using the software See the Rio 600 User Guide on the software CD for an introduction to using the Rio software. For detailed instructions, refer to the PC and Mac software online help. To use the online help: Click the Help Menu at the top of the RealJukebox or AudibleManager screens. -
Page 16: Step 5: Plug In The Usb Cable
Plug the other end of the USB cable into the USB port on your computer. On the Mac, the USB port is typically located on the keyboard. Tip: The Rio 600 USB connection only fits one way. Do not try to force the connection. -
Page 17: Step 6: Register Your Rio
Setting up your Rio Page 17 Step 6: Register your Rio To register the Rio, click the Register button on the installation menu. Remove the backpack to see the serial number (S/N) located on the back of the Rio player under the backpack. -
Page 18: Step 7: Check Out The User Guide
Setting up your Rio Page 18 Step 7: Check out the User Guide Do you want to learn more about your Rio? Click the User Guide button on the installation menu. The User Guide contains: • In-depth information on using your Rio, including step-by-step instructions on using menu options and settings. -
Page 19: Safety And Product Care
Refer servicing to qualified personnel. • To reduce the chance of shock or injury, do not use or operate your Rio in or near water or wet locations. Do not spill liquid on your Rio. •... - Page 20 • Exposure to extreme hot or cold temperatures may cause damage to your Rio or cause it to malfunction. Do not expose your Rio to direct sunlight continuously or leave it in a vehicle with the doors and windows closed. The case may become deformed, discolored or malfunction.
- Page 21 Safety and product care Page 21 • Keep dirt, sand, dust and moisture from entering your Rio. Do not use in areas of excessive dust. Do not use in places where the humidity is excessively high. • Do not drop or subject your Rio to shock.
-
Page 22: System Requirements
System requirements Page 22 System requirements • Microsoft Windows 98, Windows 98 Second Edition, Windows 2000 or Windows Me. • Pentium 166 or higher with 32 MB RAM. • USB port. • CD-ROM drive (for encoding from CD). • 35 MB of available hard drive space. •... -
Page 23: Customer Care
Customer care Page 23 Customer care CUSTOMER SERVICE TECHNICAL SUPPORT Hours of Operation Hours of Operation Monday-Friday 6am-5pm PT Monday-Friday 5am-7pm PT Saturday 8am-4pm PT Email customersupport@riohome.com Email customersupport@riohome.com Telephone 1-800-468-5846 or Telephone (541) 967-2450 New product support (541) 967-2450 (541) 967-2485 (541) 967-2451 (541) 967-2401... - Page 24 Rio 600 Getting Started Guide 52260008-005...