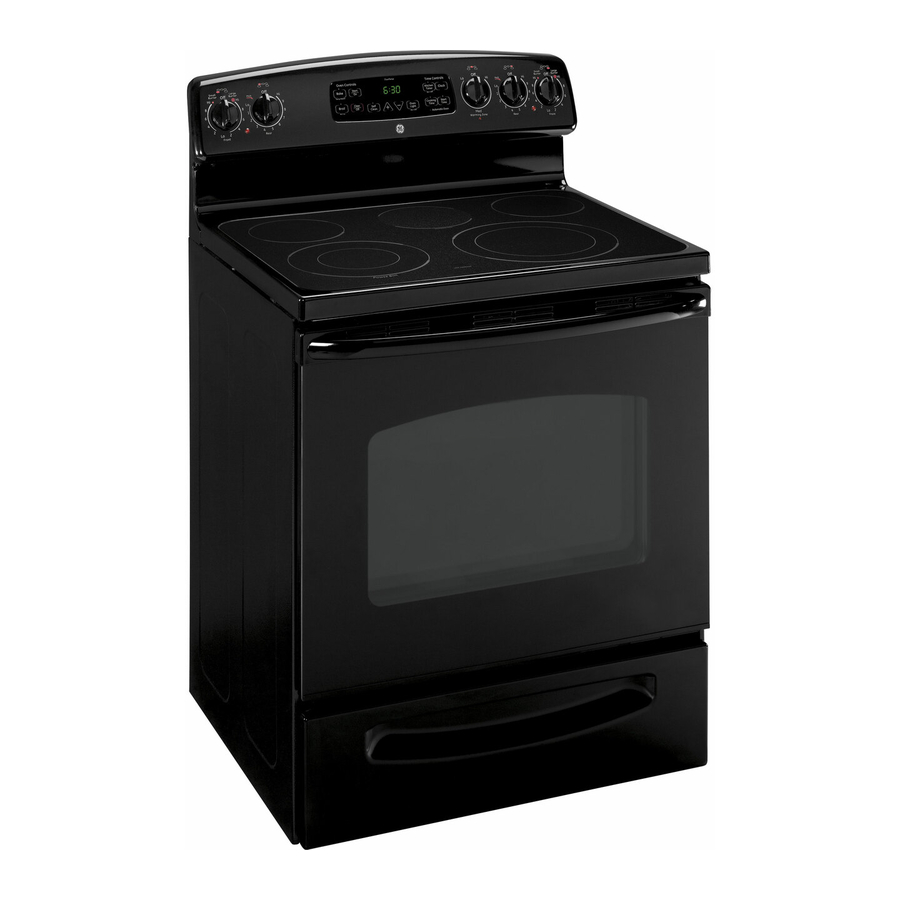
GE JBP80 Owner's Manual
Self-cleaning radiant ranges
Hide thumbs
Also See for JBP80:
- Use and care & installation manual (57 pages) ,
- Owner's manual (33 pages) ,
- Installation instructions manual (13 pages)
Table of Contents
Advertisement
GEAppliances.com
Safety Instructions
. . . . . . . . 2-6
Operating Instructions
Clock and Timer . . . . . . . . . . . .14
Oven . . . . . . . . . . . . . . . . . . .10-20
Broiling, Broiling Guide . . . . .13
Sabbath Feature . . . . . . . .17, 18
Self-Cleaning . . . . . . . . . . .19, 20
Special Features . . . . . . . . . . . .16
Thermostat . . . . . . . . . . . . . . .18
and Roasting . . . . . . . . . . . . . .15
Surface Units . . . . . . . . . . . . . 7-9
Broiler Pan & Grid . . . . . . . . . . 23
Control Knobs . . . . . . . . . . . . . 21
Glass Cooktop . . . . . . . . . . . 24, 25
Lift-Off Oven Door . . . . . . . . . . 22
Light . . . . . . . . . . . . . . . . . . . . . 23
Shelves . . . . . . . . . . . . . . . . . . . . 23
. . . . 26-29
. . . . . . . . . . . . . . . . 30
Consumer Support
Consumer Support . . . . Back Cover
Warranty . . . . . . . . . . . . . . . . . . 31
Write the model and serial
numbers here:
Model # ________________
Serial # ________________
You can find them on a label
behind the storage drawer on
the front of the range frame.
Owner's Manual
JBP80
164D4290P330
49-80174 03-03 JR
Advertisement
Table of Contents

Related Manuals for GE JBP80

Summary of Contents for GE JBP80
-
Page 1: Table Of Contents
Warranty ....31 Write the model and serial numbers here: Model # ________________ Serial # ________________ You can find them on a label behind the storage drawer on the front of the range frame. Owner’s Manual JBP80 164D4290P330 49-80174 03-03 JR... -
Page 2: Important Safety Information
If you pull the range out from the wall for any reason, make sure the device is properly engaged when you push the range back against the wall. If it is not, there is a possible risk of the range tipping over and causing injury if you or a child stand, sit or lean on an open door. -
Page 3: Safety Precautions
CAUTION: Items of interest to children should not be stored in cabinets above a range or on the backsplash of a range—children climbing on the range to reach items could be seriously injured. Never wear loose-fitting or hanging garments while using the appliance. -
Page 4: Radiant Surface Units
Teach children not to play with the controls or any other part of the range. Always keep dish towels, dishcloths, pot holders and other linens a safe distance from your range. - Page 5 Do not leave plastic items on the cooktop—they may melt if left too close to the vent. Do not lift the cooktop. Lifting the cooktop can lead to damage and improper operation of the range. ®...
-
Page 6: Oven
READ ALL INSTRUCTIONS BEFORE USING. WARNING! OVEN Stand away from the range when opening the oven door. Hot air or steam which escapes can cause burns to hands, face and/or eyes. Do not heat unopened food containers. Pressure could build up and the container could burst, causing an injury. -
Page 7: Surface Units
HOT surface indicator light to come on. A WARMING ZONE indicator light will glow when the unit is on. Do not use plastic wrap to cover food. Plastic may melt onto the surface and be very difficult to clean. Use only cookware recommended for top-of-range cooking. - Page 8 Using the surface units. Throughout this manual, features and appearance may vary from your model. Temperature Limiter Every radiant surface unit has a temperature limiter. The temperature limiter protects the glass cooktop from getting too hot. Home Canning Tips Be sure the canner is centered over the surface unit.
-
Page 9: Selecting Types Of Cookware
The following information will help you choose cookware which will give good performance on glass cooktops. About the radiant surface units… SURFACE The radiant cooktop features heating COOKING units beneath a smooth glass surface. NOTE: A slight odor is normal when a new cooktop is used for the first time. -
Page 10: Using The Oven Controls
Make sure the latch is moved to the right as far as it will go. Touch the CLEAR/OFF pad. Allow the oven to cool for one hour. Put the oven back into operation. If the function error code repeats, disconnect the power to the range and call for service. KITCHEN TIMER ON/OFF or TIMER ON/OFF Pad Touch this pad to select the timer feature. - Page 11 Oven Control, Clock and Timer Features and Settings AUTOMATIC OVEN Light This lights anytime the oven has been programmed using the COOKING TIME or START TIME functions. OVEN LIGHT ON/OFF Pad Touch this pad to turn the oven light on or off.
-
Page 12: Using The Oven
Using the oven. To avoid possible burns, place the shelves in the desired position before you turn the oven on. Before you begin… The shelves have stop-locks, so that when placed correctly on the shelf supports (A through F), they will stop before coming completely out, and will not tilt. -
Page 13: Broiling, Broiling Guide
Do not latch the oven door during broiling. The latch is used for self-cleaning only. How to Set the Oven for Broiling If your range is connected to 208 volts, rare steaks may be broiled by preheating the broiler and positioning the oven shelf one position higher. -
Page 14: Clock And Timer
To Turn Off the Clock Display If you have several clocks in your kitchen, you may wish to turn off the time of day clock display on your range. To Set the Timer The timer does not control oven operations. -
Page 15: Timed Baking And Roasting
Using the timed baking and roasting features. Do not lock the oven door with the latch during timed cooking. The latch is used for self-cleaning only. NOTE: Foods that spoil easily—such as milk, eggs, fish, stuffings, poultry and pork—should not be allowed to sit for more than 1 hour before or after cooking. -
Page 16: Special Features
Special features of your oven control. Your new touch pad control has additional features that you may choose to use. The following are the features and how you may activate them. The special feature modes can only be activated while the display is showing the time of day. They remain in the control’s memory until the steps are repeated. -
Page 17: Using The Sabbath Feature
Using the Sabbath Feature. (Designed for use on the Jewish Sabbath and Holidays) The Sabbath feature can be used for baking/roasting only. It cannot be used for broiling, self-cleaning or Delay Start cooking. NOTE: On models with a light switch on the control panel, the oven light may be turned on and left on. How to Set for Regular Baking/Roasting NOTE: To understand how the oven control works, practice using regular baking (non-Sabbath) before... -
Page 18: Thermostat
Using the Sabbath Feature. (Designed for use on the Jewish Sabbath and Holidays) How to Exit the Sabbath Feature Adjust the oven thermostat—Do it yourself! You may find that your new oven cooks differently than the one it replaced. Use your new oven for a few weeks to become more familiar with it. -
Page 19: Self-Cleaning
Soil on the front frame of the range and outside the gasket on the door will need to be cleaned by hand. Clean these areas with hot water, soap-filled steel wool pads or cleansers such as Soft Scrub well with clean water and dry. - Page 20 Using the self-cleaning oven. How to Delay the Start of Cleaning Make sure the clock shows the correct time of day. To Stop a Clean Cycle Touch the CLEAR/OFF pad. Wait until the oven has cooled below the locking temperature to unlatch the door. You will not be able to open the door right away unless the oven has cooled below the locking temperature.
-
Page 21: Control Knobs
Care and cleaning of the range. Be sure all controls are off and all surfaces are cool before cleaning any part of the range. If your range is removed for cleaning, servicing or any reason, be sure the anti-tip device is reengaged properly when the range is replaced. Failure to take this precaution could result in tipping of the range and cause injury. -
Page 22: Lift-Off Oven Door
Care and cleaning of the range. Painted Surfaces Painted surfaces include the sides of the range and the door, top of control panel and the drawer front. Clean these with soap and water or a vinegar and water solution. Control Panel It’s a good idea to wipe the control panel... -
Page 23: Care And Cleaning Broiler Pan & Grid
Oven Light Replacement CAUTION: Before replacing your oven light bulb, disconnect the electrical power to the range at the main fuse or circuit breaker panel. Be sure to let the light cover and bulb cool completely. To remove the cover: Wire cover holder. -
Page 24: Glass Cooktop
Cleaning the glass cooktop. Normal Daily Use Cleaning ONLY use CERAMA BRYTE Cooktop Cleaner on the glass cooktop. Other creams may not be as effective. To maintain and protect the surface of your glass cooktop, follow these steps: Clean your cooktop after each spill. - Page 25 Metal Marks and Scratches Cooktop Seal To clean the cooktop seal around the edges of the glass, lay a wet cloth on it Glass surface—potential for permanent damage Damage from Sugary Spills and Melted Plastic Our testing shows that if you are cooking high sugar mixtures such as jelly or fudge and have a spillover,...
-
Page 26: Troubleshooting Tips
Before You Call For Service… Troubleshooting Tips Save time and money! Review the charts on the following pages first and you may not need to call for service. Problem Possible Causes Surface units will not Improper cookware maintain a rolling boil being used. - Page 27 Problem Possible Causes Clock and timer do Plug on range is not completely • Make sure electrical plug is plugged into a live, properly not work inserted in the electrical outlet. A fuse in your home may be blown or the circuit breaker tripped.
- Page 28 What To Do • Reposition the drawer and power cord. See the Storage Drawer Removal instructions in the Care and cleaning of your range section. • Reposition the drawer. See the Storage Drawer Removal instructions in the Care and cleaning of your range section.
- Page 29 You have a function or letter” flash error code. in the display If the function code repeats. • Disconnect all power to the range for at least 30 Display goes blank A fuse in your home may be blown or the circuit breaker tripped.
-
Page 30: Accessories
Tired of discolored racks? Wishing you had extra-heavy-duty oven racks? GE’s innovative, self-cleanable porcelain-coated oven racks! Visit www.GEAppliances.com for more information. Oven Racks Light Bulbs Cleaning Pads NOW AVAILABLE for your range: • Heavy Duty • Durable • Able to be cleaned in a self-cleaning oven Broiler Pan Knobs... - Page 31 GE Will Provide: One Year Any part of the range which fails due to a defect in materials or workmanship. During this From the date of the full one-year warranty, GE will also provide, free of charge, all labor and in-home service to original purchase replace the defective part.
-
Page 32: Consumer Support
GE supports the Universal Design concept—products, services and environments that can be used by people of all ages, sizes and capabilities. We recognize the need to design for a wide range of physical and mental abilities and impairments. For details of GE’s Universal Design applications, including kitchen design ideas for people with disabilities, check out our Website today.