Advertisement
Quick Links
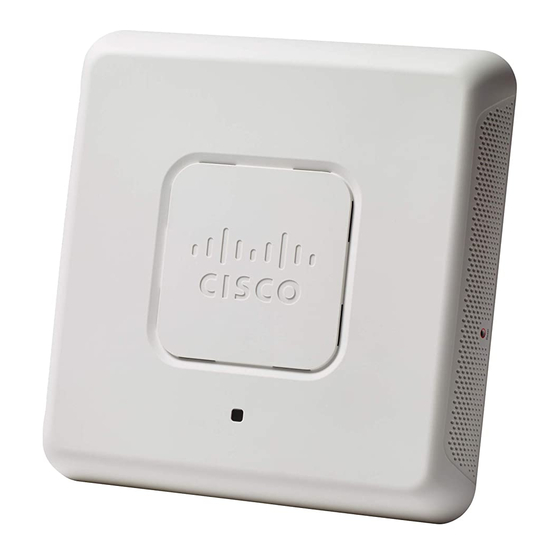
Manually Connect a WAP571 or WAP571E to
the Network via Power Over Ethernet (PoE)
Objective
Connecting a Wireless Access Point (WAP) to the same network as your computer would allow
them to communicate, thus, allowing you to configure the WAP. This is typically done when the
WAP is to be configured for the first time, or after the WAP has been reset, and will have to be
reconfigured. This article aims to show you the steps in connecting the WAP571 or WAP571E to
the network.
Applicable Devices
WAP500 Series – WAP571, WAP571E
Software Version
1.0.0.15 – WAP571, WAP571E
Connect the WAP571 to the Network via PoE
Important: Make sure that the network you are connecting the WAP to has PoE (802.3af and
802.3at) and that your network is up and running.
Step 1. Connect one end of an Ethernet cable to the Ethernet port of a PoE switch, or router.
Step 2. Connect the other end of the Ethernet cable to the ETH0/PD port of the WAP571.
Note: WAP571 bundles the two Ethernet ports to be in link aggregation mode. If the two Ethernet
ports have been connected at the same time, the link partner must also support link aggregation.
Step 3. Check the lights on both the WAP571 and the PoE switch, or router.
Note:
An orange light on the port of the PoE switch where the WAP571 is connected indicates that
the PoE switch is powering the WAP571.
A green light on the Ethernet port of the PoE switch where the WAP571 is connected
indicates a link between the devices.
A blinking green light on the front panel of the WAP571 indicates that the device is booting up.
A solid green light indicates that the WAP571 is ready and operational.
A solid green light on the Ethernet port of the WAP571 indicates a link between the switch and
the WAP571.
A blinking green light on the Ethernet port of the WAP571 indicates that the device is
receiving and transmitting data.
You should now have connected your WAP571E to the network via PoE and can now proceed to
setting up the access point. For instructions, see Configure Basic Radio Settings on the WAP571
Advertisement

Related Manuals for Cisco WAP500 Series


Summary of Contents for Cisco WAP500 Series
- Page 1 WAP is to be configured for the first time, or after the WAP has been reset, and will have to be reconfigured. This article aims to show you the steps in connecting the WAP571 or WAP571E to the network. Applicable Devices WAP500 Series – WAP571, WAP571E Software Version 1.0.0.15 – WAP571, WAP571E Connect the WAP571 to the Network via PoE Important: Make sure that the network you are connecting the WAP to has PoE (802.3af and...
- Page 2 or WAP571E Wireless Access Point. Connect the WAP571E to the Network via PoE Prepare the Cabling Step 1. Disassemble the weather-proof connector to expose the red rubber gasket. After disassembling, you should have the following: 1 Thick rubber gasket Part B of the weather-proof connector Thin rubber gasket Part A of the weather-proof connector Step 2.
- Page 3 Step 4. Slide the Ethernet cable through Part A of the weather-proof connector. Step 5. Insert the thin red gasket into the opening of Part B of the weather-proof connector. Connect the WAP571E via PoE Important: Make sure that the network you are connecting the WAP to has PoE (802.3af and 802.3at) and that your network is up and running.
- Page 4 Step 5. Secure the weather-proof connector by turning it clockwise on to the threaded portion of the WAP571E. Step 6. Insert the thick rubber gasket into Part B of the weather-proof connector. Step 7. Secure Part A of the weather-proof connector by turning it clockwise on to the threaded portion of Part B.
- Page 5 Step 8. Connect the other end of the Ethernet cable to the Ethernet port of the PoE switch. Step 9. Check the lights on both the WAP571E and the PoE switch. Verify the WAP571/WAP571E with PoE Connection To verify the hardware installation, follow these instructions: Check the cable connections.
- Page 6 You should now have connected your WAP571E to the network via PoE and can now proceed to setting up the access point. For instructions, see Configure Basic Radio Settings on the WAP571 or WAP571E Wireless Access Point.