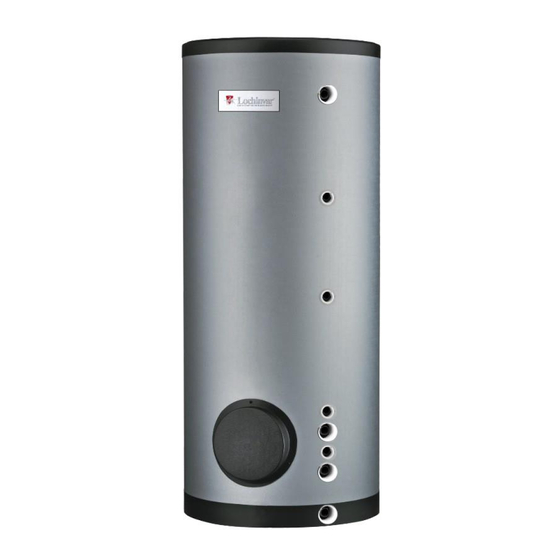
Summary of Contents for Lochinvar LST Series
- Page 1 Direct Storage Vessel Installation, Commissioning, User & Maintenance Instructions Models: LST 66 G E LST 100 G E LST 110 G E LST 130 G E LST 165 G E LST 220 G E LV 312748 | March 2019...
- Page 2 IMPORTANT INFORMATION These instructions must be read and understood before installing, commissioning, operating or maintaining the equipment.
- Page 3 Installation, Commissioning, User & Maintenance Instructions Read this manual Warning carefully Read this manual carefully before starting with the installation of the storage vessel. Failure to read the manual and to follow the printed instructions may lead to personal injury and damage to the storage vessel. Copyright ©...
- Page 4 Installation, Commissioning, User & Maintenance Instructions...
-
Page 5: Table Of Contents
Preparation for maintenance ..................13 Water-side maintenance ....................13 Warranty ........................15 General warranty ......................15 Tank warranty ....................... 15 Conditions for installation and use ................15 Exclusions ........................16 Scope of warranty ......................16 Claims .......................... 16 Obligations of Lochinvar Ltd ..................16... - Page 6 Installation, Commissioning, User & Maintenance Instructions...
-
Page 7: Technical Specifications
Installation, Commissioning, User & Maintenance Instructions Technical specifications 1.1 Floor load Allow for the storage vessels weight and the maximum floor load; refer to the table (1.5 "General specifications"). 1.2 Working clearance For access to the storage vessel it is recommended that the following clearances are observed: ... -
Page 8: Dimensions
Installation, Commissioning, User & Maintenance Instructions 1.6 Dimensions Unit LST 66 LST 100 LST 110 LST 130 LST 165 LST 220 Total height 1375 1710 2045 1840 2035 2005 Diameter (without insulation) Diameter (with insulation) 1100 Height cold water inlet Height warm water outlet 1320 1655... -
Page 9: Installation
Installation, Commissioning, User & Maintenance Instructions Installation Note These products can be installed as vented and unvented. This manual only discusses unvented installations. For information about vented installations please contact your supplier. 2.1 Installation diagram The figures below show the installation diagrams. These diagrams are referred to in the sections describing the actual connection procedure. - Page 10 Installation, Commissioning, User & Maintenance Instructions 3. Fit a non-return valve (5) and an expansion vessel (16). 4. Fit an expansion valve (15) and connect the overflow side to an open waste water pipe. 2.2.2 Hot Water side See (B) in the installation diagram (2.1 "Installation diagram"). Note Insulating long hot water pipes prevents unnecessary energy loss.
-
Page 11: Filling And Draining
Installation, Commissioning, User & Maintenance Instructions Filling and draining Note These products can be installed as vented and unvented. This manual only discusses unvented installations. For information about vented installations please contact your supplier. Installation Diagram Legend 1. pressure relief valve (mandatory if mains water pressure is too high) 3. -
Page 12: Draining
Installation, Commissioning, User & Maintenance Instructions 3.2 Draining 1. Close the stop valve (4) between the cold water head tank and the cold water inlet (A). 2. Open the drain valve (9). 3. Bleed the water heater (or installation) so that it drains completely. -
Page 13: Maintenance
Installation, Commissioning, User & Maintenance Instructions Maintenance Warning Maintenance may only be carried out by a competent person. At each service, the storage vessel undergoes maintenance on water side. The maintenance must be carried out in the following order. 1. Preparation for maintenance 2. - Page 14 Installation, Commissioning, User & Maintenance Instructions 4.2.2 Checking anode Anode ensure the protection of the tank by sacrificing themselves. Insufficient anode material may lead to poor protection and, hence, leakage of the tank. 1. Loosen the anodes one by one. 2.
-
Page 15: Warranty
Ltd, the enamel-lined steel tank proves to be leaking due to rust or corrosion occurring on the water side, then Lochinvar Ltd shall offer to replace the defective storage vessel with an entirely new storage vessel of equivalent size and quality The warranty period given on the replacement storage vessel shall be equal to the remaining warranty period of the original storage vessel that was supplied. -
Page 16: Exclusions
(assemblies or parts of) storage vessels supplied for replacement, other than the warranty expressly set out in these conditions. Under the terms of the supplied warranty, Lochinvar Ltd is not liable for damage to persons or property caused by (assemblies or parts, or the glass-lined steel tank of) a (replacement) storage vessel that it has supplied. - Page 18 Lochinvar Ltd reserves the right to change 7 Lombard Way, The MXL Centre, Banbury, Oxon, OX16 4TJ specifications without prior notice Tel: +44(0) 1295 269 981, Fax:+44(0) 1295 271 640, Email: info@lochinvar.ltd.uk www.lochinvar.ltd.uk...


