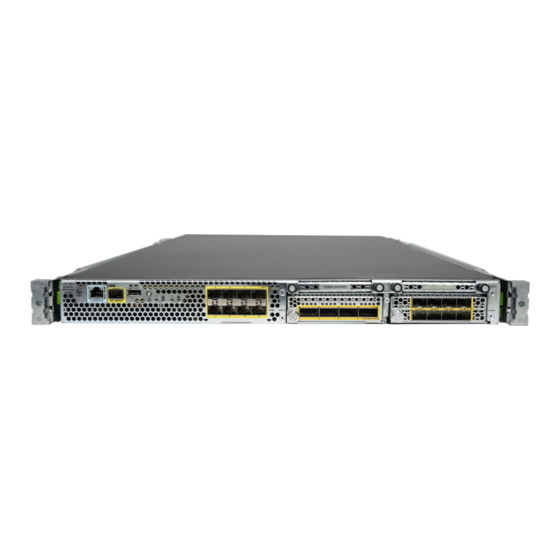
Cisco Firepower 4100 Series Manual
Rack-mount the chassis
Hide thumbs
Also See for Firepower 4100 Series:
- Command reference manual (421 pages) ,
- Hardware installation manual (82 pages) ,
- Manual (42 pages)
Advertisement
Quick Links
Rack-Mount the Chassis
•
•
•
Unpack and Inspect the Chassis
Note
The chassis is thoroughly inspected before shipment. If any damage occurred during transportation or any
items are missing, contact your customer service representative immediately. Keep the shipping container in
case you need to send the chassis back due to damage.
See
Package Contents
Step 1
Remove the chassis from its cardboard container and save all packaging material.
Step 2
Compare the shipment to the equipment list provided by your customer service representative. Verify that you have all
items.
Step 3
Check for damage and report any discrepancies or damage to your customer service representative. Have the following
information ready:
• Invoice number of shipper (see the packing slip)
• Model and serial number of the damaged unit
• Description of damage
• Effect of damage on the installation
Rack-Mount the Chassis
Take note of the following warnings:
Unpack and Inspect the Chassis, on page 1
Rack-Mount the Chassis, on page 1
Ground the Chassis, on page 6
for a list of what shipped with the chassis.
Rack-Mount the Chassis
1
Advertisement

Related Manuals for Cisco Firepower 4100 Series


Summary of Contents for Cisco Firepower 4100 Series
- Page 1 Rack-Mount the Chassis • Unpack and Inspect the Chassis, on page 1 • Rack-Mount the Chassis, on page 1 • Ground the Chassis, on page 6 Unpack and Inspect the Chassis Note The chassis is thoroughly inspected before shipment. If any damage occurred during transportation or any items are missing, contact your customer service representative immediately.
- Page 2 (such as power supplies, fans, or cards); these types of handles are not designed to support the weight of the unit. This procedure describes how to install the Firepower 4100 series security appliance in a rack using the rack kit from the accessory kit that shipped with the chassis.
- Page 3 Rack-Mount the Chassis Rack-Mount the Chassis Figure 1: Attach the Rack Mount Bracket to the Side of the Chassis Chassis Rack-mount bracket 8-32 x .375-in. countersink Phillips head screws (3 per side) Step 2 Attach the inner rails to the sides of the chassis: a) Remove the inner rails from the slide rail assemblies.
- Page 4 Rack-Mount the Chassis Rack-Mount the Chassis Figure 2: Attach the Inner Rail to the Side of the Chassis Front of chassis Inner rail M3X6mm screw (one per side) Step 3 Open the front securing plate on both slide-rail assemblies. The front end of the slide-rail assembly has a spring-loaded securing plate that must be open before you can insert the mounting pegs into the rack-post holes.
- Page 5 Rack-Mount the Chassis Rack-Mount the Chassis The slide rail front end wraps around the outside of the rack post and the mounting pegs enter the rack-post holes from the outside front. Note The rack post must be between the mounting pegs and the open securing plate. b) Push the mounting pegs into the rack-post holes from the outside front.
-
Page 6: Ground The Chassis
Rack-Mount the Chassis Ground the Chassis What to do next Ground the chassis. See Ground the Chassis, on page 6 for the procedure. Install the cables according to your default software configuration as described in the Getting Started Guide for your version. Ground the Chassis Take note of the following warnings: Warning... - Page 7 Rack-Mount the Chassis Ground the Chassis • Two 10-32 x .375-in. screws used to secure the ground lug Step 1 Use a wire-stripping tool to remove approximately 0.75 in. (19 mm) of the covering from the end of the grounding cable. Step 2 Insert the stripped end of the grounding cable into the open end of the grounding lug.
- Page 8 Rack-Mount the Chassis Ground the Chassis Rack-Mount the Chassis...