AKG Perception 120 USB User Instructions
Hide thumbs
Also See for Perception 120 USB:
- User instructions (85 pages) ,
- Quick start manual (2 pages) ,
- Quick start manual (2 pages)
Table of Contents
Advertisement
Quick Links
Perception 120 USB
BEDIENUNGSANLEITUNG ....................................2
Bitte vor Inbetriebnahme des Gerätes lesen!
USER INSTRUCTIONS........................................16
Please read the manual befor e using the equipement!
MODE D'EMPLOI...............................................30
Veuillez lire cette notice avant d'utiliser le système!
ISTRUZIONI PER L'USO .....................................44
Prima di utilizzare l'apparecchio, leggere il manuale!
MODO DE EMPLEO ............................................58
¡Sirvase leer el manual antes de utilizar el equipo!
INSTRUÇÕES DE USO........................................72
Favor leia este manual antes de usar o equipamento!
Advertisement
Table of Contents

Related Manuals for AKG Perception 120 USB


Summary of Contents for AKG Perception 120 USB
- Page 1 Perception 120 USB BEDIENUNGSANLEITUNG ........2 Bitte vor Inbetriebnahme des Gerätes lesen! USER INSTRUCTIONS........16 Please read the manual befor e using the equipement! MODE D’EMPLOI..........30 Veuillez lire cette notice avant d’utiliser le système! ISTRUZIONI PER L’USO ........44 Prima di utilizzare l’apparecchio, leggere il manuale! MODO DE EMPLEO ..........58...
-
Page 2: Table Of Contents
Table of Contents Table of Contents Safety ....................17 Environment ..................17 Description ..................18 Introduction ..................18 Scope of supply .................. 18 Optional Accessories ................18 Summary ................... 18 Installation ..................19 Setting up the microphone ..............19 Connecting the microphone ..............19 Configuration / Volume control ............ -
Page 3: Safety
Safety 1 Safety Risk of damage Risk of damage Risk of damage Risk of damage Please make sure that the piece of equipment your microphone will be connected to fulfills the safety regulations in force in your country and is ATTENTION fitted with a ground lead. -
Page 4: Description
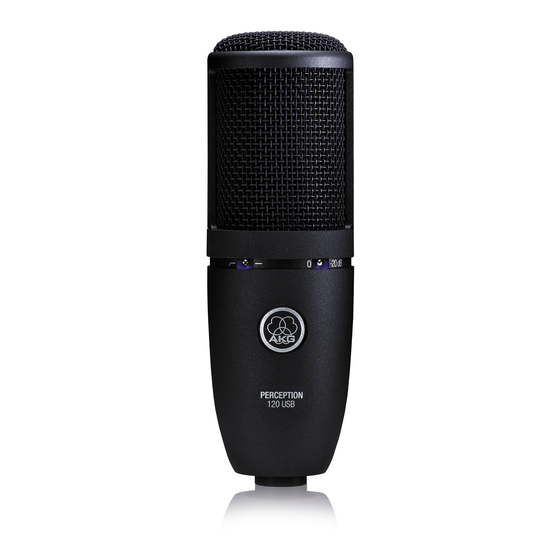
Please check that the packaging contains all the components listed above. If anything is missing, please contact your AKG dealer. Optional Accessories For optional accessories, refer to the current AKG catalog or folder, or visit www.akg.com. Your dealer will be glad to help. Summary The Perception 120 USB microphone expands AKG's successful Perception range and is also the first USB-equipped condenser microphone from AKG. -
Page 5: Installation
Installation 3 Installation Setting up the microphone Figure 1: Setting up the microphone Screw the tripod adapter on to the table tripod. Screw the microphone on to the tripod adapter. Connecting the microphone Figure 2: Connecting the microphone Connect the USB cable to the microphone and the recording device (e.g. computer). -
Page 6: Configuration / Volume Control
"Perception 120 USB" back to the original playback device. Figure 4: Volume control in WINDOWS XP If the AKG Perception 120 USB is not selected automatically as the default sound recording device, select it using the drop-down menu. Open the volume control on your recording software or click on Volume to open the volume control window. -
Page 7: Windows Vista
"Perception 120 USB" back to the original playback device. Figure 6: Volume control in WINDOWS VISTA Select the Recording tab. Ensure that the AKG Perception 120 USB is highlighted and the green tick is in place. Click on Properties to open the volume control. -
Page 8: Windows 7
"Perception 120 USB" back to the original playback device. Figure 8: Volume control in WINDOWS 7 Select the Recording tab. Ensure that the AKG Perception 120 USB is highlighted and the green tick is in place. Click on Properties to open the volume control. -
Page 9: Mac Os X
Figure 10: Volume control in MAC OS Select the Input tab. If the AKG Perception 120 USB is not selected automatically on the list of sound recording devices, highlight it in the list. Open the volume control in your recording software or use the slider to... -
Page 10: Level Settings
Configuration / Volume control Level settings Figure 11: Volume control Use your recording software to set the volume. When using the microphone or recording from a sound source, adjust the volume control and check the level indicator. For best results we recommend the highest possible volume setting to reduce unwanted noise. -
Page 11: Operation
For optimum results, we also recommend the optional PF 80 pop screen to prevent unwanted blowing and popping sounds or moisture problems. NOTE When using the microphone outdoors, use the optional AKG W 4000 windscreen to protect the microphone from moisture and to reduce wind noise. NOTE... -
Page 12: Control Elements
Operation Control elements The Perception 120 USB has attenuation and bass-cut selector switches. Attenuation selector switch Selector switch 1 on the right-hand side of the microphone enables you to increase the control limit by 20 dB to enable distortion-free recording of very loud sound sources and in close proximity to sound sources. -
Page 13: Cleaning
Cleaning 6 Cleaning • Use a soft cloth moistened with water to clean the surface of the Microphone microphone body. Perception USB... -
Page 14: Specifications
ø 53 mm x 165 mm Weight: 460 g, net This product conforms to the standards listed in the Declaration of Conformity. To order a free copy of the Declaration of Conformity, visit http://www.akg.com or contact sales@akg.com. Frequency response Polar diagram Perception USB...