Advertisement
Quick Links
BEFORE YOU BEGIN
BEFORE YOU BEGIN
A. HOW TO USE THESE INSTRUCTIONS
·
Please read these instructions carefully to familiarize
yourself with the required tools, materials, and installation
sequences. Follow the sections that pertain to your
particular installation. This will help you avoid costly
mistakes. In addition to proper installation, read all
operating and safety instructions.
·
All information in these instructions is based upon the
latest product information available at the time of
publication. Kohler China reserves the right to make
changes in product characteristics, packaging, or
availability at any time without notice.
·
These instructions contain important care, cleaning, and
warranty information -
consumer
.
·
The urinals can match different sensors to perform three
flushing modes, respectively 0.5L, 1L and 3L. Please
refer to the table on page 6.
B. NOTES
·
Observe all local plumbing and building codes.
·
Shut off the water supply.
·
Carefully inspect the new fixture for any sign of damage.
·
Be very careful while shandling vitreous china products.
C. REQUIRED TOOLS AND MATERIALS
·
Drill
·
Open end/adjustable wrenches
·
Tape measure
·
Thread sealant tape
·
Basin Wrench
·
Screwdriver
·
Sealant
·
Recommend the no less than
pipe as inlet.
1195721-T01-A
please leave instructions for the
9mm stainless steel twist
A.
·
·
·
·
B.
·
·
·
·
C.
·
·
/
·
·
·
·
·
·
9mm
-1-
PATIO ECO
INSTALLATION INSTRUCTIONS
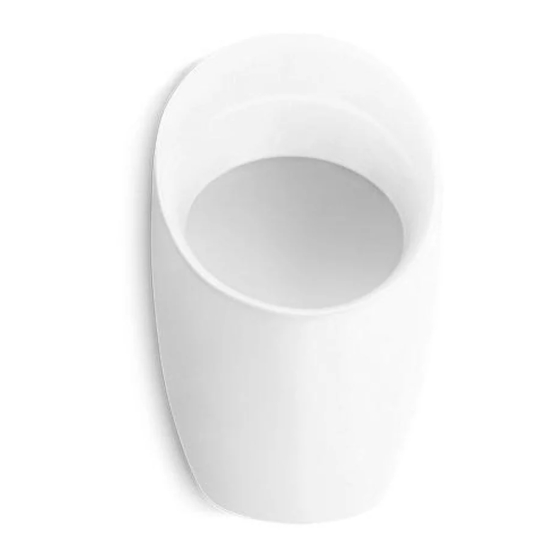
VITREOUS CHINA URINAL
0.5
6
Copyright Kohler China Ltd., 2012
K-18645T-Y
-
1
3
, 2012
Advertisement

Summary of Contents for Kohler PATIO ECO K-18645T-Y
- Page 1 · · All information in these instructions is based upon the latest product information available at the time of publication. Kohler China reserves the right to make changes in product characteristics, packaging, or availability at any time without notice. ·...
- Page 2 ROUGHING-IN Reference Value Unit:mm G1/2 180 5 50 ext Kohler reserves the right to change marked dimensions without prior notice. Fig.1 Notice: a. The dimensions above are just for reference. b. The layout dimensions of water inlet and outlet see installation step C(Install the hook).
-
Page 3: Installation
INSTALLATION A. INSTALL URINAL SENSOR B. INSTALL OUTLET CONNECTION (See Fig.2) Ascertain the position for outlet connection according to rough-in dimensions. Connect the outlet connection with the S-trap way. Insert the gasket into the S-trap way as shown. Apply sealant on outlet pipe, connect the outlet connection with outlet pipe. - Page 4 C. INSTALL HOOK (See Fig.3) Drill 2 mounting holes on the wall and install hook. Fix hook on the wall by tightening screws. Supply Pipe Fig.3 D. INSTALL INLET PIPE Insert gasket and nut into the urinal as shown. Connect the inlet connection with inlet pipe.
- Page 5 E. INSTALL URINAL (See Fig.5) Position the installing hole on the back of the urinal with the hook. Level the outlet connection which is installed together with the strainer and the gasket on the S-trap way. Then insert the outlet connection into the gasket.(while the outlet connection is inserted, the S-trap way can be crutched by hard exterded via the gap in the bottom of the urinal to install it decently.) Then fix the urinal on the hook.
-
Page 6: Consumer Responsibilities
8. Please flush and clean the urinal regularly to avoid pipe blockage. 9. Please use sensors that match the urinal. Kohler shall not be responsible for any damage caused by using sensors of other brands.


