Advertisement
Advertisement

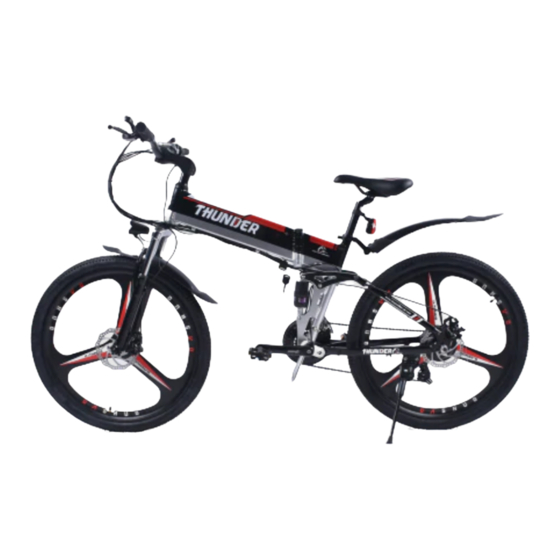
Summary of Contents for Thunder TH-0119M
- Page 1 THUNDER E-BIKE USER’S MANUAL MODEL TH-0119M...
-
Page 2: Table Of Contents
CONTENTS Safety Instruction---------------------------------------------------------------------------------Page 3 Bike Display---------------------------------------------------------------------------------------Page 3 LCD Display Operation-----------------------------------------------------------------------Page 4-5 Battery: Further Information & Maintenance-------------------------------------------------Page 6 Charging--------------------------------------------------------------------------------------------Page 6 Installation Instruction-------------------------------------------------------------------------Page 7-9 Packing List -------------------------------------------------------------------------------------Page 10... -
Page 3: Safety Instruction
___________________ 1. Safety Instructions 1. Thank you for purchasing the E-BIKE. The E-BIKE features the most recent innovation in technology. 2. For Safety reasons, it is most important that you read this user’s manual before you operate the bike. Improper handling can reduce its riding performance and most importantly, cause danger to your Health and Safety. -
Page 4: Lcd Display Operation
3. LCD Display Operation 3.1 Display Instruction 1.LongPress “Left” “Right” Combination 2. P0 Restore the Factory Settings. 3. P1: Miles / Kilometers Setting. key, enter into “main Menu Mode” Enter into the Main Menu, set” Enter into the Main Menu Press P1, Then Short Press “Right Key and set P0”... - Page 5 6. P4: Limited Speed Setting Enter into 4. P2: Wheel Diameter 5. P3: Magnetic Steel set “P4”, change the numerical value setting enter into set “P2”, Number Setting. in the display. 0-100, set the speed change the numerical value limit percentage, set “50” is the speed in the display.
-
Page 6: Battery: Further Information & Maintenance
3.2 Operation Cautions Be careful of the safety use, do not attempt to release the connector when charging the battery. ● Avoid the risk of collision. ● Do not modify the system parameters to avoid parameters disorder. ●Reset the display when error code appears. 4. -
Page 7: Installation Instruction
3. The RED light indicates that it is charging and GREEN light indicates the battery is fully charged. (Please remove the plug from the electrical socket) Usually the charging time is 4-6 hours, however this is dependent on the battery capacity. 4. - Page 8 3. Install the front light 3.1 Take the screw from the fork; 3.2 Open the lamp 3.3 Install the lamp and use the tool to tighten it. (3.1) (3.2) (3.3) 4. Install the handle bar 4.1 Use inner hexagon tool to loosen the stem cover and don't tighten all bolts immediately before adjusting the handlebar in a proper angel and position.
- Page 9 5. Install pedals: Check 2 pedals, the one imprinted "L" should be install in left side and "R" in the right side. Please use the wrench as displayed to tighten them. 6. Install the Seat post. 6.1. Open the seat post and saddle, 6.2 Install the rear light.
-
Page 10: Packing List
Any question about the item, please contact us at Sales@thundere-bikes.com Packing List... - Page 11 Description Quantity Checked Electric Bike Tool kit (open end spanner 10 ,open-end spanner 13-15, open- end spanner 14-17, screwdriver, inner hexagon spanner M6, M5, M4, Manual TH-0119M Specification Sheet Keys Front & Rear Mud Flaps Rear Light Charger Pedals (Pair)