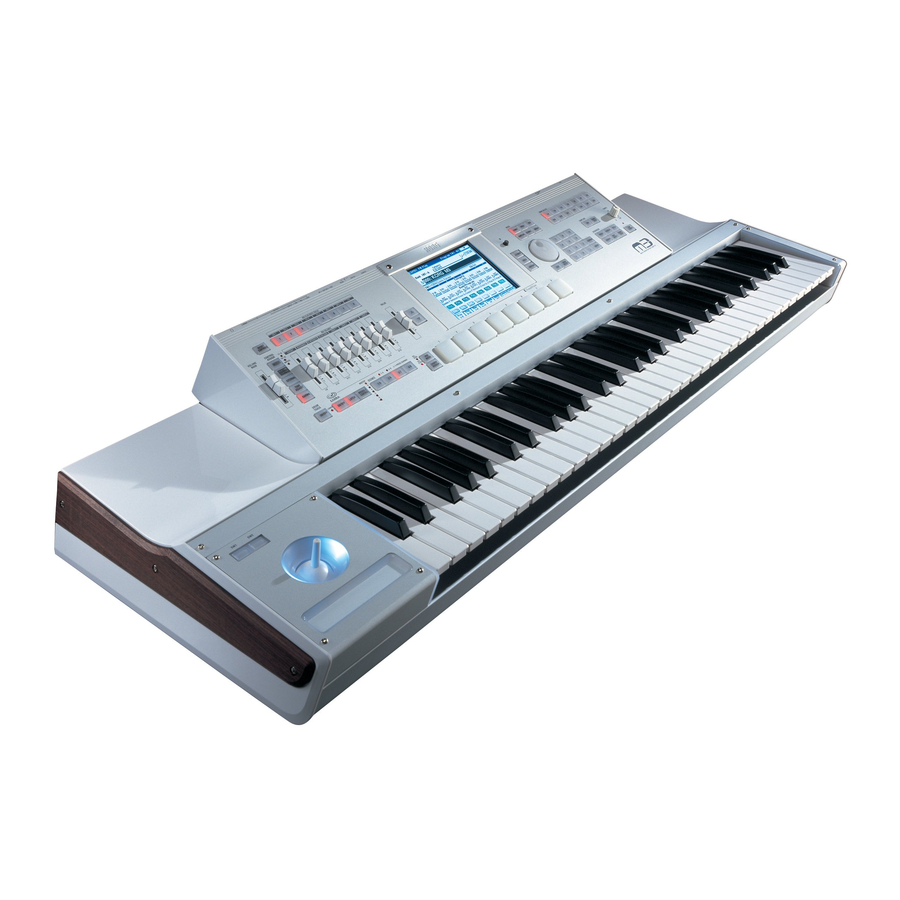
Korg M3 Replacement Manual
Touch screen and battery replacement
Hide thumbs
Also See for M3:
- Parameter manual (647 pages) ,
- Operation manual (241 pages) ,
- Owner's manual (78 pages)
Advertisement
Quick Links
Korg M3: Touch Screen and Battery Replacement Guide
Cautions:
1. Never open your M3 module with the mains still plugged in – there are live contacts inside.
2. Opening your M3 module will invalidate any remaining Korg warranty (although the warranty may not be much value if
Korg cannot supply the replacement part).
3.. I can't accept any liability if you damage your M3. If you think that the steps below are beyond your technical skill, get the
module repaired by a professional. Taking the utmost care as you work, and a small amount of technical skill will help avoid
damage.
4. Tools and materials required:
- 1pt and 2pt Philips (not Pozidrive) screwdrivers.
- Sharp bladed knife (e.g. Stanley knife).
Double-sided sticky tape.
-
Something to protect the knobs on the module when you put it upside down on the table (e.g. foam, a pillow/cushion
-
LCD screen cleaner and a lint free cloth.
-
CR2032 Battery
-
An anti-static wrist-strap is strongly recommended if you have one. If not, make sure you're not wearing manmade fabrics (e.g.
nylon), and ground yourself to something earthed regularly when you are working on the M3 module.
5 Replacement of touch-screen:
5.1 Remove the M3 module from the keybed (M3 with keybed)
Disconnect the module from the mains
Disconnect all connections from the module (inputs, outputs, damper etc.)
Disconnect the module from the keybed (mini-din connector on bottom of module)
Unscrew and lift off the retaining bar above the keys (4 screws on M3-73, not sure about other models):
Detach the LH1 bracket(s) from the frame at the rear.
Lift the module clear of the keybed.
Advertisement

Related Manuals for Korg M3


Summary of Contents for Korg M3
- Page 1 Korg cannot supply the replacement part). 3.. I can’t accept any liability if you damage your M3. If you think that the steps below are beyond your technical skill, get the module repaired by a professional. Taking the utmost care as you work, and a small amount of technical skill will help avoid damage.
- Page 4 Battery CR2032 Verify Polarity then Replace...
- Page 8 Pay close attention to what side the existing screen is showing. The new screen will need to be installed the same way, green color side closest to LCD, otherwise the connector will be wrong side up and no connection will be made to the LCD.