Advertisement
Table of Contents
- 1 Important Safeguards
- 2 Specifications
- 3 Control Panel
- 4 In-Counter Installation
- 5 Electrical Requirements
- 6 C Ustom Programming
- 7 Operate Using Programmed Buttons
- 8 Blending Tips
- 9 Maintenance Tips
- 10 Parts List
- 11 Motor Base
- 12 Control Panel
- 13 Troubleshooting
- 14 B Lade Agitator Assembly
- 15 Limited Warranty
- 16 Service Contract
- Download this manual
Advertisement
Table of Contents

Related Manuals for Vita-Mix T&G2 Blending Station


Summary of Contents for Vita-Mix T&G2 Blending Station
- Page 1 F O O D S E R V I C E Owner’s Manual Read And Save These Instructions T&G 2 Blending Station ® High Performance Commercial Blender All Models...
-
Page 2: Important Safeguards
Canada, contact your local Vita-Mix Distributor, or phone the Vita-Mix International Division at +1 (440) 782-2450 or email international@vitamix.com for a distributor in your country. 7. The use of attachments not recommended or sold by Vita-Mix Corporation may cause fire, shock, or injury. 8. Do not use outdoors. - Page 3 13. Always operate with the lid in place. 14. Display window area will scratch when contacted with a scouring pad or sharp object. Use a soft cloth to wipe the control panel area clean. 15. The T&G 2 Blending Station 16.
-
Page 4: Specifications
pecifications T&G 2 Blending Station ® On-Counter: Height of unit closed: 22” (54.56 cm) Shipping weight: 21 lbs. (9.534 kg) Dimensions: 22” High x 9-1/4” Wide x 10-1/2” Deep (54.56 cm x 23.45 cm x 25.86 cm) T&G 2 Blending Station In-Counter: Height of unit above counter: 17-1/2”... -
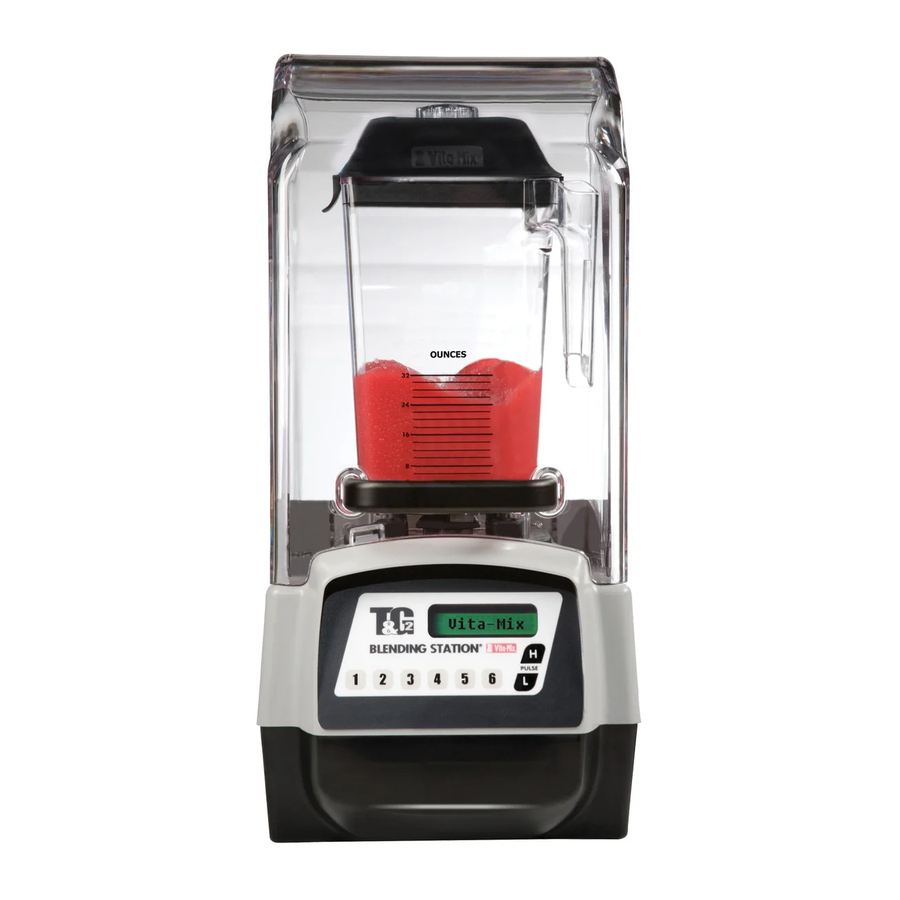
Page 5: Control Panel
50%. The PULSE button will override the running program. Once released the original program continues its cycle. OWNER CONTROLS - Press the Vita-Mix logo to access the T&G 2 Blending Station control panel. • Press once to reveal the option to reprogram the the SIX PROGRAM RECIPE 1 - 34 buttons. - Page 6 • Twist the center lid plug to fasten or remove. Older 48 oz (1.4 liter) and 64 oz (2.0 liter) Vita-Mix containers will work on the T&G 2. The Xtreme Performance Container (XP) will not work on older Vita-Mix Machines. Contact Vita-Mix or your distributor for more information.
- Page 7 Cover with Removable Hinge Design Cover Door: 1. The Cover Door can be removed by opening it until the door is horizontal. Then, gently spread the sides of the door over the round hinges and remove. 2. To reinstall the Cover Door, gently spread the sides of the door and place the door hinge cutouts over the round hinges.
-
Page 8: In-Counter Installation
n-Counter Installation Preparing the counter area: • Before cutting holes, make sure that there is adequate clearance under the counter for the motor. The motor will extend about 5-2/3" (14.4 cm) below the counter but it is best to allow at least 10"... - Page 9 In-Counter T&G 2 Blending Station • 17-1/2” (44.45 cm) high with lid closed • 21-1/2” (54.7 cm) high with lid open • Case depth: 12-3/4” (32.39 cm) with handle • Case width: 9-1/2” (24.13 cm) • Depth below counter: 5-2/3” (14.4 cm) •...
- Page 10 n-Counter Gasket Gasket Installation Instructions: 1. Follow the instructions on page 8 on preparing the counter area for the installation of your In-Counter T&G 2 Blending Station. machine’s original package) to assist you in the placement and ventilation of your machine. 2.
-
Page 11: C Ustom Programming
Re-programming all of the buttons will erase any individual programs set using the instructions above. 1. Press the OWNERS CONTROL button (Vita-Mix Logo) and HOLD until “REPROGRAM ALL” appears on the screen. 2. Press Button One to Six to re-program all the buttons to a family of similar blending cycles. -
Page 12: Operate Using Programmed Buttons
nstructions How to operate your T&G 2 Blending Station six Programmed Buttons. The following is the basic factory settings of the six PROGRAMMED buttons: • Press Button One for program - SMOOTHIE - Blends drinks with just juice and ice. •... -
Page 13: Blending Tips
19, “Cooling the Motor,” for complete instructions. When overheating occurs, review your techniques and instructions. The motor may be getting hot when your recipes are too thick. Consider adding more liquid and consult Vita-Mix for further assistance. Blending Tips: 1. -
Page 14: Parts List
NOTE: Blade Assembly, Drive Socket and Retainer Nut are not compatible on other Vita-Mix polycarbonate or stainless steel containers. Other than the Drive Socket, Blade Assembly and Retainer Nut, this unit is not user serviceable. Outside the United States and Canada, your T&G 2 Blending Station with a different container configuration. - Page 15 #15574 #15570 #15571 #18002 #1159 #15575 #15573 #15598 #15585 #891 #15579 #18003 #18005 #15603 #15576 One-Piece Lid (Sold Separately) #15596 - Retainer Nut Wrench (Sold Separately) #18004...
- Page 16 Cleaning Care Note To ensure that you get the longest possible life from your Vita-Mix product, we recommend the following products, when used as directed by the supplier: Cleaning Product ...Supplier Solid Supra, Solid Power, ...Ecolab, Inc., St. Paul, MN Guardian Acclaim, Solid Guardian Plus, ...Tel: (800) 352-5326...
-
Page 17: Motor Base
Motor Base 1. Unplug the power cord. 2. Wash outside surface with a damp soft cloth or sponge, which has been rinsed in a mild solution of liquid dish soap (Ivory Liquid IN WATER OR OTHER LIQUID. NEVER POUR WATER OR ANY OTHER LIQUID ON THE MOTOR BASE. -
Page 18: Troubleshooting
Check to make sure there is power to the machine. Solution #2: Call Vita-Mix Customer Service.* Solution #1: Let the machine cool down for an hour then restart. Solution #2: Call Vita-Mix Customer Service if the machine does not work after sitting at room temperature for 24 hours.*... - Page 19 If you cannot fix your machine with these suggestions, technical help is available by calling 800-4DRINK4 (800-437-4654), 440-235-0214. Outside the United States and Canada contact your Vita-Mix distributor or contact Vita-Mix International at +1(440) 782-2450 or email international@vitamix.com for a local distributor or visit us at www.vitamix.com/foodservice.
-
Page 20: B Lade Agitator Assembly
• The retainer nut is easily removed using the Retainer Nut Wrench. To order a Retainer Nut Wrench please call your Vita-Mix distributor and ask for Item #15596. • To remove, turn the container upside. Using the Retainer Nut Wrench turn the wrench counterclockwise to loosen the nut. -
Page 21: Limited Warranty
Station is put into a sound reduction chamber or otherwise prevented from receiving proper cooling. In the event your Vita-Mix appliance needs service or repair covered by the terms of this warranty, please call the Vita-Mix Corporation for shipping instructions. The T&G 2 Blending Station must be sent in original or sufficient packaging. -
Page 22: Service Contract
Vita-Mix Customer Service, and when the new part arrives, return the old part in the same packaging. Vita-Mix will inspect the returned part and, if defective, issue a refund for the price of the new part. A part will be considered defective if no abuse or neglect was involved with its break. - Page 23 8615 Usher Road, Cleveland, Ohio 44138-2103 USA www.vitamix.com/foodservice ©2005 Vita-Mix Corporation. No part of this publication may be reproduced or transmitted in any form or by any means, electronic or mechanical, including photocopy, recording or any information storage and retrieval system without the written permission of the Vita-Mix Corporation.