Advertisement
Quick Links
Tech Support or Questions Please Call 1-888-909-7888
4. Power On
Connect power cord to wall outlet and power on the printer
5. Insert the CD to the computer and install the Printer Driver
For ore information, see the user manual in the CD. If you do not
have a CD-ROM, please download the driver from
www.pandigital.com/download/
6. Connect to the Computer
Connect to USB
How to Print from the Manual Tray
-
Pull down the Manual Tray Lever.
-
Pull to slide out tray extension.
Load paper facing down.
-
Ready to print.
Visit www.pandigital.com for more information.
OR
Connect to Network
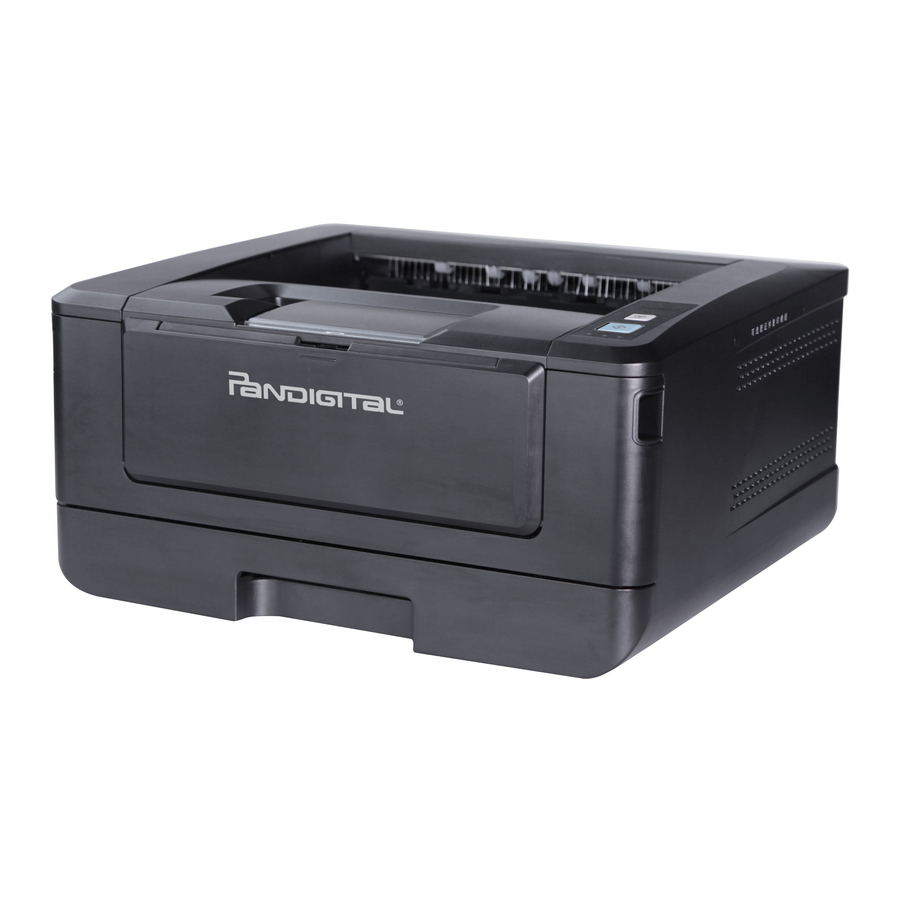
Pandigital L1 Laser Printer
GETTING STARTED
1. What's in the Box – Printer, USB Cable, CD, Quick Guide, Power Cord
2. Load Paper into Main Paper Tray
Step 1. Pull out paper tray
Step 2. Adjust paper tray size
Step 3. Insert Paper to the Tray
Push to close tray door
Advertisement

Summary of Contents for Pandigital L1
- Page 1 Pandigital L1 Laser Printer Visit www.pandigital.com for more information. GETTING STARTED Tech Support or Questions Please Call 1-888-909-7888 4. Power On 1. What’s in the Box – Printer, USB Cable, CD, Quick Guide, Power Cord Connect power cord to wall outlet and power on the printer 2.
- Page 2 3. Install the Toner Cartridge Step 4. Remove the toner cartridge from the plastic bag. Step 1. Pull Down Lever Remove all the tapes. Prepare to insert the toner cartridge Into the drum. Step 5. Tilt the cartridge upward to slide in, push DOWN to snap in. Step 2.

