Advertisement
Advertisement

Related Manuals for Omega OBO61PXTGG


Summary of Contents for Omega OBO61PXTGG
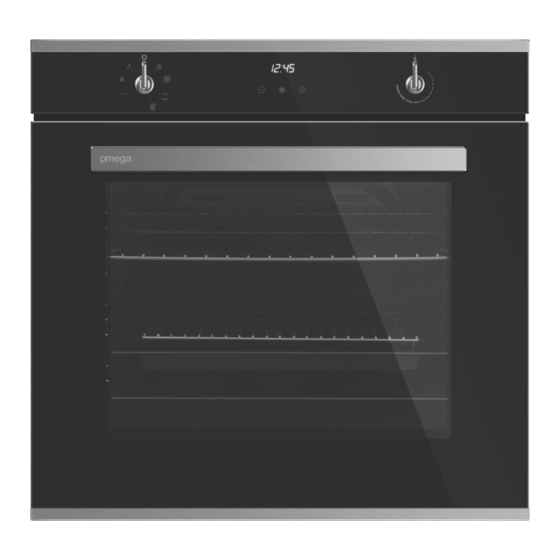
- Page 1 Instruction Manual OMEGA OVEN OBO61PXTGG...
- Page 2 Thank you for purchasing an Omega appliance Tailored for the modern aesthetic and lifestyle of busy people, your new Omega Appliance will make a welcome addition to the family. Omega caters to style-savvy customers who look for balance between stunning form and clever function.
-
Page 3: Table Of Contents
The manufacturer will not be responsible for any damage to property or to persons caused by incorrect installation or improper use of the appliance. Due to continual product development, Omega reserves the right to alter specifications and appearances without notice. -
Page 4: Important Safety Warnings
Important Safety Warnings This User Instruction Manual contains important information, including safety & installation points, which will enable you to get the most out of your appliance. Please keep it in a safe place so that it is easily available for future reference;... -
Page 5: Installation Instructions
Installation Instructions WARNING: This appliance must be installed by an authorised service person or qualified technician, according to the instructions in this guide and in compliance with the current local regulations. • Incorrect installation may cause harm and damage, for which the manufacturer accepts no responsibility and the warranty will not be valid. - Page 6 Installation Instructions After making the electrical connections, insert the oven into the cabinet by pushing it forward. Open the oven door and insert 2 screws in the holes located on the oven frame. While the product frame touches the wooden surface of the cabinet, tighten the screws. Electrical Connection WARNING: The electrical connection of this appliance should be carried out by an authorised service person or qualified electrician, according to the instructions in this guide and in compliance with the...
-
Page 7: Operating Instructions
Operating Instructions Oven Function Control Knob Timer Oven Thermostat Control Knob Oven Functions Defrost Function The oven’s warning lights will switch on and the fan will start to operate. To use the defrost function, place your frozen food in the oven on a shelf in the third slot from the bottom. - Page 8 Operating Instructions Double Grill and Fan Function The oven’s thermostat and warning lights will switch on, and the grill, upper heating elements and fan will start operating. This function is used for faster grilling of thicker food and for grilling of food with a larger surface area. Both the upper heating elements and grill will be energised along with the fan to ensure even cooking.
-
Page 9: Accessories
Accessories The EasyFix Wire Rack Clean the accessories thoroughly with warm water, detergent and a soft clean cloth on first use. • Insert the accessory to the correct position inside the oven. • Allow at least a 1 cm space between fan cover and accessories. •... - Page 10 Accessories Telescopic Rails Clean the accessories thoroughly with warm water, detergent and a soft clean cloth on first use. • On each telescopic rail there are fasteners that allow you to remove them for cleaning and repositioning. • Remove the side runner. See section “Removal of the wire shelf”.
-
Page 11: Cleaning And Maintenance
Cleaning and Maintenance WARNING: Switch off the appliance and allow it to cool before cleaning is to be carrie out. General Instructions • Check whether the cleaning materials are appropriate and recommended by the manufacturer before use on your appliance. •... - Page 12 Cleaning and Maintenance Cleaning the Glass Parts • Clean the glass parts of your appliance on a regular basis. • Use a glass cleaner to clean the inside and outside of the glass parts. Then, rinse and dry them thoroughly with a dry cloth. Cleaning the Stainless Steel Parts •...
- Page 13 Cleaning and Maintenance WARNING: The maintenance of this appliance should be carried out by an authorised service person or qualified technician only. Changing the Oven Lamp WARNING: Switch off the appliance and allow it to cool before cleaning your applianc •...
-
Page 14: Australian & New Zealand Product Warranty Statements Of Standard Warranty Conditions
The The clearing of blockages in pumps and hoses. product will be repaired or replaced at the option of Omega, and Damage which occurs during delivery or installation. all costs of installation, removal, cartage, freight travelling 10.