HP 1920 Series Getting Started Manual
Hide thumbs
Also See for 1920 Series:
- User manual (547 pages) ,
- Getting started manual (33 pages) ,
- Supplementary manual (63 pages)

Related Manuals for HP 1920 Series


Summary of Contents for HP 1920 Series
- Page 1 HP 1920 Gigabit Ethernet Switch Series Getting Started Guide 5998-5626 Part number: 5998-5626 Document version: 6W101-20140820...
- Page 2 The only warranties for HP products and services are set forth in the express warranty statements accompanying such products and services. Nothing herein should be construed as constituting an additional warranty.
- Page 3 Verification before power-on ······························································································································· 17 Powering on the switch ········································································································································· 17 Support and other resources ····································································································································· 19 Contacting HP ································································································································································ 19 Subscription service ·············································································································································· 19 Related information ························································································································································ 19 Documents ······························································································································································ 19 ...
- Page 4 Power specifications ······················································································································································ 27 AC input voltage specifications ··························································································································· 27 RPS DC input voltage specifications and RPS compatibility ············································································· 27 Power consumption specifications for non-PoE switches ··················································································· 27 Power consumption specifications for PoE switches ·························································································· 27 ...
- Page 5 IMPORTANT: For regulatory identification purposes, the switches are assigned Regulatory Model Numbers (RMNs). The RMNs should not be confused with the marketing name HP 1920, or the product codes. Safety recommendations To avoid any equipment damage or bodily injury, read the following safety recommendations before installation.
- Page 6 The accessories shipped with the switch, including but not limited to power cables, are intended • only for the switch. Please do not use them for other products. Examining the installation site The switches must be used indoors. You can mount your switch in a rack or on a workbench, but make sure: A minimum clearance of 5 cm (1.97 in) is reserved at the air inlet and exhaust vents for ventilation.
- Page 7 Maximum concentration (mg/m 0.05 0.01 All electromagnetic interference (EMI) sources, from outside or inside of the switch and application system, adversely affect the switch in the following ways: A conduction pattern of capacitance coupling. • Inductance coupling. • • Electromagnetic wave radiation. Common impedance (including the grounding system) coupling.
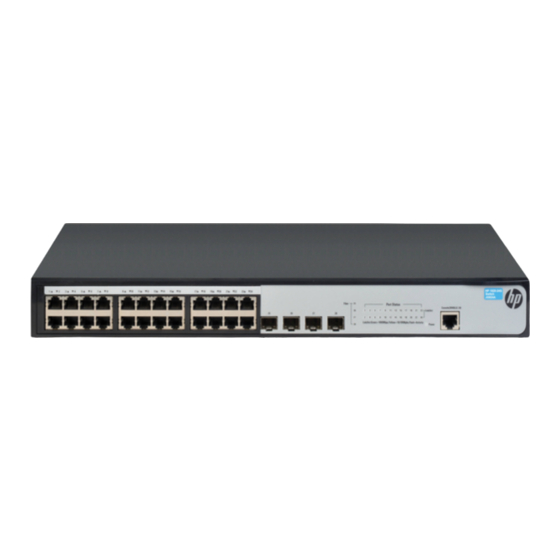
- Page 8 WARNING! Before installing or moving the switch, remove the power cord. You can install an HP 1920 switch in a 19-inch rack, on a workbench, or on a wall. Mounting the switch in a 19-inch rack by using mounting brackets Wear an ESD wrist strap and make sure it makes good skin contact and is reliably grounded.
- Page 9 Figure 3 Attaching Type-C mounting brackets to the switch Place the switch on a rack shelf in the rack. Push the switch in until the oval holes in the brackets align with the mounting holes in the rack posts. Attach the mounting brackets to the rack posts with screws. Figure 4 Attaching Type-A mounting brackets to the rack post...
- Page 10 Figure 5 Attaching Type-B mounting brackets to the rack post Figure 6 Attaching Type-C mounting brackets to the rack post...