Advertisement
Quick Links
Advertisement

Related Manuals for Aiwa ADVD-321


Summary of Contents for Aiwa ADVD-321
-
Page 2: Table Of Contents
Contents ....................What’s In The Box? ........................................................Playing JPEG/Picture CD discs and MP3 discs ..System Set-up ............Menu 1: General Set-up .......... Menu 2: Audio Set-up ..........Menu 3: Dolby Digital Set-up ........Menu 4: Video Set-up .......... - Page 3 ADDITIONAL WARNINGS 1. Read these instructions. 2. Keep these instructions. The apparatus shall not be exposed to dripping or 3. Heed all Warnings 4. Follow all instructions vases, shall be placed on the apparatus. 5. Do not clean the apparatus near or with water Main plug is used to disconnect device and it should 6.
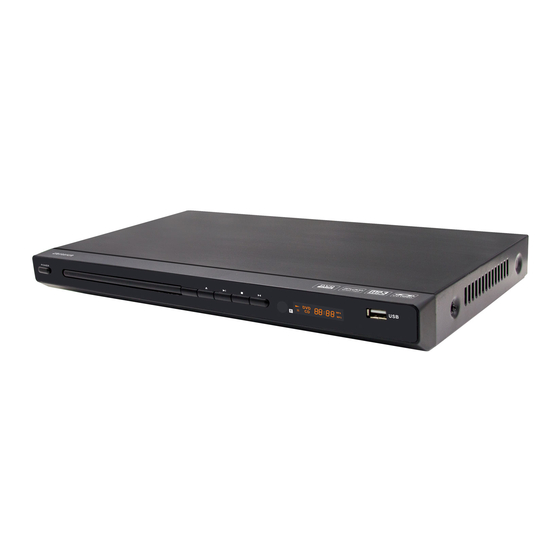
- Page 4 Front Panel Disc Tray Open/Close Disc Tray Power On/Standby Play/Pause Stop L/R Audio USB Port Remote Sensor LED Display Rear Panel 10. Component Video 12. 2.0 CH Audio Output (Y.Pb/Cb.Pr/Cr) Output 13. Composite Video Output 11. HDMI Output...
- Page 5 Remote Control...
- Page 6 1. POWER 11. VOLUME DOWN (-) Press to Power On, press again for Decrease volume Standby mode. 12. NEXT (>>I) 2. OSD In DVD mode, press to go to next Press for information of the disc to chapter. With SVCD, VCD, CD, MP3 display discs, press to go to next track.
- Page 7 18. LANGUAGE 29. N/P Press to select on-screen display Press to switch the TV system between language options NTSC and PAL. Australia uses PAL. 19. SUBTITLE 30. REWIND Press to begin showing subtitles Press for rewind search 20. OPEN/CLOSE 31. VOLUME UP (+) Press to load and remove discs.
- Page 8 Remote Control Operation Insert the batteries into the battery compartment. 2 x AAA batteries are required. 3. RCA AV cable 4. Instruction Manual Point the remote at the remote sensor in front of the player and make sure there are no obstacles in the way between the remote remote at the remote sensor in front of the player and and the player.
-
Page 9: What's In The Box
What’s In The Box? What’s In The Box? Box Contents Box Contents 1. AIWA DVD Player 3. RCA AV cable 2. Remote Control 4. Instruction Manual 5. warranty card 1. AIWA DVD Player 4. Instruction Guide 2. Remote Control 3. RCA AV Cable... - Page 10 Getting Started Setting Up Connect the power plug of the DVD player to a wall outlet. The power indicator will illuminate. Follow the below guidance for cable connections to get your DVD player set up: Cable Connection Options: Option 1: Using an HDMI cable (not provided), connect the HDMI Output on the rear of the DVD player to an HDMI input on your TV or other display.
- Page 11 2. Plug in the DVD player and press the ‘Power’ button to turn the unit on. You can do this on the unit or via the remote (Rem.1). When the machine is switched on, pressing the POWER button on the remote control will make it go into standby mode. Press the button again and the machine will switch on.
-
Page 12: Playing Jpeg/Picture Cd Discs And Mp3 Discs
Playing JPEG/Picture CD discs and MP3 discs Playing JPEG/Picture CD discs The following formats can be played: Jpg, Jpeg, CD Photo Press the STOP button and 12 small pictures will show on the TV screen. Press the buttons to select the desired picture to view. To access instructions menu, use the buttons to following options will display:... -
Page 13: System Setup
Playing MP3 Discs The following formats can be played: Mp3, WMA, CD Audio, CD- R-RW, CD Whilst an MP3 disc is playing, there is a menu screen on the TV. buttons (Rem. 24/28) to scroll through tracks or Press the folders. -
Page 14: Menu 1: General Setup
After accessing the SETUP menu, press the buttons to your chosen sub-menu. Follow by To end the setup, press the SETUP button again. Follow the below guidance for General, Audio, Dolby, Video and Preference settings. Menu 1: General Setup 1. Press SETUP, then press the buttons on the remote control to open the ‘General’... - Page 15 b) Angle Mark (disc dependent). c) OSD Lang Select a language for the on-screen display language (English, French, German, Italian, Spanish or Portuguese). d) Captions (if available). e) Screen saver Select a screen saver for when the TV display goes into standby or a disc is not played for several minutes.
-
Page 16: Menu 2: Audio Setup
Menu 2: Audio Setup 1. Press SETUP, then press the buttons on the remote control to open the ‘Audio’ menu. buttons on the remote control to scroll to browse between the sub-menus to select the stereo output: a) LT/RT: The audio output is Left and Right channels format. Switch between left/right audio channels. -
Page 17: Menu 4: Video Setup
b) Dynamic This mode is recommended for reduced sound to avoid disturbance during night time viewing. This setting can dynamically lower the volume and still keep the original tone quality. Menu 4: Video Setup 1. Press SETUP, then press The buttons on the remote ‘Video’... -
Page 18: Menu 5: Preference Setup
Menu 5: Preference Setup 1. Press SETUP, then press the buttons on the remote control to open the ‘Preference’ menu. buttons on the remote control to scroll to browse between the sub-menus to select the stereo output: a) TV Type This unit is suitable for all makes for TV’s. - Page 19 g) Default Set-up Select to revert to original factory set up on this unit. Note: all settings will be reset to default. Troubleshooting Malfunction Possible causes/measures at the wall. No power / function Check whether the power adaptor is properly connected to power outlet or not.
- Page 20 Power Supply AC 100-240V Frequency Response ~50/60Hz Power Consumption HDMI output Component Video output AV Connections Composite Video output Stereo (L/R) Audio output USB input DVD: DVD, DVD-R-RW, CD Video, Mpeg4, Compatible Formats DivX AUDIO: Mp3, WMA, CD Audio, CD-R-RW, CD PHOTO: Jpg, Jpeg, CD Photo Dimension (WxHxD) 36 X 17.5 X 3.8cm...