Advertisement
Quick Links
Quick Installation Guide
Wi-Fi Router
*Images may differ from actual products.
If your internet comes from an Ethernet outlet,
connect the router's WAN port to it, then skip
steps 1, 2, and 3.
Configure the router
1. Connect your computer to the router (Wired or Wireless)
Wired
Turn off the Wi-Fi on your computer and connect it to the router
via an Ethernet cable.
Wireless
A. Find the product label at
the bottom of the router.
B. Use the default network
name (SSID) and password
to join the network.
Tip: If you are using a smartphone or
tablet, you can also scan the QR code
to join the preset network directly.
POWER
Power adapter
2. Launch a web browser, and enter http://tplinkwifi.net or
http://192.168.0.1 in the address bar. Create a password
to log in.
Note: If the login window does not appear, please refer to FAQ > Q1.
QR
Wireless Password/PIN:
Code
XXXXXXXX
SSID:TP-Link_XXXX
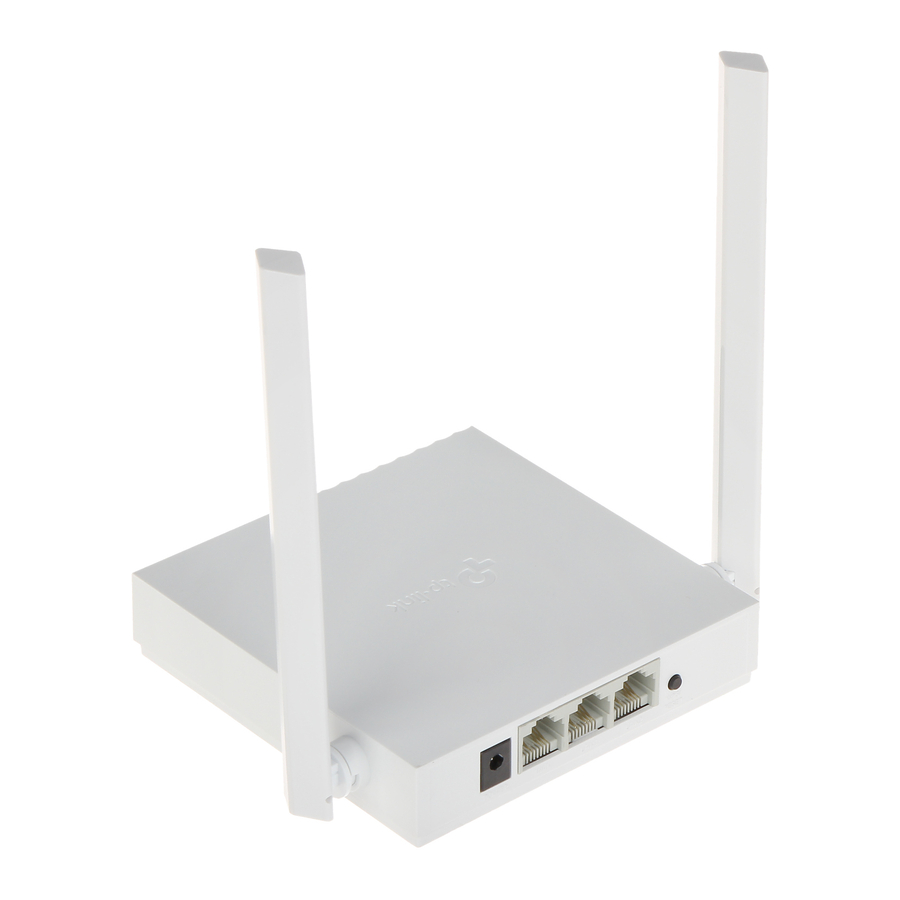
WAN
Router
Connect the powered-off modem to the
router's WAN port via an Ethernet cable.
Connect the power adapter to the router.
http://tplinkwifi.net
New Password:
Confirm Password:
Let's Get Started
Important
Unplug your modem, and remove
the backup battery if it has one.
Modem
Power on the modem, then wait about
2 minutes for it to restart.
Verify that the router's
on before continuing.
3. Follow the step-by-step instructions to set up the internet connection.
Note: If you are not sure of the Connection Type, please click AUTO DETECT or contact
your ISP (Internet Service Provider) for help.
Tether App
The TP-Link Tether app provides a simple, intuitive way to
access and manage your router. Scan the QR code to
download Tether from the Apple App Store or Google Play.
LED turns solid
Advertisement

Related Manuals for TP-Link TL-WR820N


Summary of Contents for TP-Link TL-WR820N
- Page 1 B. Use the default network Confirm Password: name (SSID) and password to join the network. Wireless Password/PIN: The TP-Link Tether app provides a simple, intuitive way to Code XXXXXXXX SSID:TP-Link_XXXX Tip: If you are using a smartphone or access and manage your router. Scan the QR code to Let’s Get Started...
- Page 2 WPS connection is in progress. This may take up to 2 minutes. Q3. How do I restore the router to its factory default settings? To communicate with TP-Link users or engineers, please join the TP-Link WPS/RESET Press for 1 second to enable the WPS function.