Table of Contents
Advertisement
Advertisement
Table of Contents

Related Manuals for AEG DUB331110M


Summary of Contents for AEG DUB331110M
- Page 1 DUB331110M User Manual Built-In Double Oven USER MANUAL...
-
Page 2: Table Of Contents
13. ENERGY EFFICIENCY..................... 26 FOR PERFECT RESULTS Thank you for choosing this AEG product. We have created it to give you impeccable performance for many years, with innovative technologies that help make life simpler – features you might not find on ordinary appliances. Please spend a few minutes reading to get the very best from it. - Page 3 ENGLISH manufacturer is not responsible for any injuries or damage that are the result of incorrect installation or usage. Always keep the instructions in a safe and accessible location for future reference. 1.1 Children and vulnerable people safety This appliance can be used by children aged from 8 •...
-
Page 4: Safety Instructions
Before carrying out any maintenance, disconnect the • appliance from the power supply. WARNING: Ensure that the appliance is switched off • before replacing the lamp to avoid the possibility of electric shock. Do not use the appliance before installing it in the •... - Page 5 ENGLISH • Connect the mains plug to the mains socket only at the end of the Height of the back of 708 mm installation. Make sure that there is the appliance access to the mains plug after the installation. Width of the front of 594 mm •...
- Page 6 • Do not put flammable products or • Make sure the appliance is cold. items that are wet with flammable There is the risk that the glass panels products in, near or on the appliance. can break. • Replace immediately the door glass WARNING! panels when they are damaged.
-
Page 7: Product Description
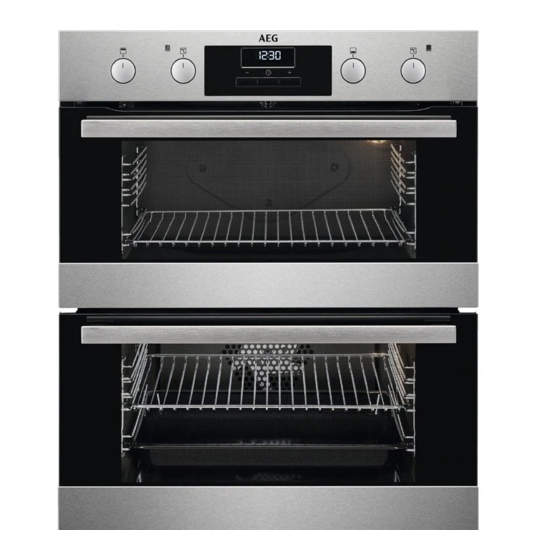
ENGLISH 3. PRODUCT DESCRIPTION 3.1 General overview Knob for the top oven functions Temperature indicator / symbol for the top oven Knob for the top oven temperature Power lamp for the main oven Display Knob for the main oven functions Knob for the main oven temperature Heating element Lamp... -
Page 8: Before First Use
A. Clock functions C. Clock function B. Timer 5. BEFORE FIRST USE Set the time before you use the oven. WARNING! Refer to Safety chapters. 5.1 Setting the clock Step 1 Step 2 Step 3 - press to set the - press to set the hour. -
Page 9: Daily Use
ENGLISH Preheat the empty oven before the first use. The oven can emit an odour and smoke during preheating. Make sure that the room is ventilated. 6. DAILY USE WARNING! Step 2 Turn the control knob to se- Refer to Safety chapters. lect the temperature. -
Page 10: Clock Functions
6.4 Main oven functions Symbol Oven function Application Light To turn on the lamp. True Fan Cooking To bake on up to two shelf positions at the same time and to dry food. Set the temperature 20 - 40 °C lower than for Con- ventional Cooking. - Page 11 ENGLISH Clock function Application To set when the oven turns off. The function works only for the main oven. End Time To combine functions: Duration and End Time. The function works only for the main oven. Time Delay To set a countdown. This function has no effect on the op- eration of the oven.
- Page 12 How to set: End Time Step 3 - press to set the time. The display shows: - flashes when the set time ends. The signal sounds and the oven turns off. Step 4 Press any button to stop the signal.
-
Page 13: Using The Accessories
ENGLISH 8. USING THE ACCESSORIES devices. The high rim around the shelf WARNING! prevents cookware from slipping of the Refer to Safety chapters. shelf. 8.1 Inserting accessories A small indentation at the top increases safety. The indentations are also anti-tip Wire shelf: Push the shelf between the guide bars of the shelf support. -
Page 14: Additional Functions
Roasting larger pieces of meat or poultry Grilling and toasting thin pieces of food on one shelf position. in large quantities. Make sure the supports of the wire shelf Make sure the supports of the wire shelf point up. - Page 15 ENGLISH Baking results Possible cause Remedy The cake sinks and be- The oven temperature is Next time set slightly lower oven comes soggy or streaky. too high. temperature. The oven temperature is Next time set a longer baking too high and the baking time and lower oven temperature.
- Page 16 Food Temperature (°C) Time (min) Shelf position Casseroles: - Beef / Lamb 160 - 170 150 - 180 - Chicken 160 - 180 75 - 90 Fish 170 - 190 20 - 30 Fish Pie (Potato Topped) 190 - 200...
- Page 17 ENGLISH (°C) Real cook- (min) ing time (min) Sweet rolls, baking tray or drip- 35 - 45 16 pieces ping pan Swiss roll baking tray or drip- 30 - 40 ping pan Brownie baking tray or drip- 35 - 45 ping pan Sponge flan flan base tin on wire...
- Page 18 (°C) Real cook- (min) ing time (min) Vegetables, baking tray or drip- 40 - 50 40 - 50 poached, 0.4 ping pan Vegetarian pizza pan on wire 40 - 50 omelette shelf Mediterra- baking tray or drip- 40 - 50...
- Page 19 ENGLISH Food Quantity Temperature Time (min) Shelf position (°C) Pork chop 1 - 1.5 160 - 180 60 - 90 Meat loaf 0.75 - 1 160 - 170 45 - 60 Knuckle of pork 0.75 - 1 150 - 170 90 - 120 (precooked) Veal...
- Page 20 Fish (steamed) Food Quantity Temperature Time (min) Shelf position (°C) Whole fish 1 - 1.5 210 - 220 40 - 60 10.8 Grilling Grill only flat pieces of meat or fish. Always preheat the empty oven with the Always grill with the maximum grill functions for 5 minutes.
-
Page 21: Care And Cleaning
ENGLISH Grilling - Main oven Food Temperature Time (min) Shelf position (°C) 1st side 2nd side Roast beef 210 - 230 30 - 40 30 - 40 Filet of beef 20 - 30 20 - 30 Back of pork 210 - 230 30 - 40 30 - 40 Back of veal... - Page 22 11.1 Notes on cleaning Clean the front of the oven with a soft cloth with warm water and a mild detergent. Use a cleaning solution to clean metal surfaces. Clean stains with a mild detergent. Do not apply it on the catalytic surfa- Cleaning ces.
- Page 23 ENGLISH 11.3 How to use: Catalytic Spots or discolouration of the catalytic coating have no effect on the cleaning. cleaning Clean one oven at a time. The cavity is coated with catalytic enamel. It absorbs fat during catalysis. Before the catalytic cleaning Turn off the oven and wait Remove all accessories and Clean the oven floor and the...
- Page 24 Step 3 Close the oven door to the first opening position (ap- proximately 45° angle). Hold the door with one hand on each side and pull it away from the oven at an upwards angle. Put the door with the outer side down on a soft cloth on a 45°...
-
Page 25: Troubleshooting
ENGLISH Back lamp Step 1 Turn the glass cover to remove it. Step 2 Clean the glass cover. Step 3 Replace the lamp with a suitable 300 °C heat-resistant lamp. Step 4 Install the glass cover. 12. TROUBLESHOOTING WARNING! Refer to Safety chapters. 12.1 What to do if... -
Page 26: Energy Efficiency
......... Serial number (S.N.) ......... 13. ENERGY EFFICIENCY 13.1 Product Information and Product Information Sheet* Supplier's name Model identification DUB331110M 944171709 Top oven: 106.8 Energy Efficiency Index Main oven: 95.9 Top oven: A Energy efficiency class Main oven: A Energy consumption with a standard load, conven- Top oven: 0.78 kWh/cycle... - Page 27 ENGLISH Use metal cookware to improve energy heat inside the oven will continue to saving. cook. When possible, do not preheat the oven Use the residual heat to warm up other before cooking. dishes. Keep breaks between baking as short as Keep food warm possible when you prepare a few dishes Choose the lowest possible temperature...
- Page 28 www.aeg.com/shop...