Advertisement
Quick Links
Advertisement

Summary of Contents for Omega OBC60BX
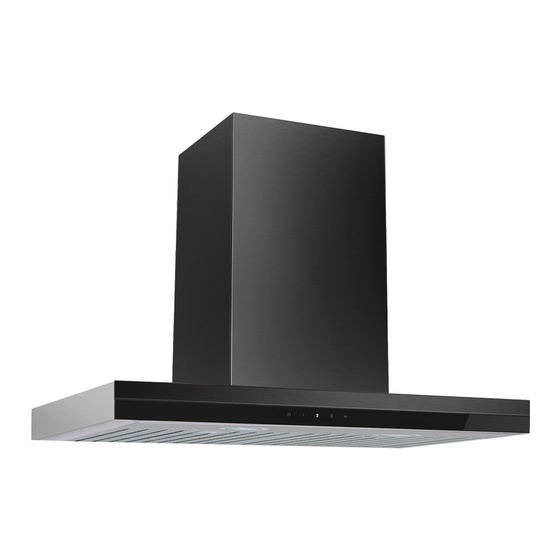
- Page 1 Instruction Manual Box Canopy Rangehood OBC60BX, OBC90BX...
- Page 2 Thank you for purchasing an Omega appliance Tailored for the modern aesthetic and lifestyle of busy people, your new Omega Appliance will make a welcome addition to the family. Omega caters to style-savvy customers who look for balance between stunning form and clever function.
-
Page 3: Table Of Contents
The manufacturer will not be responsible for any damage to property or to persons caused by incorrect installation or improper use of the appliance. Due to continual product development, Omega reserves the right to alter specifications and appearances without notice. -
Page 4: Important Safety Warnings
Important Safety Warnings IMPORTANT: Read the assembly instruction section and safety precautions of this booklet carefully before removing the contents of this carton. In certain circumstances electrical appliances may be a safety hazard. This appliance is not intended for use by persons (including children) with reduced physical, sensory or mental capabilities, or lack of experience or knowledge, unless they have been given supervision or instruction concerning the use of the appliance by a person responsible for their safety. -
Page 5: Appliance Details
Appliance Details Voltage & Frequency: 220-240V 50Hz Lamp Max: 2 x 2W LED Rated Input Power: 320W Total Input Power: 324W Product Dimensions Model pictured: OBC60BX Model pictured: OBC90BX General Information... - Page 6 Before installing and operating the rangehood, carefully read the following important information regarding installation safety and maintenance. Keep this information booklet accessible for further consultations. The appliance has been designed to exhaust cooking fumes externally. Before installation, please ensure that the following have been supplied and that the tools listed below are readily available.
-
Page 7: Installation Instructions
Installation Instructions Pre-Installation Note: The range hood is installed directly above the cooktop. The minimum distance between the surface of the cooktop and the underside of the range hood should be a minimum of 650mm and a maximum of 750mm. Mounting the range hood higher than 800mm above the cooktop surface will result in reduced performance. - Page 8 Installation Instructions Fixing the rangehood to the wall: 1. At the two range hood mounting points marked in H (refer to page 4), drill a small pilot hole using a Ø6 drill bit, to a depth of approximately 40mm. After drilling, the distance between two mounting holes should be 260mm shown as A in Fig 1.
- Page 9 4 Screws C provided, see below, Fig 3. Fig. 3 3. Connect the ducting outlet and Ø150mm ducting pipe (needs to be purchased separately). Note: Omega strongly recommends this rangehood is ducted through the Semi-rigid ducting pipe, which ensures better performance and longevity.
- Page 10 Fixing the flues to the rangehood: 1. At the two flue bracket mounting points marked in J (refer to page 4), drill a small pilot hole using a 6mm drill bit, to a depth of approximately 40mm. After drilling, the distance between two mounting holes should be 160mm as indicated as B in above Fig.
-
Page 11: Operating Instructions
Operating Instructions Press this button after turning on the rangehood extractor fan to activate the timer. The rangehood will continue to run on the current setting for 15 minutes and then it will switch off automatically. Press this button to turn on the rangehood extractor fan at the first power setting. Press this button to turn on the rangehood extractor fan at the second power setting. -
Page 12: Troubleshooting
Troubleshooting Problem Possible reason Solution Check whether the plug is connected Rangehood doesn’t work Electric supply Check whether the main switch is turned on Aluminum grease filters Clean the filters, assembly back when dry clogged Poor airflow Charcoal filters clogged Replace the charcoal filters Motor running without Butterfly valve jammed... -
Page 13: New Zealand Product Warranty Statements Of Standard Warranty Conditions
WHAT IS COVERED: By Our Warranty During the warranty period, Omega or its authorised Service Centre will, at no extra charge, if your appliance is readily accessible without the need of special equipment and subject to the terms and conditions of this warranty, repair or replace any parts which it considers defective.


