Fluke PTi120 User Manual
Pocket thermal imager
Hide thumbs
Also See for PTi120:
- Manual supplement (2 pages) ,
- User manual (21 pages) ,
- Abridged user manual (21 pages)

Related Manuals for Fluke PTi120


Summary of Contents for Fluke PTi120
- Page 1 PTi120 Pocket Thermal Imager Users Manual April 2019 (English) © 2019 Fluke Corporation. All rights reserved. Specifications are subject to change without notice. All product names are trademarks of their respective companies.
- Page 2 Fluke authorized resellers shall extend this warranty on new and unused products to end-user customers only but have no authority to extend a greater or different warranty on behalf of Fluke. Warranty support is available only if product is purchased through a Fluke authorized sales outlet or Buyer has paid the applicable international price.
-
Page 3: Table Of Contents
Assign Asset ID Tag with a QR Code or Barcode ........... 14 Assign Asset ID Tag Manually................. 14 Exit an Asset ID Tag ..................14 Assign a Different Asset ID Tag............... 15 Fluke Connect Desktop Software ................. 15 Download Fluke Connect Software ..............15 Update Firmware ..................... 15... - Page 4 PTi120 Users Manual Maintenance......................16 Clean the Case ....................16 Lens Care......................16 Battery Care ..................... 16 Charge Batteries ....................16 Radio Frequency Data ..................17 Specifications ......................17...
-
Page 5: Introduction
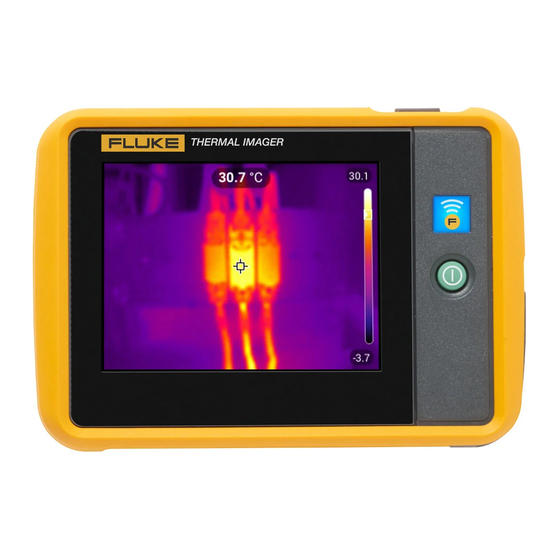
Introduction The Fluke PTi120 Pocket Thermal Imager (the Product or Imager) is a handheld, infrared imaging camera for use in many applications. These applications include equipment troubleshooting, preventive and predictive maintenance, building diagnostics, and research and development. The Product shows thermal images on a high-visibility, industrial-quality LCD touch screen. The Product saves images to internal memory which can be transferred to a PC through a direct USB connection to the PC or by wireless transfer to a PC or mobile device. -
Page 6: Product Familiarization
Product. Table 1. Features IR-Fusion Technology Image annotations Visible Asset Identification Fullscreen IR Autoblend Fluke Connect desktop software Controls and Connections Table shows the controls and connections of the Product. Table 2. Controls and Connections Item Description... -
Page 7: Touch Screen (Display)
Pocket Thermal Imager Product Familiarization Touch Screen (Display) The touch screen is the user interface of the Product. The touch screen has a backlight for work in dimly lit spaces. Table shows the default information on the screen of the Product. Table 3. -
Page 8: Basic Operation
PTi120 Users Manual Basic Operation Turn On and Off the Product Charge Before you use the Product for the first time, charge the battery for a minimum of 1.5 hours. See Batteries. To turn on or turn off the Product, push and hold for 2 seconds. -
Page 9: Menu Controls
Pocket Thermal Imager Menu Controls Menu Controls To use the menus to change and view settings: 1. Tap the display to open the main menu. 2. Tap an icon on the main menu to open a submenu. See Table 5. The background of the selected icon changes to yellow. -
Page 10: Main Menu
PTi120 Users Manual Main Menu Table lists the secondary menus available in the Main Menu. Table 5. Main Menu Item Secondary Menu Option Function Select to review, edit, and delete captured images. Memory <options> Memory Menu (Memory Gallery). -
Page 11: Image Menu
Pocket Thermal Imager Image Menu Image Menu The IR-Fusion slider bar sets the Product to take images from full visible light mode to full IR-Fusion mode. Use a blend between visible light mode and IR-Fusion to view an object with some temperature overlays. To adjust the IR-Fusion level: ... -
Page 12: Palette Menu
See Figure 2. Figure 2. Palette and Range Bar Selection Display Menu Use the Display menu to set which features to show on the display. To show the Fluke logo on the display, see Device Settings Menu. Table lists the options in the Display menu. -
Page 13: Settings Menu
The .is2 file format consolidates the infrared image, radiometric temperature data, visible image, notes, and tags into a single file. To customize or separate the visible and infrared images, use Fluke File Format Connect desktop software. Use to assign an asset ID tag or to flag an asset image. -
Page 14: Ir Settings Menu
<options> Sets the date format and the date. Time <options> Sets the time format and the time. Fluke Logo Shows or hides the Fluke logo on the display. Language <options> Sets the language to use on the display. Decimal <options>... -
Page 15: Emissivity Adjustment
When you do infrared inspections through IR windows, not all of the infrared energy emitted from the target is transmitted through the optical material in the window. If you know the transmission percentage of the window, adjust the transmission percentage in the Imager or in Fluke Connect desktop software to improve the accuracy of the measurement. -
Page 16: View Image
PTi120 Users Manual When additional information has been saved with an .is2 file, an icon shows with the preview file. The icons are: Asset ID Note View Image To open an image in fullscreen mode: 1. Tap 2. If needed, touch the display and slide up or down to view all the images. -
Page 17: Delete Images
Pocket Thermal Imager Memory Menu (Memory Gallery) 3. Repeat for each additional image. 4. Tap Add Note. A keyboard opens on the display. 5. Use the keyboard to enter a message. 6. Tap Save. Delete Images To delete images, do the corresponding procedure below for the desired action. Delete an Image To delete only one image: 1. -
Page 18: Asset Identification (Asset Id)
PTi120 Users Manual To remove an asset ID from an image: 1. Open an image in fullscreen mode. 2. Tap the asset ID that looks like on the display. 3. Tap Remove. The display returns to the image in fullscreen mode, and the asset ID does not show on the display. -
Page 19: Assign A Different Asset Id Tag
3. Assign a new asset ID. See Fluke Connect Desktop Software Fluke Connect desktop software for a PC is available to use with the Product and contains features to analyze images, organize data and information, and make professional reports. Use Fluke Connect software to: •... - Page 20 PTi120 Users Manual Maintenance The Product requires minimum maintenance. Clean the Case Clean the case with a damp cloth and a weak soap solution. Do not use abrasives, isopropyl alcohol, or solvents to clean the case. Lens Care W Caution To prevent damage to the infrared lens: •...
- Page 21 See Table for instructions on how to access digital copies of the Certificate IDs on the Product. To view the Radio Frequency Data Class B Instruction Sheet, visit http://us.fluke.com/usen/support/manuals. Specifications Complete specifications are at www.fluke.com. See the PTi120 Product Specifications.
- Page 22 PTi120 Users Manual...