Panasonic KX-HTS Series Quick Start Manual
Hide thumbs
Also See for KX-HTS Series:
- Manual (91 pages) ,
- Setup reference manual (15 pages) ,
- Setup reference manual (15 pages)
Advertisement
Quick Links
Please read this leaflet carefully when you install KX-HTS series and KX-HDV
series to the existing user network.
PC
For your information, Video Instruction about the installation is uploaded on the Panasonic Web site at:
https://channel.panasonic.com/contents/19893/
Step 1: Program KX-HTS series
1.
Connect KX-HTS series to the existing User Network, and then connect the PC to the KX-HTS series as the figure.
Internet
Existing Router
(192.168.22.1/24)
PC
(Enable DHCP)
2. In Web Maintenance Console, configure the following settings for KX-HTS series
a. Set the IP address, Subnet Mask, and Default Gateway for the
WAN1 port
Note
Configure the settings according to the IP address system of the
existing user network. Also, set the IP address which does not
duplicate other IP device.
Network Configuration > 3.WAN > 1.WAN Setting
Internet
Existing Router
KX-HTS series
PC
KX-HTS series
To Existing Router
LAN1: 192.168. 0.101/24
To PC
WAN1: 192.168.22. 99/24
b. Disable the Firewall setting
Network Configuration > 7.Firewall > 1.Firewall
c. Set the network address of the existing user network to enable
communication with KX-HDV series connected in the existing user network
PBX Configuration > 2.Extension > 7.SIP Extension Property
Existing User Network
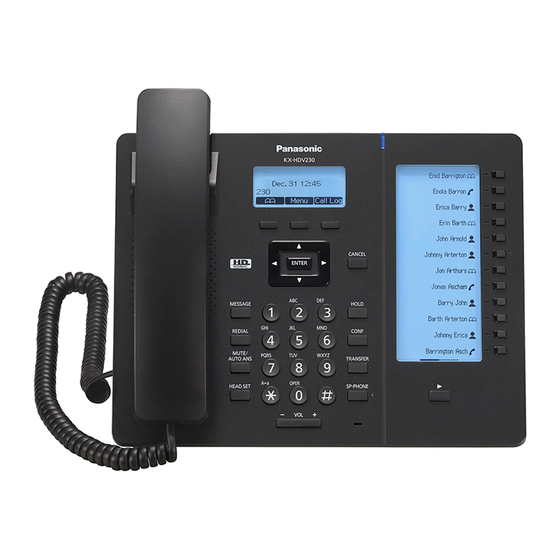
KX-HDV series
(e.g., KX-HDV230)
Existing User Network
(192.168.22.0/24)
Advertisement

Related Manuals for Panasonic KX-HTS Series


Summary of Contents for Panasonic KX-HTS Series
- Page 1 For your information, Video Instruction about the installation is uploaded on the Panasonic Web site at: https://channel.panasonic.com/contents/19893/ Step 1: Program KX-HTS series Connect KX-HTS series to the existing User Network, and then connect the PC to the KX-HTS series as the figure. Internet Existing Router Existing User Network (192.168.22.1/24) (192.168.22.0/24)
- Page 2 Not Registered *2 For the default gateway setting, enter the IP address of the WAN1 port of KX-HTS series which is the same value as “IP Address, by your ISP” shown as below. DO NOT set the IP address of the existing router.