Advertisement
Quick Links
FlexGuard
®
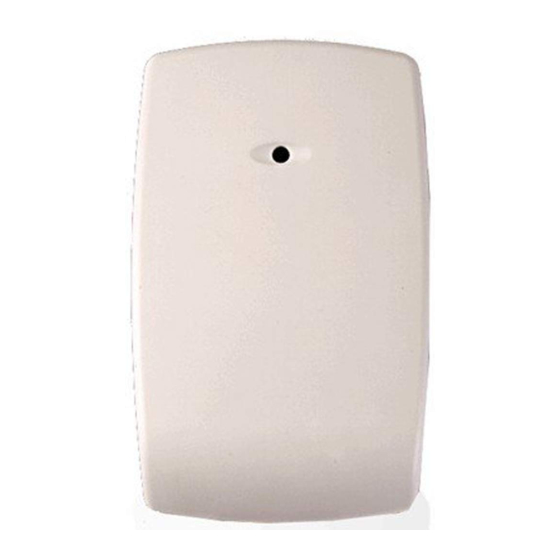
FG-1625/FG-1625T Glassbreak Detector Installation Instructions
Refer to Supplemental Information (next page) for complete descriptions of these installation steps
FG-1625/FG-1625T Glassbreak Detector
Mounting Hole
Microphone
Terminal Block
Mounting Hole
Front Cover
Cover Screw Location
Select Mounting Location
Wall Mount
(Top View)
Ceiling Mount: (Side View)
Test Location w/ 9V Battery
V+
V
9V
9V_001-V0
Set Sensitivity & LED Configuration
SENS1 & SENS2 configure sensitivity
SENSITIVITY
APPROXIMATE
RANGE
MAX
7.6m (25 ft)
MEDIUM
4.6m (15 ft)
LOW
3m (10 ft)
LOWEST
1.5m (5 ft)
NOTE: Ranges are approximate and vary with each room's
acoustic properties. Always verify range with a FG-701
Glassbreak Simulator.
The LATCH and LED DIP switches configure LED
indicator behavior.
SWITCH
OFF
Red LED lights for 5
Red LED latches ON when
LATCH
seconds during alarm
detector goes into alarm
LED
LEDs disabled (except for
LEDs always enabled
3
power up and test mode
)
1
The timing of the alarm relay is not affected by the latched Alarm LED.
2
Reset the Alarm LED by removing/restoring power, or by toggling the
detector in and out of Test Mode.
3
LEDs can be enabled/disabled using FG-701.
5-051-736-00A
Enable Wall Tamper (FG-1625T only)
•
Remove plastic tab from rear of detector.
Tamper Switch
•
Install wall tamper screw as shown.
Rear Tamper
(FG-1625T only)
•
Set screw depth to make contact w/ bottom of
Wire Entry Hole
tamper cavity when device is installed
Terminal Block
(FG-1625T only)
Test Mode Pads
LED Indicators
1625_001-V1
Connect Detector
Connect detector using 18 to 22 AWG wire, with ends
stripped approximately 6mm (1/4 in.) Use the
appropriate wiring method as shown in these diagrams:
V+
V-
NC
EOL
NO
Normally Closed Loop/No EOL Resistor
1625_ceiling_mnt-001-V0
V+
V-
NC
EOL
C
NO
Normally Open Loop/No EOL Resistor
V+
V-
SENS1
NC
SENS2
LATCH
EOL
LED
C
NO
SENS1
SENS2
OFF
OFF
Normally Closed Loop/With EOL Resistor
ON
OFF
OFF
ON
ON
ON
V+
V-
NC
EOL
ON
1, 2
NO
Normally Open Loop/With EOL Resistor
FG-1625T Only
TMPR
EOL
C
TMPR
S4
1625Wiring_001-V0
FG-1625T Only
TMPR
EOL
TMPR
S4
1625Wiring_002-V0
FG-1625T Only
TMPR
EOL
TMPR
S4
1625Wiring_003-V0
FG-1625T Only
TMPR
EOL
C
TMPR
S4
1625Wiring_004-V0
Page 1
Mount Detector
•
Place unit over wall tamper screw, if used!
•
Use mounting holes as template to mark
ceiling or wall.
•
Mount detector using appropriate hardware.
Test Detector Installation
Enter Test Mode using FG-701 (see Testing the
Detector on the next page) or manually by shorting
THE Test Mode pads (as below).
Install Cover Screw (optional)
1625_008-V1
TEST
Advertisement

Summary of Contents for Honeywell FlexGuard FG-1625
- Page 1 FlexGuard ® FG-1625/FG-1625T Glassbreak Detector Installation Instructions Refer to Supplemental Information (next page) for complete descriptions of these installation steps FG-1625/FG-1625T Glassbreak Detector Enable Wall Tamper (FG-1625T only) Mount Detector • • Remove plastic tab from rear of detector. Place unit over wall tamper screw, if used! Tamper Switch Mounting Hole •...
- Page 2 ¼-in., #4 (2.2mm) screw. protected glass. Ê5-051-736-00A>Š ©2002 IntelliSense. All rights reserved. IntelliSense is a registered trademark of Honeywell, Inc. - All other 5-051-736-00A 7/02 brands mentioned are the trademarks or registered trademarks of their respective owners. Specifications subject to change without prior notice.


