
Related Manuals for LevelOne WAC-2000


Summary of Contents for LevelOne WAC-2000
-
Page 1: Quick Installation Guide
Wireless LAN Controller Quick Installation Guide Русский English Deutsch Italiano Français Polski Ελληνικά Español Português V1.0_20161017... -
Page 2: Table Of Contents
Username admin Password admin Thank you for purchasing the LevelOne Wireless LAN Controller. This Quick Start Guide shows you its typical deployment, how to access the Web User Interface and how to manage the WAC Series AP though the controller. -
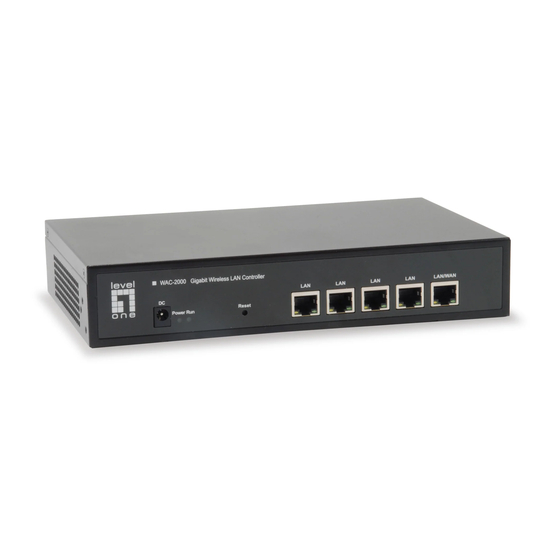
Page 3: Packing List
If any of the above items are missing, please contact your retailer or distributor. Figure 1 LAN Port WAN Port Reset Button Power Front Panel - WAC-2000 Note: The picture is only for reference; please make the object as the standard. LEDs Full Name Description On The Device is powered... -
Page 4: English
Reset Button If you need to restore the AC Controller into factory default, please do following procedure: Power on AC Controller, use a pin to press and hold the reset button until all LED becomes quick-flash from slow-flash. Then release the button and wait AC Controller to reboot to its factory default settings. -
Page 5: Deutsch
Deutsch Hardwareinstallation Bitte befolgen Sie die nachstehenden Schritte zu Installation der Hardware: Gerät mit dem lokalen Netzwerk verbinden. Verbinden Sie ein Ende eines Netzwerkkabels mit einem der LAN-Ports am Gerät und das andere Ende mit einem Netzwerkanschluss an einem PC, Hub, Switch oder WLAN-Zugangspunkt. -
Page 6: Español
L'installation de l'équipement est maintenant terminée. Configurer l'Appareil Remarque : Veuillez attribuer à votre ordinateur une adresse IP statique dans la même plage que l'adresse IP du contrôleur (par défaut 192.168.1.1) et assurez-vous que votre ordinateur est branché au contrôleur. Connexion à... -
Page 7: Português
(b). Escriba el nombre de usuario y administrador predeterminado en el campo Nombre de usuario y la contraseña predeterminada de administración en el campo Contraseña. Haga clic en “Aceptar” para acceder a la interfaz gráfica del usuario web del controlador. (Figure 3) (c). -
Page 8: Русский
Русский Установка устройства Процедура установки устройства приведена ниже. Подключите контроллер к локальной сети. Подключите разъем на одном конце кабеля Ethernet к одному из портов «LAN» на устройстве, а разъем на другом конце кабеля — к компьютеру, концентратору, коммутатору или беспроводной точке доступа. Повторяйте этот шаг для подключения других... -
Page 9: Angielski
corretta messa a terra. Quindi, l'installazione dell'hardware è completata. Configurazione del dispositivo Nota: Assegnare al computer un indirizzo IP statico nello stesso intervallo dell'indirizzo IP del controller (192.168.1.1, per impostazione predefinita) e assicurarsi che il computer sia connesso al controller. Accesso al dispositivo (a). -
Page 10: Αγγλικά
Logowanie do urządzenia (a). Uruchom przeglądarkę sieci web, wprowadź w polu adresu adres IP sieci LAN urządzenia (domyślnie 192.168.1.1), a następnie naciśnij przycisk the Enter. (Figure 2) (b). Wprowadź w polu Nazwa użytkownika domyślną nazwę użytkownika admin i w polu Hasło domyślne hasło admin, kliknij “OK”... - Page 11 Figure 2 Figure 3 Figure 4...