Advertisement
Quick Links
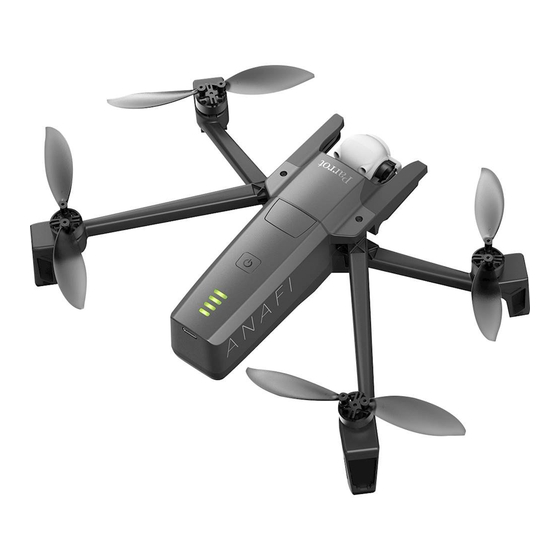
This guide addresses all issues ANAFI users may have encountered while discovering and using a drone from the
ANAFI series.
DO NOT CONTACT PARROT SUPPORT before you have applied the procedures and tips relevant to your issue.
Troubleshooting procedures
ANAFI drone hard reset
Hard resetting ANAFI reverts ANAFI's most recent firmware to its original state. Parrot recommends the drone hard
reset as a first intent procedure for several issues, notably gimbal calibration troubles.
1.
Check a compatible microSD card is inserted into ANAFI.
2. Power ANAFI on (short press on the battery's power button).
3. Wait for the gimbal to calibrate (or for the gimbal calibration to fail).
4. Press and hold the battery's power button: after 8 seconds the battery's LED light up in red, one after the
other.
5. When the 4 LED are red, release the battery's power button: ANAFI powers off briefly then reboots.
6. Check the contents of ANAFI's microSD card: the hard reset procedure has generated a .TXT document named
"wifi_security_key" at the root of the microSD card. This document confirms the hard reset procedure is
complete and successful.
ANAFI's smart battery hard reset
Hard resetting ANAFI's battery is useful to correct any battery issue. Parrot recommends a battery hard reset
whenever the battery's behavior strays from its expected behavior.
1.
Plug your smart battery to a power source.
2. Regardless of the battery's behavior, press and hold its power button for 15 seconds.
3. Release the power button: the battery's LED run successively in green and red, then flash alternatively in
green.
4. The battery's hard reset is complete.
Reboot all systems
Rebooting all systems is useful to solve connectivity issues (black screen, white noise, thermography camera
activation failure [ANAFI Thermal]).
1.
Power ANAFI off.
2. Close the Parrot Skycontroller 3.
3. Kill FreeFlight 6 on your device.
4. Reboot your device.
5. Open the Parrot Skycontroller 3.
6. Power ANAFI on.
7.
Wait for synchronization between Parrot Skycontroller 3 and ANAFI (steady dark blue LED on the controller):
check that the left trigger of the Parrot Skycontroller 3 activates the drone's gimbal to ensure the synch is
complete.
8. Plug your device to the Parrot Skycontroller 3.
Parrot Technical Communication
ANAFI series troubleshooting guide
(ANAFI, ANAFI Extended, ANAFI Work, ANAFI Thermal, ANAFI FPV)
ANAFI Troubleshooting guide
1/4
Advertisement

Related Manuals for Parrot ANAFI Series


Summary of Contents for Parrot ANAFI Series
- Page 1 6. Power ANAFI on. Wait for synchronization between Parrot Skycontroller 3 and ANAFI (steady dark blue LED on the controller): check that the left trigger of the Parrot Skycontroller 3 activates the drone’s gimbal to ensure the synch is complete.
- Page 2 5. The LED of the Parrot Skycontroller 3 flashes briefly in green: it is acknowledging ANAFI. 6. Wait for synchronization between Parrot Skycontroller 3 and ANAFI (steady dark blue LED on the controller): check that the left trigger of the Parrot Skycontroller 3 activates the drone’s gimbal to ensure the synch is complete.
- Page 3 ANAFI Troubleshooting guide What do I do if my ANAFI is connected to the Parrot Skycontroller 3, but won’t take off when I hit the take-off button? If you had not done it, plug your device (in airplane mode, or at least wi-fi turned off) to your Parrot Skycontroller 3.
- Page 4 What do I do if my ANAFI has sustained a crash and it is visibly damaged? NEVER TRY TO REPAIR YOUR ANAFI YOURSELF, AS ANY ATTEMPT AT A REPAIR WILL VOID YOUR WARRANTY! Save the full contents of your ANAFI’s microSD card “FDR” folder and be ready to send it to Parrot Support.