Table of Contents
Advertisement
Advertisement
Table of Contents

Related Manuals for Acer PM161Q


Summary of Contents for Acer PM161Q
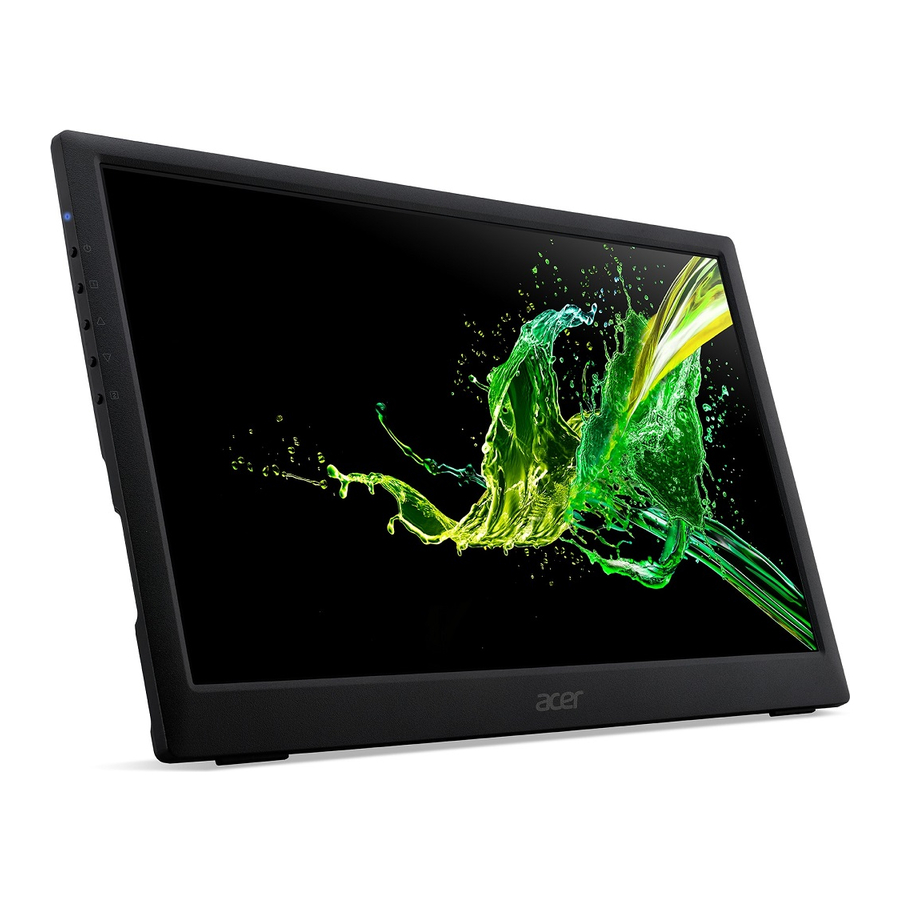
- Page 1 Acer LCD Monitor User's Guide...
- Page 2 Serial number: ___________________________________ Date of purchase: _________________________________ Place of purchase: ________________________________ Acer and the Acer logo are registered trademarks of Acer Incorporated. Other companies' product names or trademarks are used herein for identification purposes only and belong to their respective companies.
-
Page 3: Special Notes On Lcd Monitors
Special notes on LCD monitors The following are normal with the LCD monitor and do not indicate a problem. • Due to the nature of the fluorescent light, the screen may flicker during initial use. Turn off the power switch and then turn it on again to make sure the flicker disappears. •... -
Page 4: Safe Listening
Safe listening To protect your hearing, follow these instructions. • Gradually increase the volume until you can hear it clearly and comfortably and without distortion. • After setting the volume level, do not increase it after your ears have adjusted. •... -
Page 5: Product Servicing
Note: The grounding pin also provides good protection from unexpected noise produced by other nearby electrical devices that may interfere with the performance of this product. • Use the product only with the supplied power supply cord set. If you need to replace the power cord set, make sure that the new power cord meets the following requirements: detachable type, UL listed/CSA certified, type SPT-2, rated 7 A 125 V minimum, VDE approved or its equivalent, 4.5meters (15 feet) maximum length. -
Page 6: It Equipment Recycling Information
We at Acer are very conscious of the environmental effects of our business and strive to identify and provide the best working procedures to reduce the environmental impact of our products. -
Page 7: Tips And Information For Comfortable Use
Tips and information for comfortable use Computer users may complain of eyestrain and headaches after prolonged use. Users are also at risk of physical injury after long hours of working in front of a computer. Long work periods, bad posture, poor work habits, stress, inadequate working conditions, personal health and other factors greatly increase the risk of physical injury. -
Page 8: Developing Good Work Habits
• using a glare-reduction filter • using a display visor, such as a piece of cardboard extended from the display's top front edge • Avoid adjusting your display to an awkward viewing angle. • Avoid looking at bright light sources, such as open windows, for extended periods of time. Developing good work habits Develop the following work habits to make your computer use more relaxing and productive: •... -
Page 9: Declaration Of Conformity
PM161Q xxxxxx; (“x” = 0~9, a ~ z, A ~ Z, or blank) We, Acer Incorporated, hereby declare under our sole responsibility that the product described above is in conformity with the relevant Union harmonization legislations as below Directive and following... -
Page 10: Federal Communications Commission Declaration Of Conformity
Acer America Corporation 333 West San Carlos St., Suite 1500 San Jose, CA 95110, U. S. A. Tel : 254-298-4000 Fax : 254-298-4147 www.acer.com Federal Communications Commission Declaration of Conformity This device complies with Part 15 of the FCC Rules. Operation is subject to the following... - Page 11 Special notes on LCD monitors Information for your safety and comfort Safety instructions Cleaning your monitor Connecting/disconnecting the device Accessibility Safe listening Warnings Using electrical power Product servicing Additional safety information IT Equipment Recycling Information Disposal instructions LCD pixel statement Tips and information for comfortable use CE Declaration of Conformity Federal Communications Commission...
- Page 12 Please check that the following items are present when you unpack the box, and save the packing materials in case you need to ship or transport the monitor in the future. LCD monitor Quick start guide LCD monitor PM1 Series-PM161Q USER GUIDE AC power cord micro-USB cable...
-
Page 13: Attaching The Monitor To The Base
Attaching the monitor to the base 1. Remove the monitor bracket and base from the packaging and place it on a stable and level workspace. 2. Open or close the rear bracket. The viewing angle of the monitor can be adjusted using the stand. (As shown below) -
Page 14: Power Saving
Power saving The monitor will be switched to "power saving" mode by the control signal from the display controller, as indicated by the orange-colored power LED. Model LED light Blue Power saving Orange The power saving mode will be kept until a control signal has been detected or the keyboard or mouse is activated. -
Page 15: Connector Pin Assignment
Connector pin assignment Type C (24Pin female connector) TX1+ TX2+ TX1- TX2- VBUS VBUS CONN SBU1 DBU2 VBUS VBUS RX-2 RX-1 RX2+ RX+1... -
Page 16: Standard Timing Table
Standard timing table Mode Resolution 640×480 VESA 800×600 VESA 1024×768 VESA 1280×960 VESA 1280×1024 VESA 1280×720 WXGA+ 1400×900 WSXGA+ 1680×1050 UXGA 1920×1080... -
Page 17: Installation
Installation To install the monitor on your host system, please follow the steps below: Steps Connect the monitor to your computer 1. Connect the signal transmission cable (Thunderbolt 3 (USB-C) cable) to the monitor’s Type-C jack and the Type-C output jack of the computer’s display card. 2. -
Page 18: User Controls
User controls Power Switch / Power LED: To turn the monitor ON or OFF. Lights up to indicate the power is turned ON. Using the Shortcut Menu External controls LED Indicator/ Turns the monitor on/off. Blue indicates power on. 1 & 2 Power button Amber indicates standby/power saving mode. -
Page 19: Adjusting The Osd Settings
Adjusting the OSD settings Note: The following content is for general reference only. Actual product specifications may vary. The OSD can be used for adjusting the settings of your LCD Monitor. Press the key to open the OSD. You can use the OSD to adjust the picture quality, OSD setting and general settings. For advanced settings, please refer to following page: Adjusting the picture quality Brightness... - Page 20 Adjusting the Color setting Picture Cool Color Normal Language Warm OSD Settings User Define Setup Menu Picture Mode Standard Select:2 1:Exit 1. Press the key to bring up the OSD. 2. Using the keys, select Color from the OSD. Then navigate to the feature you wish to adjust.
- Page 21 4. Use the keys to select OSD H. Position, OSD V. Position, OSD Background and OSD Time Out. Product the Setup Menu setting Picture Information MODEL PM161Q Color Memory Recall 1920x1080@60Hz Language OSD Settings Setup Menu...
-
Page 22: Troubleshooting
Wait for a few seconds after adjusting the size of the image before changing or disconnecting the signal cable or switching off the monitor. Note: Acer monitor is purposed for video and visual display of information obtained from electronic devices.