Advertisement
BRUKSANVISNING
BRUGSANVISNING
BRUKSANVISNING
GEBRAUCHSANWEISUNG
INSTRUCTIONS FOR USE
ISTRUZIONI PER L´USO
INSTRUKCJA OBS£UGI
»HC"P"K÷»fl œOÀ‹«Œ¬¿"EÀfl
NÁVOD K POU®ITÍ
HASZNÁLATI UTASÍTÁS
NAVODILA ZA UPORABO
KÄYTTÖOHJEET
MODE D'EMPLOI
8218-2220-70
STIGA
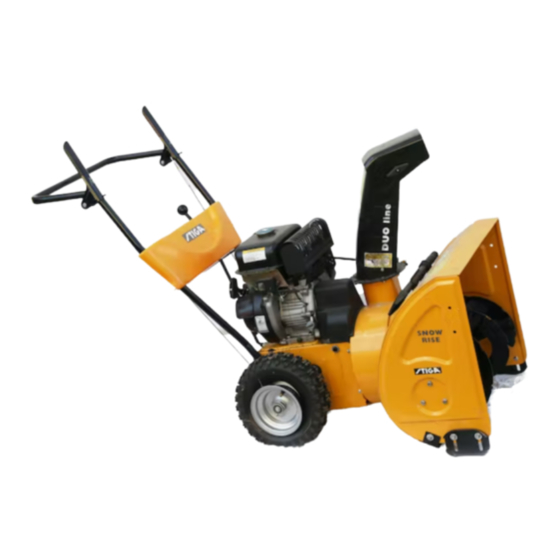
D U O L I N E
S n o w R i s e
SV .... 5
FI ... 12
DA . 19
NO. 26
DE .. 33
EN .. 40
FR ... 47
IT .... 54
PL ... 61
RU.. 69
CS... 78
HU . 85
SL.... 92
Advertisement
Table of Contents

Related Manuals for Stiga SNOW RISE 8218-2220-70


Summary of Contents for Stiga SNOW RISE 8218-2220-70
- Page 1 S n o w R i s e SV ... 5 FI ... 12 DA . 19 NO. 26 DE .. 33 EN .. 40 FR ... 47 IT ... 54 PL ... 61 RU.. 69 CS... 78 HU . 85 SL... 92 8218-2220-70 STIGA...
-
Page 4: Safety Instructions
1 SYMBOLS The following symbols appear on the machine. They are there to remind you of the care and attention required in use. This is what the symbols mean: Warning. Read and understand the owner’s manual before using this machine. Disconnect the spark plug wire, and consult technical literature before performing repairs or maintenance. - Page 5 out of its place of storage. In this case ensure the door to the storage place is open. Exhaust fumes are toxic. • Never drive across a slope. Move from the top down, and from the bottom to the top. Be careful when changing direction on a slope.
- Page 6 5. Tighten the screw (V) until the gear lever remains in the gear positions in the panel plate. 6. Set down the machine on its wheels. CHECKING THE CONTROL WIRES The control wires might need adjusting before using the snow thrower for the first time. See ADJUSTING THE CONTROL WIRES below.
-
Page 7: Using The Snow Thrower
5 USING THE SNOW THROWER GENERAL Never start the engine until all the above measures under ASSEMBLY have been carried out. Never use the snow thrower without first reading and understanding the instructions and all the warning and instruction stickers on the machine. Always use protective goggles or a visor during use, maintenance and service. -
Page 8: Maintenance
AFTER USE 1. Check for loose or damaged parts. If required, change damaged parts. 2. Tighten loose screws and nuts. 3. Brush all the snow from the machine. 4. Move all the controls backwards and forwards a few times. 5. Put the choke in position 6. - Page 9 7. See fig. 13. Hold up the brake (R) and work off the auger belt. ENGLISH 8. Reassemble the parts in the reverse order. NOTE! Only Clean. genuine STIGA belts are to be used. 9. Adjust the control wire according to the instructions Replace the broken below. pin.
- Page 10 4. Remove the object that has fastened in the auger. 5. Align the holes in the shaft and auger. 6. Remove the broken bolt parts. 7. Assemble a new original shear bolt. 8 STORAGE Never store the snow thrower with petrol in the tank in a confined area with bad ventilation.
- Page 11 w w w. s t i g a . c o m G G P S w e d e n A B · B o x 1 0 0 6 · S E - 5 7 3 2 8 T R A N Å S...