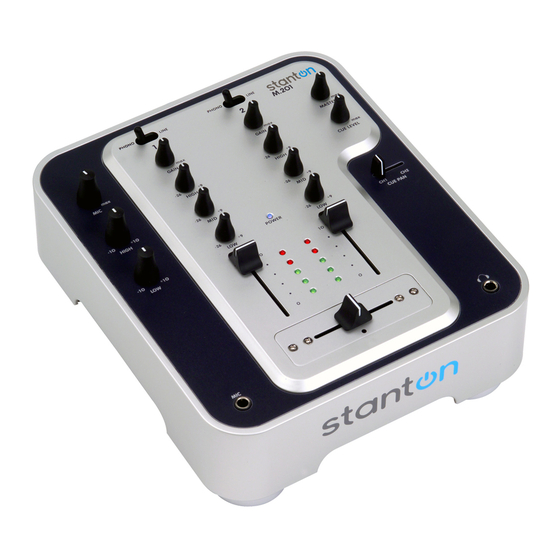
Summary of Contents for Stanton DJ Mixer DJLab.3
- Page 1 DJLab.3 OWNER'S MANUAL S T A N T O N MA G N E T I C S , I N C information@stantondj.com + 1 954- 689-8833 w w w . s t a n t o n d j . c o m...
-
Page 2: Important Safety Instructions
IMPORTANT TO SAFETY 13. Unplug this apparatus during lightning storms or when 14. Refer all servicing to qualified Stanton service center. 15. This appliance shall not be exposed to dripping or CAUTION: To reduce the risk of electric shock, do not remove the cover (or back). -
Page 3: Line Voltage Selection
LINE VOLTAGE SELECTION 115V The desired voltage of your turntable may be set with the VOLTAGE SELECTOR switch on the rear panel of the main unit, using a screwdriver. Do not twist the VOLTAGE SELECTOR switch with excessive force as this may cause damage. If the VOLTAGE SELECTOR switch does not move smoothly contact a qualified serviceman. - Page 4 When in the ON position, the fader start allows the fader to return automatically to preset digital CUE POINTS on your compatible STANTON DJ CD Player. 14) Mic EQ – The mic channel include a two-band EQ with a range of +10dB to –10dB.
-
Page 5: Quick Setup Diagram
QUICK SETUP DIAGRAM Study this setup diagram. Make sure all faders are at "zero" and all devices are off. First, connect all input sources. Next, connect your microphone and monitor headphones. Finally, connect the stereo outputs to the power amplifier(s) and/or audio receivers such as tape decks. -
Page 6: Specifications
M.202 INPUT / OUTPUT IMPEDANCE & SENSITIVITY: LINE -14dB/10K OHM ±2dB PHONO -50dB /47K OHM ±2dB -60dB /2.2K OHM ±2dB MASTER 1K OHM PHONES 0dB/33 OHM ±2dB (LOAD=32 OHM) MAX. OUTPUT (THD=1%) MASTER MORE THAN +14dBV PHONES MORE THAN +21dBV CHANNEL BALANCE WITHIN 3dB FREQUENCY RESPONSE:... - Page 7 CONNECTIONS 1) Connect the power cord to an AC outlet. 2) Connect the RCA cable to the PHONO input of your mixer. You can also use a line input by setting the phono/line switch at the rear of the turntable to Line. Note: This turntable has separate analog and digital circuits.
- Page 8 The first adjustment is the correct installation of the cartridge. Your cartridge is to be mounted into the headshell as pre the mounting instructions included with the cartridge. The Stanton 500,680 and 890 series of cartridges require the use of the two screws mounting into the headshell. For your convenience, some of these products can be purchased already mounted and pre-adjusted from your local Stanton dealer.
- Page 9 T.80 POWER SOURCE AC 100V, 50/60Hz (For Japan) AC 110V, 60Hz (For Taiwan) AC 120V, 60Hz (For U.S.A.,Canada,Mexico) AC 220V, 50Hz (For United Arab Emirates,Chile,Argentina) AC 220V, 60Hz (For Philippines) AC 230V, 50Hz (For Europe,New Zealand,South Africa,Singapore,Israel) AC 240V, 50Hz (For Australia,U.K.) POWER CONSUMPTION 10 Watts DIMENSIONS 452 (W) x 370 (D) x 86 (H) mm...
- Page 10 Stanton dealer’s return policy. Stanton assumes no risk and shall be subject to no liability for damages or loss resulting from the specific use or application made of the merchandise. Stanton's liability for any claim, whether based on breach of contract, negligence, infringement of any rights of any party, or product liability, and relating to the merchandise shall not exceed the price received by Stanton from your purchase of such merchandise.
- Page 11 c u t a l o n g d o t t e d l i n e...
- Page 12 Stanton Magnetics, Inc. 3000 SW 42nd Street Hollywood, FL 33312 U.S.A. PLACE STAMP HERE...


