
Related Manuals for Sony TC-WR350Z


Summary of Contents for Sony TC-WR350Z
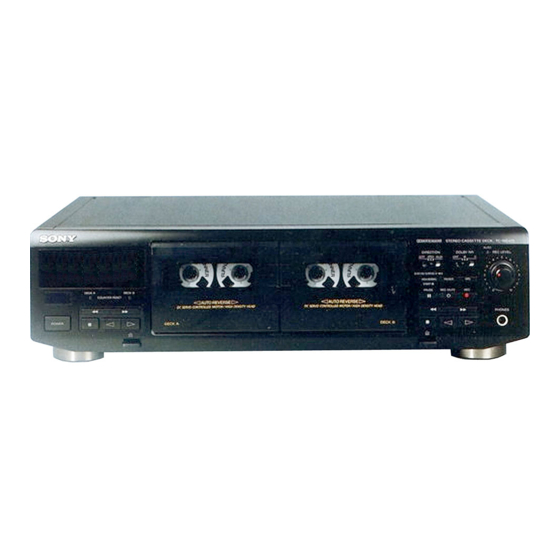
- Page 1 Stereo Cassette Deck Operating Instructions TC-WE405 TC-WR661 TC-WR350Z 1997 by Sony Corporation 3-860-243-11(1)
- Page 2 Owner’s Record The model and serial numbers are located on the rear of the unit. Record these numbers in the spaces provided below. Refer to them whenever you call upon your Sony dealer regarding this product. Model No. Serial No. INFORMATION...
-
Page 3: Table Of Contents
Welcome! Thank you for purchasing the Sony Stereo Cassette Deck. Before operating the unit, please read this manual thoroughly and retain it for future reference. About This Manual The instructions in this manual are for models TC-WE405, TC-WR661 and TC- WR350Z. -
Page 4: Getting Started
Getting Started Getting Started Unpacking Check that you received the following items: • Audio connecting cords (2) Hooking Up the System This section describes how to hook up the tape deck to an amplifier. Be sure to turn off the power of each component before making the connections. -
Page 5: Playing A Tape
Basic Operations Playing a Tape DECK A DECK B COUNTER RESET POWER ª · § • See page 4 for hookup information. • You can use either deck for playback. To locate the beginning of a tape and start playback automatically (Auto Play) Press 0 while holding down ·. -
Page 6: Recording On A Tape
Basic Operations Basic Operations Recording on a Tape DECK A DECK B COUNTER RESET POWER ª · • See page 4 for hookup information. • Use deck B (on your right hand side) for recording. • See "Dubbing a Tape" (page 9) to make a copy of the tape. -
Page 7: Basic Operations
To protect recordings against accidental erasure Break out the record-protect tab(s) (see page 11). The Dolby HX PRO* system automatically works during recording (TC-WE405 only) Distortion and noise in the high-frequency response are reduced to produce high- quality sound that can be enjoyed even during DECK A DECK B... -
Page 8: Advanced Recording Operations
Advanced Recording Operations Advanced Recording Operations Adjusting the Recording Level Automatically (Auto Rec Level) The Auto Rec Level function automatically measures the peak signal level and adjusts the recording level accordingly. DECK A DECK B COUNTER RESET POWER ª · §... -
Page 9: Fading In And Out (Fader)
Fading In and Out (Fader) You can gradually increase the recording level at the beginning of a recording (fade in) or gradually decrease the recording level at the end of a recording (fade out). It is convenient to use this function, for example, when the tape reaches to its end and you don’t want the track to be cut off abruptly. -
Page 10: Inserting A Blank Space During Recording (Record Muting)
Advanced Recording Operations During high-speed dubbing Only p is operative. You don‘t have to adjust the recording level or select the Dolby NR system during dubbing Dubbing is automatically performed with the same recording level and Dolby NR system as the original in deck A. -
Page 11: Additional Information
For detailed safety precautions, see the leaflet “IMPORTANT SAFEGUARDS”. If you have any questions or problems concerning your tape deck, please consult your nearest Sony dealer. Additional Information Notes on Cassette Tapes To protect a recording on side A or B Break out the respective tab. -
Page 12: Cleaning
Additional Information Cleaning Head assembly of deck B Pinch rollers Capastans Erasing head Recording/playback head DECK A DECK B COUNTER RESET POWER ª · § Cleaning the heads and tape path Clean the heads and tape path of the tape deck after every 10 hours of operation to guard against: •... -
Page 13: Troubleshooting
Should the problem persist, consult your nearest Sony dealer. The function buttons do not work. / The tape deck has been just turned on and does not operate for about 3 seconds. -
Page 14: Specifications
1.8% (with Type IV tape, Sony Type IV (METAL): 250 nWb/m 315 Hz, 3rd H.D.) Frequency response (Dolby NR off) Type I tape, Sony Type I (NORMAL): 30 - 16,000 Hz (±3 dB, IEC) Type II tape, Sony Type II (HIGH): 30 - 17,000 Hz (±3 dB, IEC) -
Page 15: Index
Index Index A, B Adjusting recording level automatically. See Auto rec level recording level manually 7 volume 5 Audio connecting cord 4, 14 Auto play 5 Auto rec level 8 Cassette. See Tape Cleaning cabinet 11 heads and tape path 12 Connecting. - Page 16 Sony Corporation Printed in China...