Advertisement
Advertisement
Table of Contents

Related Manuals for Martin MX-4


Summary of Contents for Martin MX-4
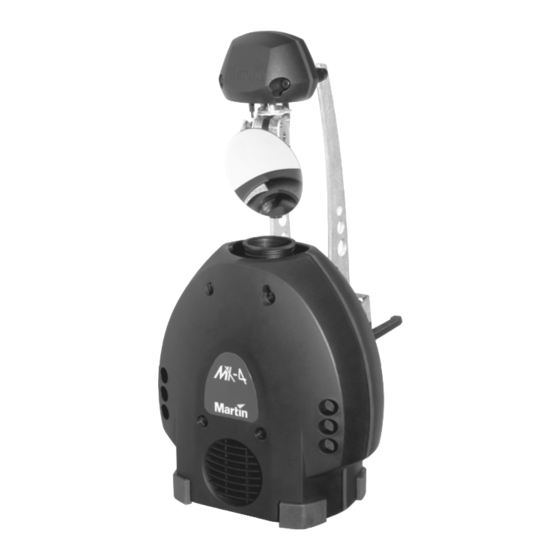
- Page 1 MX-4 user manual...
- Page 2 12 data sockets 13 swivel locks 14 cooling fan ©1999 - 2000 Martin Professional A/S, Denmark. All rights reserved. No part of this manual may be reproduced, in any form or by any means, without permission in writing from Martin Professional A/S, Denmark.
-
Page 3: Table Of Contents
........4 NTRODUCTION . -
Page 4: Introduction
15 full and 2 split colors, 19 gobos, high-speed shutter, 230° of pan and 76° of tilt, adjustable focus, and a 16° beam angle. It uses a 150 watt discharge lamp and may be operated with DMX controllers, the Martin MC-1 remote control, or as a stand-alone unit with master/slave capability. - Page 5 • Never place filters or other materials over the lens or mirror. • Allow the fixture to cool before handling. • Do not modify the fixture or install other than genuine Martin parts. • Do not operate the fixture if the ambient temperature (Ta) exceeds 40° C (104° F).
-
Page 6: Ac Power
POWER The MX-4 power supply has 5 voltage and 2 frequency settings. The factory default setting is shown on the serial number label. Warning! For protection from fire and electric shock, the fixture must be grounded (earthed). The power supply shall have overload and ground-fault protection. - Page 7 2 On the transformer, which is located behind the color wheel, move the brown and white wires to the transformer taps shown for your mains voltage. (If your MX-4 has 2 blue wires, the blue wire with the insulated spade plug corresponds to the white wire.) Important! Do not move the blue wire from terminal 9 or the black wire from terminal 15.
- Page 8 2 3 4 5 6 7 8 orange orange blue white black brown 3 To set the frequency, move the black wire on the ballast to the “230-50” (50 Hz) or “230-60” (60 Hz) terminal as shown. The wire is released and locked by inserting a small screwdriver in the square hole next to the terminal and prying back the spring.
-
Page 9: Installation
NSTALLATION The MX-4 can be fastened directly to a suitable surface or to a rigging clamp by means of its adjustable mounting bracket. It can also be placed at an angle directly on the stage or floor using the mounting bracket as a floor stand. Do not lay the fixture flat on its pan/tilt arms: this can cause the fixture to overheat. -
Page 10: Stand - Alone Operation
S I N G L E F I X T U R E O P E R A T I O N When there is no control signal at the data input for 5 seconds, the MX-4 automatically goes into stand-alone mode regardless of the DIP-switch setting. It uses music trigger unless stand-alone mode is enabled and auto trigger is selected. - Page 11 not strike, disconnect the fixture from power for several minutes to reduce strain on the starter while the lamp cools. M A S T E R / S L A V E O P E R A T I O N Up to 32 MX-4s can be connected together and operated in master/slave mode in which slave fixtures follow instructions sent from the master.
-
Page 12: Operation
MC-1 OPERATION The MX-4 is fully compatible with the Martin MC-1 Controller. See the MC-1 user manual for additional information. S E T T I N G S DIP-switch pin 10 must be set to OFF to enable MC-1 mode operation. Changes to the setting take effect after the fixture has been turned off and on. -
Page 13: Dmx Operation
C O N N E C T I O N S The MX-4’s XLR data sockets are wired with pin 1 to ground, pin 2 to signal - (cold), and pin 3 to signal + (hot). This is the standard pin assignment for DMX devices. - Page 14 1 - C H A N N E L D M X O P E R A T I O N The 1-channel DMX mode provides simple remote activation of the MX-4’s stand- alone programs plus blackout and strobe functions. The 1-channel functions are shown in Table 5.
- Page 15 6 / 7 C H A N N E L D M X O P E R A T I O N The 6-channel DMX mode provides position control of all effects plus speed control of the moving mirror. The optional 7-channel mode adds speed control of the color and gobo wheels.
- Page 16 To select DMX mode 1 Disconnect the fixture from power. Set DIP-switch pin 10 to OFF. 2 To select 1-channel DMX mode, set DIP-switch pin 11 to ON. 3 To select 6-channel DMX mode, set DIP-switch pin 11 to OFF. Verify that the 6/7 ch.
- Page 17 DIP-Switch Setting 0 = OFF 1 = ON 96 128 160 192 224 256 288 320 352 384 416 448 480 97 129 161 193 225 257 289 321 353 385 417 449 481 98 130 162 194 226 258 290 322 354 386 418 450 482 99 131 163 195 227 259 291 323 355 387 419 451 483 68 100 132 164 196 228 260 292 324 356 388 420 452 484 69 101 133 165 197 229 261 293 325 357 389 421 453 485...
-
Page 18: Lamp
C O M P A T I B L E L A M P S The MX-4 uses the Philips CDM-SA/T (short-arc, tubular) 150W discharge lamp. If desired, the GE Arcstream 150 may be substituted. Installing any other lamp may damage the fixture. - Page 19 To orient the Arcstream lamp for maximum l ife If using the GE Arcstream lamp, maximum lamp life will be achieved by installing the lamp so that the arc is parallel with the ground. This is the case in most installations. If the fixture is installed sideways, however, as shown to the right, below, the arc will be vertical.
-
Page 20: Basic Service
ASIC SERVICE The MX-4 requires simple routine maintenance. The maintenance schedule depends heavily on the operating environment; please consult a Martin service technician for recommendations. Any service procedure not described here should be referred to a qualified technician. Important! Excessive dust, grease, and smoke fluid buildup degrades performance and causes overheating and damage to the fixture that is not covered by the warranty. - Page 21 R E P L A C I N G F U S E S The MX-4 has 2 fuses. The main fuse holder is built in to the mains input socket. The secondary fuse is located on the printed circuit board.
-
Page 22: Troubleshooting
Have the defective fixture serviced by a qualified technician. The effect requires mechanical Contact Martin technician for An effect fails to reset correctly. adjustment. service. Disconnect fixture and replace No light. Lamp missing or blown lamp. -
Page 23: Dmx Protocol
PROTOCOL Channel Value Percent Function Shutter, Lamp power, Reset 0 - 9 0 - 3 Shutter closed (blackout) 10 - 19 3 - 7 Lamp-on 20 - 99 7 - 39 Shutter open 100 - 159 39 - 62 Strobe, fast to slow 160 - 179 63 - 70 Shutter closed... - Page 24 Channel Value Percent Function Gobo Wheel 0 - 11 0 - 4 Open 12 - 23 5 - 8 Worms 2 24 - 35 9 - 13 36 - 47 14 - 18 Petals 48 - 59 19 - 23 Spokes 60 - 71 24 - 27...
-
Page 25: Specifications
PECIFICATIONS P H Y S I C A L Size (L x W x H) ..........537 x 269 x 263 mm (21.1 x 10.6 x 10.4 in) Weight....................... 8.8 kg (19.4 lbs) S O U R C E Philips CDM-SA/T 150W ..............85 Lm/W, 6000 hr, 4000 K GE Arcstream 150 W ...............