Daikin ERLQ004CAV3 Installation Manuals
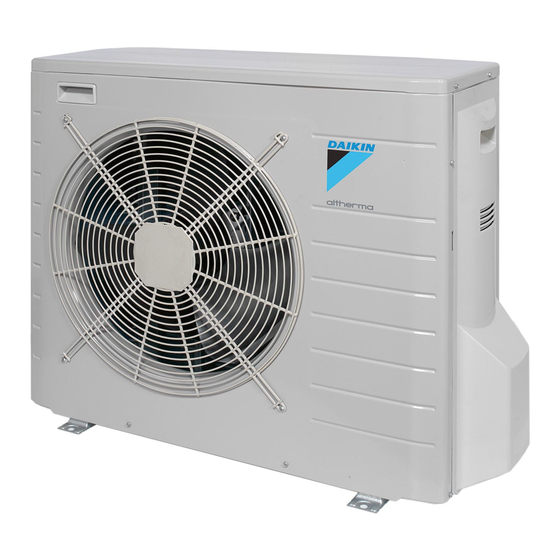
Low temperature split outdoor unit
Hide thumbs
Also See for ERLQ004CAV3:
- Installation manual (14 pages) ,
- Installer's reference manual (120 pages) ,
- Installer's reference manual (108 pages)

Related Manuals for Daikin ERLQ004CAV3


Summary of Contents for Daikin ERLQ004CAV3
- Page 1 Installation manual Daikin Altherma – Low temperature split outdoor unit ERLQ004CAV3 Installation manual ERLQ006CAV3 English Daikin Altherma – Low temperature split outdoor unit ERLQ008CAV3...
- Page 2 3PW68004-6E...
-
Page 3: Table Of Contents
▪ A subset of the latest technical data is available on the regional Mounting the outdoor unit............Daikin website (publicly accessible). 4.2.1 To provide the installation structure ......▪ The full set of latest technical data is available on the Daikin 4.2.2 To install the outdoor unit..........extranet (authentication required). 4.2.3 To provide drainage ............ -
Page 4: Preparation
If the unit is installed on brackets to the wall, it is recommended to 1× use the EKFT008CA option kit and to install the unit as follows: Installation manual ERLQ004~008CAV3 Daikin Altherma – Low temperature split outdoor unit 4PW73435-1D – 2018.07... -
Page 5: To Install The Outdoor Unit
U‑beam. 3 Remove the protective cardboard and instruction sheet. Protective cardboard Instruction sheet 4.2.3 To provide drainage Make sure that condensation water can be evacuated properly. ERLQ004~008CAV3 Installation manual Daikin Altherma – Low temperature split outdoor unit 4PW73435-1D – 2018.07... -
Page 6: To Prevent The Outdoor Unit From Falling Over
(field supply). 4 Attach the ends of the cables and tighten them. Connecting the refrigerant piping DANGER: RISK OF BURNING Installation manual ERLQ004~008CAV3 Daikin Altherma – Low temperature split outdoor unit 4PW73435-1D – 2018.07... -
Page 7: To Connect The Refrigerant Piping To The Outdoor Unit
2 Leave as is for 4-5 minutes and check the pressure: If the pressure… Then… GWP × kg 1000 Does not change There is no moisture in the system. This procedure is finished. ERLQ004~008CAV3 Installation manual Daikin Altherma – Low temperature split outdoor unit 4PW73435-1D – 2018.07... -
Page 8: Connecting The Electrical Wiring
See the indoor unit installation manual for configuration and commissioning of the system. Technical data A subset of the latest technical data is available on the regional Daikin website (publicly accessible). The full set of latest technical data is available on the Daikin extranet (authentication required). Installation manual ERLQ004~008CAV3 Daikin Altherma –... -
Page 9: Piping Diagram: Outdoor Unit
Push buttons Compressor motor SW2, SW5 DIP switches Fan motor Connector MR30, MR306, Magnetic relay Connector MR307, MR4 V2, V3, V401 Varistor MRM10, MRM20 Magnetic relay Connector ERLQ004~008CAV3 Installation manual Daikin Altherma – Low temperature split outdoor unit 4PW73435-1D – 2018.07... - Page 10 Electronic expansion valve coil Reversing solenoid valve coil Z1C~Z4C Ferrite core Field wiring Terminal strip Connector Terminal Protective earth Black Blue Brown Green Orange Purple White Yellow Installation manual ERLQ004~008CAV3 Daikin Altherma – Low temperature split outdoor unit 4PW73435-1D – 2018.07...
- Page 12 4PW73435-1D 2018.07...