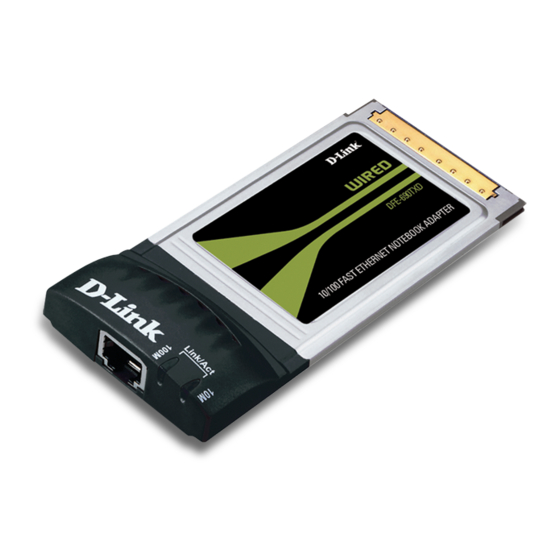
D-Link DFE-690TXD Quick Install Manual
Hide thumbs
Also See for DFE-690TXD:
- User manual (57 pages) ,
- Quick installation manual (41 pages) ,
- Installation manual (10 pages)
Table of Contents
Advertisement
Quick Links
Advertisement
Table of Contents

Summary of Contents for D-Link DFE-690TXD
-
Page 2: System Requirements
• An available cardbus slot • CPU: 800MHz or above Package Contents D-Link DFE-690TXD Manual and Software on CD 32-bit Fast Ethernet Cardbus Notebook Adapter If any of the above items are missing, please contact your reseller. D-Link DFE-690TXD Quick Install Guide... -
Page 3: Hardware Overview
A blinking light indicates data is being transmitted up to 100Mbps. 10M Link/Activity LED A steady light indicates a 10Mbps connection to a network. A blinking light indicates data is being transmitted up to 10Mbps. D-Link DFE-690TXD Quick Install Guide... -
Page 4: Software Installation
Software Installation Software Installation Turn on the computer and Insert the D-Link DFE-690TXD Driver CD into the CD-ROM drive. The step-by-step instructions are shown in Windows XP, and are similar in other Windows operating systems. ® ® Click Install Drivers If the CD Autorun function does not automatically start on your computer, go to Start >... -
Page 5: Hardware Installation
Hardware Installation Hardware Installation Make sure your computer is turned off and insert the DFE-690TXD into the Cardbus slot of your laptop. Once the DFE-690TXD is inserted into the Cardbus slot, turn on your computer. Windows XP completes the installation of the DFE-690TXD ®... -
Page 6: Verify Installation
7: Click on the System and Security icon and then click ® on Device Manager. Step 3: Scroll down and click the plus (+) sign next to Network Adapters. The D-Link DFE-690TXD CardBus PC Card will be listed. D-Link DFE-690TXD Quick Install Guide... -
Page 7: Configure Your Adapter
Configure Your Adapter Configure your Adapter After you install your new D-Link adapter, by default, the TCP/IP settings should be set to obtain an IP address from a DHCP server (i.e. router) automatically. To verify your IP address, please follow the steps below. - Page 8 Internet > Network and Sharing Center > Manage Network Connections. Step 2: Right-click on the Local Area Connection, which represents your D-Link network adapter, and select Properties. Step 3: Highlight Internet Protocol (TCP/IP) and click Properties. Step 4: Click Use the following IP address and enter an IP address that is on the same subnet as your network or the LAN IP address on your router.
- Page 9 Set Primary DNS the same as the LAN IP address of your router (192.168.0.1). The Secondary DNS is not needed or you may enter a DNS server from your ISP. Step 5: Click OK twice to save your settings. D-Link DFE-690TXD Quick Install Guide...
- Page 10 Notes Notes D-Link DFE-690TXD Quick Install Guide...
- Page 11 Notes Notes D-Link DFE-690TXD Quick Install Guide...
-
Page 12: Technical Support
Copyright ©2006-2010 D-Link Corporation/D-Link Systems, Inc. All rights reserved. D-Link and the D-Link logo are registered trademarks of D-Link Corporation or its subsidiaries in the United States and other countries. Other trademarks are the property of their respective owners. Product specifications, size and shape are subject to change without notice, and actual product appearance may differ from that depicted on the packaging.


Need help?
Do you have a question about the DFE-690TXD and is the answer not in the manual?
Questions and answers