Table of Contents
Advertisement
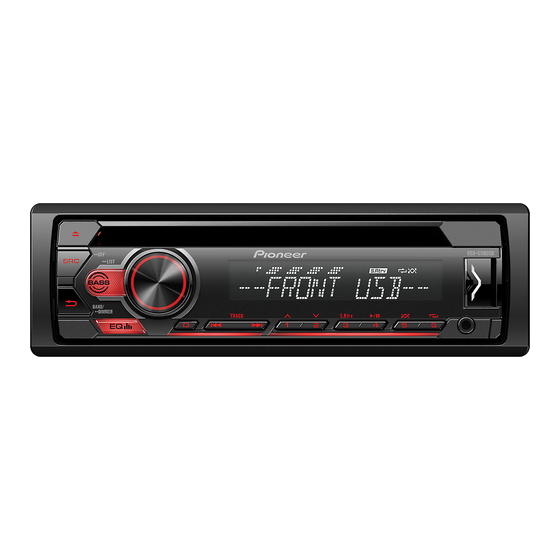
CD RDS RECEIVER
AUTORADIO CD RDS
REPRODUCTOR DE CD CON RECEPTOR RDS
Important (Serial number)
The serial number is located on the bottom of this unit. For your own security and convenience, be sure to
record this number on the enclosed warranty card.
Important (Numéro de série)
Le numéro de série se trouve au bas de cet appareil. Pour votre sécurité et votre commodité, veillez à noter ce
numéro sur la carte de garantie fournie.
Importante (Número de serie)
El número de serie se encuentra en la parte inferior de esta unidad. Por su propia seguridad y comodidad,
asegúrese de anotar este número en la tarjeta de garantía que se adjunta.
Operation Manual
Mode d'emploi
Manual de operación
Advertisement
Table of Contents

Related Manuals for Pioneer DEH-S1100UB


Summary of Contents for Pioneer DEH-S1100UB
- Page 1 CD RDS RECEIVER AUTORADIO CD RDS REPRODUCTOR DE CD CON RECEPTOR RDS DEH-S1100UB Operation Manual Mode d’emploi Manual de operación Important (Serial number) The serial number is located on the bottom of this unit. For your own security and convenience, be sure to record this number on the enclosed warranty card.
-
Page 2: Table Of Contents
Table of Contents Getting Started ..................3 Radio ......................7 CD/USB/AUX..................... 8 Using Pioneer ARC APP ............... 10 Settings ....................11 FUNCTION settings ................12 AUDIO settings ..................12 SYSTEM settings ..................13 ILLUMINATION settings................ 14 Additional Information ............... 15 About this manual: •... -
Page 3: Getting Started
Getting Started Basic operation DEH-S1100UB BASS USB port M.C. (multi-control) dial (eject) SRC (source)/OFF Disc loading slot DISP (display) Detach button Display window AUX input jack (3.5 mm stereo jack) BAND/ Remote Control VOLUME +/– MUTE FUNCTION AUDIO SRC (source) -
Page 4: Display Indication
Frequently used operations Operation Purpose Head Unit Remote Control Turn on the power* Press SRC/OFF to turn on Press SRC to turn on the the power. power. Press and hold SRC/OFF to Press and hold SRC to turn turn off the power. off the power. -
Page 5: Detaching The Front Panel
Detaching the front panel Detach the front panel to prevent theft. Remove any cables and devices attached to the front panel and turn off the unit before detaching it. Detach Attach Important • Avoid subjecting the front panel to excessive shock. •... -
Page 6: Initial Settings
• If the battery leaks, remove the battery and wipe the remote control completely clean. Then install a new battery. • When disposing of used batteries, please comply with governmental regulations or environmental public institutions’ rules that apply in your country/area. •... -
Page 7: Radio
Press the M.C. dial to display the main menu. Turn the M.C. dial to select [INITIAL], then press to confirm. Turn the M.C. dial to select an option, then press to confirm. Menu Item Description SP-P/O MODE Select when there is a full-range speaker connected to the rear speaker output leads and there is a subwoofer connected to the [REAR/SUB.W] RCA output. -
Page 8: Cd/Usb/Aux
buttons can be also used to select a preset station when [SEEK] is set to [PCH] in the FUNCTION settings (page 12). Best stations memory (BSM) The six strongest stations are stored on the number buttons (1/ to 6/ After selecting the band, press the M.C. dial to display the main menu. Turn the M.C. - Page 9 Plug in the USB device using an appropriate cable. NOTE To automatically switch to [USB] source when a USB device is connected to the unit, set [USB AUTO] to [ON] in the SYSTEM settings (page 14). CAUTION Use a USB cable (sold separately) to connect the USB device as any device connected directly to the unit will protrude out from the unit, which could be dangerous.
-
Page 10: Using Pioneer Arc App
Using Pioneer ARC APP You can operate the unit from Pioneer ARC APP installed on an Android device. In some cases, you can control aspects of the application, such as source selection, pause, etc., by using the unit. -
Page 11: Settings
Pioneer ARC APP on the device starts automatically. NOTE If Pioneer ARC APP has not been installed on your Android device yet, a message that prompts you to install the application will appear on your Android device. Select [OFF] in [P.APP AUTO ON] to clear the message (page 14). -
Page 12: Function Settings
Press the M.C. dial to display the main menu. Turn the M.C. dial to select one of the categories below, then press to confirm. • FUNCTION settings (page 12) • AUDIO settings (page 12) • SYSTEM settings (page 13) • ILLUMINATION settings (page 14) Turn the M.C. -
Page 13: System Settings
Menu Item Description EQ SETTING [SUPER BASS], [POWERFUL], Select or customize the equalizer curve. [DYNAMIC], [NATURAL], [VOCAL], [CUSTOM1] can be set separately for each source. [VIVID], [CUSTOM1], [CUSTOM2], However, each of the below combinations are set [FLAT] to the same setting automatically. [CUSTOM2] is a shared setting used for all Select an equalizer band and sources. -
Page 14: Illumination Settings
Select the appropriate connection method for an Android device. P.APP AUTO ON [ON], [OFF] Select [ON] to automatically launch Pioneer ARC APP when an Android device is connected to the unit via AOA. (Not available when [MEMORY] is selected in [ANDROID WIRED].) -
Page 15: Additional Information
– Turn the ignition switch OFF and back → The inserted disc contains DRM to ON again. If the message remains, protected files. contact your dealer or an authorized – The protected files are skipped. Pioneer Service Station for assistance. - 15 -... - Page 16 – Check that the USB connector or USB PROTECT cable is not caught in something or → All the files on the inserted disc are damaged. embedded with DRM. → The connected USB device consumes – Replace the disc. more than maximum allowable current. –...
-
Page 17: Compressed Audio Compatibility
Using such discs may result CAUTION in damage to this equipment. • Do not attach commercially available • Pioneer cannot guarantee compatibility labels or other materials to the discs. with all USB mass storage devices, and – The discs may warp making the disc assumes no responsibility for any loss of unplayable. -
Page 18: Sequence Of Audio Files
Sampling frequency 8 kHz to 48 kHz (32 File system ISO 9660 Level 1 and kHz, 44.1 kHz, 48 kHz 2, Romeo, Joliet for emphasis) Multi-session Compatible Compatible ID3 tag 1.0, 1.1, 2.2, 2.3, 2.4 playback version (ID3 tag Version 2.x is Packet write data Not compatible given priority over... -
Page 19: Copyright And Trademark
Example of a hierarchy – Neither the name of the Xiph.org Foundation nor the names of its contributors may be used to endorse or Folder promote products derived from this Compressed software without specific prior written audio file permission. THIS SOFTWARE IS PROVIDED BY THE COPYRIGHT HOLDERS AND CONTRIBUTORS “AS IS”... - Page 20 Maximum current supply: 1.5 A Chassis: 178 mm × 50 mm × 165 mm USB Protocol: (7 in. × 2 in. × 6-1/2 in.) MSC (Mass Storage Class) Nose: 170 mm × 46 mm × 17 mm (6- MTP (Media Transfer Protocol) 3/4 in.
- Page 21 © 2018 PIONEER CORPORATION. All rights reserved. © 2018 PIONEER CORPORATION. Tous droits de reproduction et de traduction réservés. <QRI3141-A> UC...