Table of Contents
Advertisement
Quick Links
Advertisement
Table of Contents

Summary of Contents for Sonos One
- Page 2 Sonos, Inc. Sonos and all other Sonos product names and slogans are trademarks or registered trademarks of Sonos, Inc. Sonos Reg. U.S. Pat. & Tm. Off.
-
Page 3: Sonos One
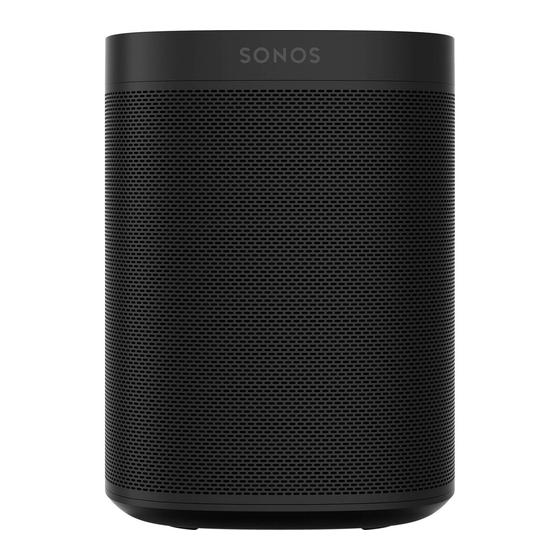
Sonos One Sonos One has Amazon Alexa built right in so you can use your voice to start and control your music on Sonos. • Fits perfectly on shelves, counters, and snug spaces or mounted to a wall, ceiling or speaker stand. -
Page 4: Select A Location
You can put your speaker just about anywhere. Here’s a few guidelines: • Sonos One sounds great even when placed next to a wall or on a shelf. For best performance, leave at least 1 inch (2.5 cm) space around the back of the speaker. -
Page 5: Touch Controls
Note: If the light is off, press and hold the Microphone indicator to talk to Alexa. Release the button to turn voice control off again. Status lights Speaker status For more information, see http://faq.sonos.com/led. Microphone See Microphone indicator. Connector panel Join button Press Join to connect during setup. -
Page 6: Play Music
Control Sonos with voice commands To use Alexa with Sonos, you’ll need the Alexa app with the Sonos skill enabled—if you don’t have it, we’ll guide you through it when you add a voice service. -
Page 7: Equalization Settings
VoiceOver off in your device settings. Equalization settings Sonos speakers ship with the equalization settings preset to provide the optimal playback experience. You can change the sound settings (bass, treble, balance, or loudness) to suit your personal preferences. -
Page 8: Stereo Pairs
Product Guide Stereo pairs You can pair two Sonos speakers in the same room to create a wider stereo experience. One speaker serves as the left channel and one serves as the right channel. Note: The Sonos speakers in a stereo pair must be the same type. -
Page 9: Surround Speakers
3. On the Basic tab, click Separate Stereo Pair. Surround speakers Turn two Sonos speakers (same model) into separate right and left channels for your home theater. Note: If you create a room group or stereo pair instead, you won’t have surround sound. -
Page 10: Your Home Network
4. Select the Surrounds tab and change the settings Remove surrounds If the speakers were part of your Sonos system before you added them as surrounds, they’ll revert back to their previous room names. Otherwise, they’ll appear as Unused in Rooms. -
Page 11: Got A New Router
If you purchase a new router or change your internet service provider (ISP), you’ll need to restart your Sonos products after the router is installed. Note: If you keep a Sonos product connected to your router and an ISP technician connects it to the new router, then you’ll only need to restart your other Sonos products. -
Page 12: Important Safety Information
4. Follow all instructions. 5. Do not use this apparatus near water. 6. Clean only with dry soft cloth. Household cleaners or solvents can damage the finish on your Sonos components. Do not vacuum the microphone area or apply air pressure. - Page 13 Wireless Connectivity Connects to your home Wi-Fi network with any 802.11 b/g/n router. 802.11n only network configurations are not supported—you can either change the router settings to 802.11 b/g/n or connect a Sonos product to your router. Ethernet Port One 10/100Mbps Ethernet port.
-
Page 14: Product Guide Feedback
We’d love to hear from you! We’ll read your feedback carefully and use it to help us improve our product guides. Write to us at: docfeedback@sonos.com If you’re having a problem with your Sonos system, please contact Customer Care so they can help. Email them at http://www.sonos.com/emailsupport.


