BIXOLON SRP-350 User Manual
Samsung thermal printer user's manual
Hide thumbs
Also See for Bixolon SRP-350:
- User manual (104 pages) ,
- Service manual (59 pages) ,
- Installation manual & safety manual (20 pages)

Related Manuals for BIXOLON Bixolon SRP-350


Summary of Contents for BIXOLON Bixolon SRP-350
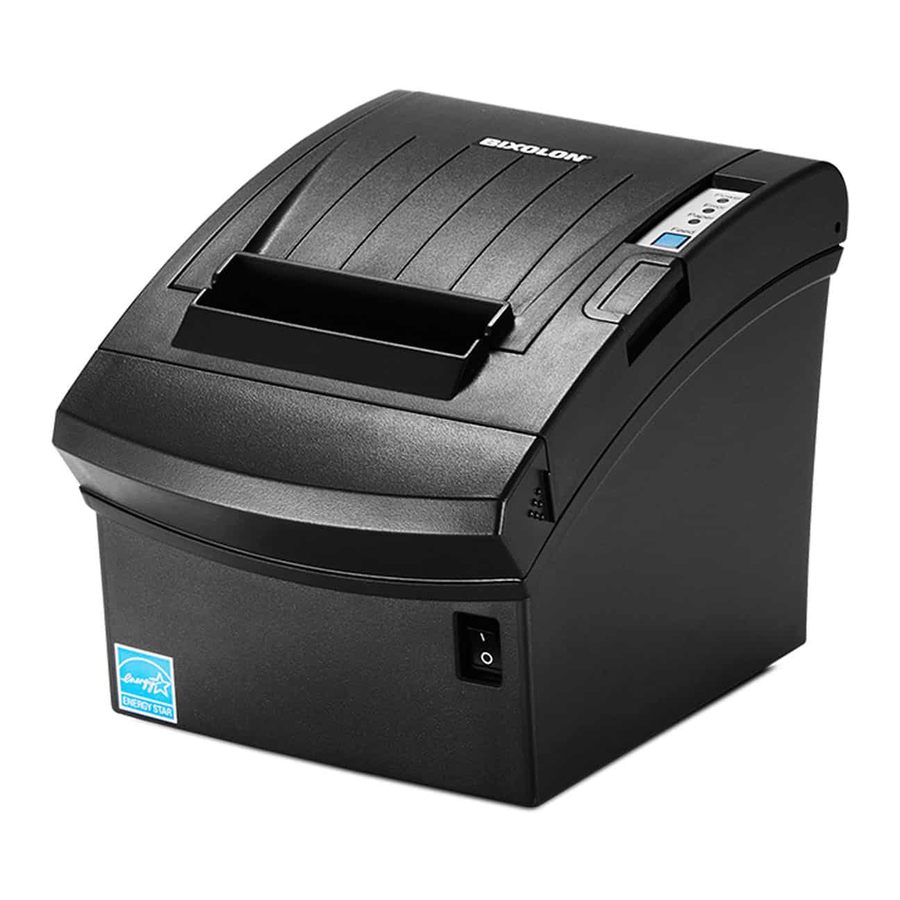
- Page 1 User’s Manual SRP-350 Thermal Printer Rev. 1.01 http://www.samsungminiprinters.com...
-
Page 2: Safety Precautions
PROHIBITED Do not pull the cable to unplug. • This can damage the cable, which is the origin of a fire or a breakdown of the printer. PROHIBITED Do not plug in or unplug with your hands wet. • You can be electrocuted. - Page 3 • After the disappearance of the smoke, call your dealer to repair it. TO UNPLUG PRINTER Install the printer on the stable surface. • If the printer falls down, it can be broken and you can hurt yourself. PRINTER PROHIBITED Do not let water or other foreign objects in the printer.
-
Page 4: Label Material
Some semiconductor devices are easily damaged by static electricity. You should turn the printer “OFF”, before you connect or remove the cables on the rear side, in order to guard the printer against the static electricity. If the printer is damaged by the static electricity, you should turn the printer “OFF”. - Page 5 SRP-350 ■ Introduction The SRP-350 Roll Printer are designed for use with electronic instruments such as system ECR, POS, banking equipment, computer peripheral equipment, etc. The main features of the printer are as follows: 1. High speed printing : 35.5(1/6” Feed) lines per second.
-
Page 6: Table Of Contents
■ Table of Contents 1. Setting Up the Printer ... 7 1-1 Unpacking... 7 1-2 Connecting the Cables ... 8 1-2-1 Serial Interface (RS-232C) ... 8 1-2-2 Serial Interface (RS-485) ... 9 1-2-3 Parallel Interface (IEEE1284) ... 10 1-2-4 USB Interface ...11 1-3 Connecting the Drawer ... -
Page 7: Setting Up The Printer
SRP-350 1. Setting Up the Printer 1-1 Unpacking Your printer box should include these items. If any items are damaged or missing, please contact your dealer for assistance. SRP-350 Cover Cable Roll Paper Manual AC Adapter Power Cord - 7 -... -
Page 8: Connecting The Cables
1-2 Connecting the Cables You can connect up the three cables to the printer. They all connect to the connector panel on the back of the printer, which is shown below: ※ NOTE Before connecting any of the cables, make sure that both the printer and the host are turned off. -
Page 9: Serial Interface (Rs-485)
1-2-2 Serial Interface (RS-485) IFA-SF TYPE Interface connector ※ When the Dip Switch is “ON” on the Serial Interface Board, DTR and RTS are connected each other. PRINTER SIDE Pin No. Signal name FGND SGND Rev. 1.01 Drawer kick-out connector... -
Page 10: Parallel Interface (Ieee1284)
1-2-3 Parallel Interface (IEEE1284) IFA-P TYPE Interface connector Pin No. Source Host Host / Printer Host / Printer Host / Printer Host / Printer Host / Printer Host / Printer Host / Printer Host / Printer Printer Printer Printer Printer... -
Page 11: Usb Interface
Do not connect a telephone line to the drawer kick-out connector; otherwise the printer and the telephone line may be damaged. Plug the drawer cable into the drawer kick-out connector on the back of the printer next to the power supply connector. -
Page 12: Setting The Dip Switches
1-4 Setting the Dip Switches 1-4-1 Serial Interface Function Auto Line Feed Reserved Handshaking Word length Parity check Parity selection Baud rate selection Transmission speed 9600 baud 19200 baud 38400 baud 57600 baud Function Emulation Reserved Auto Cutter Selection Busy Condition Select Print Density Near End Sensor Status Reserved... -
Page 13: Parallel & Usb Interface
1-4-2 Parallel & USB Interface Function Auto Line Feed Reserved Reserved Reserved Reserved Reserved Reserved Reserved Function Emulation Reserved Auto Cutter Selection Busy Condition Select Print Density Near End Sensor Status Reserved Print Density 1 ( Light ) 4 ( Dark ) Rev. -
Page 14: Installing Or Replacing The Paper Roll
1-5-2 Open the paper roll cover by pressing the cover-open button. ※ NOTE Do not open the print cover while the printer is operating. This may damage the printer. 1-5-3 Remove the used paper roll core if there is one. - Page 15 1-5-5 Be sure to note the correct direction that the paper comes off the roll. 1-5-6 Pull out a small amount of paper, as shown. Then close the cover. ※ NOTE When closing the cover, press the center of printer cover firmly to prevent paper miss-loading. 1-5-7 Tear off the paper as shown.
-
Page 16: Adjustments And Settings
○ PAPER This light indicates the near end of the paper roll. Install a new paper roll and the printer will continue printing. When the light blinks, it indicates the self-test printing standby state or macro execution Standby state when the macro execution command is used. -
Page 17: Connecting The Computer
Do not plug in the power cord. Otherwise, you may damage the power supply or the printer. 1-9-1 Make sure that the printer’s power switch is turned off, and the power supply’s power cord is unplugged from the electrical outlet. -
Page 18: Self Test
2. Self Test The self-test checks whether the printer has any problems. If the printer does not function properly, contact your dealer. The self-test checks the following; 2-1 Make sure paper roll has been installed properly. 2-2 Turn on the power while holding down the FEED button. The self-test begins. -
Page 19: Hexadecimal Dumping
3-3 Close the cover, then the printer enters the hexadecimal dump mode. 3-4 Run any software program that sends data to the printer. The printer will print all the codes it receives in a two-column format. The first column contains the hexadecimal codes and the second column gives the ASCII characters that corresponds to the codes. -
Page 20: Specification
4. Specification Printing method Dot density Printing width Paper width Characters per line (default) Printing speed Receive Buffer Size ※ NOTE : Printing speed may be slower, depending on the data transmission speed and the combination of control commands. Supply voltage Input voltage Frequency Output voltage... -
Page 21: Appendix
SRP-350 5. Appendix 5-1 Cleaning Printer Paper dust inside the printer may lower the print quality. In this case clean the printer as follows. 5-1-1 Open the printer cover and remove the paper if exists. 5-1-2 Clean the print head with a cotton swab moistened with alcohol solvent.