Table of Contents
Advertisement
Advertisement
Table of Contents

Related Manuals for Yamaha YAS-108


Summary of Contents for Yamaha YAS-108
- Page 1 English Front Surround System Français Español Owner’s Manual Русский...
-
Page 2: Table Of Contents
CONTENTS PRECAUTIONS 5 Connecting the power cord........26 Connecting the power cord....................26 NOTICE AND INFORMATION PLAYBACK Basic operations............27 BEFORE USING THE UNIT Basic procedure for playback....................27 Enjoying your favorite sound........29 Features................. 14 Playback with 3D surround sound..................29 Accessories.............. - Page 3 CONFIGURATIONS Configuring various functions........37 Changing the brightness of the indicators (DIMMER)..........37 Configuring the HDMI control function................37 Configuring HDMI audio output..................38 Setting the auto power standby function..............38 Enabling/disabling touch panel control (child lock function)......... 39 Configuring the Bluetooth standby function..............39 Initializing the unit........................
- Page 4 Explanation of Graphical Symbols The lightning flash with arrowhead symbol within CAUTION an equilateral triangle is intended to alert the user to the presence of uninsulated “dangerous RISK OF ELECTRIC SHOCK voltage” within the product’s enclosure that may be DO NOT OPEN of sufficient magnitude to constitute a risk of electric shock to persons.
- Page 5 Hereby, Yamaha Music Europe GmbH declares that the radio equipment type which can be determined by turning the unit “OFF” and “ON”, please try to [YAS-108] is in compliance with Directive 2014/53/EU. The full text of the EU eliminate the problem by using one of the following measures: declaration of conformity is available at the following internet address: Relocate either this product or the device that is being affected by the interference.
-
Page 6: Precautions
Yamaha service personnel. – Foreign material or water gets into the interior of the unit. • Yamaha cannot be held responsible for injury to you – There is a loss of sound during use. or damage of the products caused by improper use –... - Page 7 Water warning ▪ Be sure to use the supplied power cord. Also, do not use the supplied power cord for other units. Failure to observe the above may cause a fire, burns, or malfunctions. ▪ Do not expose the unit to rain, use it near water or in damp or wet ▪...
- Page 8 ▪ Do not disassemble a battery. ▪ When disconnecting the power plug, always hold the plug itself and not If the contents of the battery get on your hands or in your eyes, it can the cord. cause blindness or chemical burns. Pulling by the cord can damage it and cause electric shocks or a fire.
- Page 9 Hearing loss ▪ Keep batteries away from children. A child could accidentally swallow a battery. Failure to observe this may also cause inflammation due to battery fluid leaks. ▪ Do not use the unit for a long period of time at a high or uncomfortable ▪...
-
Page 10: Notice And Information
NOTICE AND INFORMATION Notice Indicates points that you must observe in order to prevent product Connections failure, damage or malfunction and data loss. • If connecting external units, be sure to thoroughly read the Power supply manual for each unit and connect them in accordance with the instructions. - Page 11 Maintenance and care About disposal • When cleaning the unit, use a dry, soft cloth. Using chemicals • Be sure to discard used batteries in accordance with local such as benzine or thinner, cleaning agents, or chemical regulations. scrubbing cloths can cause discoloration or deformation. Information for users on collection and disposal of old equipment and used batteries: Speakers...
- Page 12 The Bluetooth ® word mark and logos are registered trademarks owned by Bluetooth SIG, Inc. and any use of such marks by Yamaha Corporation is Manufactured under license from Dolby Laboratories. Dolby, Dolby Audio, under license. Pro Logic, and the double-D symbol are trademarks of Dolby Laboratories.
- Page 13 About content in this manual • This manual is for the following readers: – the users of the unit – the constructor, builder and dealer that mount the unit on the wall • This manual uses the following signal words for the important information: –...
-
Page 14: Before Using The Unit
BEFORE USING THE UNIT Features Introduction This front surround system with its built-in subwoofers allows for the enjoyment of dynamic sound with video played on a TV. Playback device Bluetooth device (BD/DVD player) (Smart speaker) The unit • Play audio from a TV or BD/DVD player in surround sound. •... - Page 15 Compressed Music Enhancer technology improves sound quality 3D surround playback and characteristics, and can be used to enjoy realistic and impressive sound. For details, see the following: Surround sound can be heard not only from horizontal directions, • “Connecting the unit to two Bluetooth devices simultaneously but also from varying heights when DTS Virtual:X is used.
-
Page 16: Accessories
Accessories Using the remote control Checking the accessories Preparing the remote control Make sure you have received all of the following accessories. Remove the battery’s insulating strip before attempting to use the remote control. The unit Remote control Power cord Optical digital audio Battery’s insulating strip * A CR2025 Lithium... - Page 17 Operating range of the remote control Replacing the battery in the remote control Operate the remote control within the range shown in the following figure. Press and hold the release tab firmly in the direction indicated by [A], and slowly slide the battery holder out in the direction indicated by [B].
-
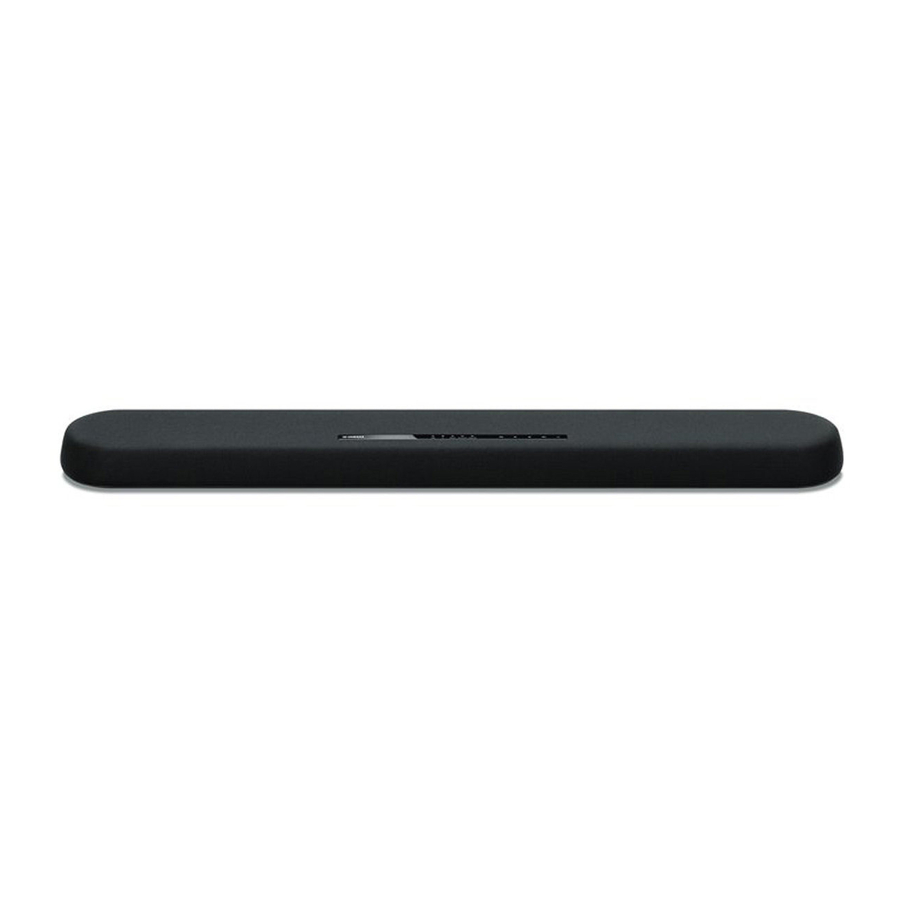
Page 18: Part Names And Functions
Part names and functions Part names and functions of the front/top panel The part names and functions of the front and top panels are as follows. NOTE Indicators } / { (volume +/-) The indicators on the top panel flash or glow, Adjust the volume (p.27). - Page 19 Remote control sensors Receive infrared signals from the remote control of the unit (p.17). NOTE ▪ 2, 3, are touch sensors. Touch icons with your finger to control functions. ▪ Do not place any objects on the touch panel as doing so may result in unintended operations.
- Page 20 Part names and functions of the rear panel The part names and functions of the rear panel are as follows. The illustrations in this manual include labels next to the jacks on the bottom of the unit for easy identification. Inside the cover AC IN jack TV input jack...
- Page 21 Part names and functions of the remote control The part names and functions of the supplied remote control are as follows. z (power) button INFO button Turn on/off the unit. Indicate audio signal information of the input source being played or bass extension Turned on setting (p.35).
-
Page 22: Preparation
PREPARATION Installation Installing the unit on a TV stand, etc. NOTICE ▪ Do not stack the unit and a BD/DVD player or other device directly on each Position the unit with the touch panel facing up on a TV stand, etc. other. -
Page 23: Connecting A Tv
Connecting a TV Connecting a TV that supports Audio What is Audio Return Channel (ARC)? In order for the unit to play audio from a TV, the TV must usually be connected to Return Channel (ARC) the unit via an audio cable as well as an HDMI cable. If, however, the TV supports Audio Return Channel (ARC), TV audio signals can be input to the unit via the Connect the TV, which supports Audio Return Channel (ARC), to the HDMI cable that outputs video signals from the unit to the TV. -
Page 24: Connecting A Tv That Does Not Support Audio Return Channel (Arc)
Connecting a TV that does not support Audio Return Channel (ARC) Connect the TV to the unit with an HDMI cable (sold separately) and an optical digital audio cable (supplied). HDMI OUT jack HDMI input jack HDMI HDMI HDMI HDMI HDMI OPTICAL The unit... -
Page 25: Connecting Playback Devices
Connecting playback devices HDMI connection with a playback device Analog connection with a playback device Connect a playback device such as a BD/DVD player to the unit with an HDMI cable (sold separately). Use the HDMI cable to best Connect a playback device, such as a game console or a TV that connect a playback device equipped with the HDMI output jack. -
Page 26: Connecting An External Subwoofer
Connecting an external Connecting the power cord subwoofer Connecting the power cord Connecting an external subwoofer After all connections are complete, connect the supplied power cord to the AC IN jack on the unit and plug the power cord into an The unit has dual built-in subwoofers;... -
Page 27: Playback
PLAYBACK Basic operations Basic procedure for playback Use the input buttons to select an input source to be played back. Basic procedure for playing back music is as follows. HDMI: Sound from a device connected to the HDMI IN jack TV: TV audio ANALOG: Sound from a device connected to the ANALOG input jack... - Page 28 Press VOLUME (+/-) to adjust the volume. Adjust sound settings to suit individual preferences. NOTE ▪ For details on adjusting sound settings, see the following: Volume down (-) Volume up (+) – “Playback with 3D surround sound” (p.29) – “Playback with surround sound” (p.29) When audio is output from both TV speaker and the unit, –...
-
Page 29: Enjoying Your Favorite Sound
Enjoying your favorite sound Playback with 3D surround sound Playback with surround sound Press 3D SURROUND to switch to 3D surround playback according Press SURROUND to switch to surround playback according to the to the input source or your individual preference. input source or your individual preference. -
Page 30: Playback Of Human Voices Clearly (Clear Voice)
Playback of human voices clearly (clear Enjoying enhanced bass sound (bass voice) extension) Press CLEAR VOICE to turn on the clear voice function. Human Press BASS EXTENSION to turn on the bass extension function. You voices such as lines in movies and TV shows, or news and sport can enjoy enhanced bass sound and more powerful sound. -
Page 31: Use Of A Bluetooth® Device
Use of a Bluetooth® device Listening to music stored on a Bluetooth® Press BLUETOOTH to select “Bluetooth” as the device input source. The BLUETOOTH indicator on the unit flashes. Music files stored on a Bluetooth device, such as a smartphone, smart speaker, or digital music player, can be played back on the unit over a wireless connection. - Page 32 Select “YAS-108 Yamaha” (or “YamahaAV”) in the Play back a song on the Bluetooth device. list. The unit will begin playing audio from the Bluetooth If a passkey (PIN) is required, enter the number “0000”. device. PIN 0 0 0 0...
-
Page 33: Connecting The Unit To Two Bluetooth Devices Simultaneously (Multipoint Connection)
Connecting the unit to two Bluetooth devices simultaneously (multipoint connection) The unit can be connected to two Bluetooth devices at the same time. Follow these instructions to switch between the Bluetooth devices for playback. Stop playback on the Bluetooth device from which audio is currently being played. -
Page 34: Useful Features For Playback
Useful features for playback Using a TV’s remote control to operate Turn on/off Both the TV and the unit turn on/off at the same time. the unit (HDMI control) Switch input sources The HDMI control function coordinates TV and unit operation so that The unit's input source switches accordingly when the TV’s input source is switched. -
Page 35: Showing Audio Information With Playback
Showing audio information with Show the type of audio signal. HDMI glows (white): Dolby Digital playback HDMI glows (red): DTS TV glows (white): AAC The type of audio signal being played, whether Dolby Pro Logic II is HDMI and TV off: PCM/analog input/no input enabled or disabled, and bass extension and clear voice settings can be confirmed by the status of indicators. -
Page 36: Operating The Unit With The Home Theater Controller App
In addition to basic unit operation, various functions, including surround mode selection and tone adjustment, can be more precisely configured using the app than is possible using the remote control. For details on the HOME THEATER CONTROLLER app, see the product information on the Yamaha website. -
Page 37: Configurations
CONFIGURATIONS Configuring various functions Changing the brightness of the indicators Press and hold HDMI at least three seconds. (DIMMER) The HDMI control function is enabled or disabled, and the unit turns on. The indicator shows HDMI control Change the brightness of the indicators on the unit. function status for several seconds immediately after the Each time DIMMER is pressed, the brightness of the indicators unit is turned on. -
Page 38: Configuring Hdmi Audio Output
Configuring HDMI audio output Setting the auto power standby function Select the device from which audio input via the unit’s HDMI IN jack Enabling the auto power standby function prevents the unit from will be played when the HDMI control function is disabled. HDMI remaining on when not in use. -
Page 39: Enabling/Disabling Touch Panel Control (Child Lock Function)
Enabling/disabling touch panel control Configuring the Bluetooth standby (child lock function) function Disable touch panel control to prevent children from accidentally If the Bluetooth standby function is enabled, the unit will be turned operating the unit. When touch panel control is disabled, operations on and will be ready to play sound from the Bluetooth device when can be performed only via the remote control or dedicated free Bluetooth connection is made on a Bluetooth device. -
Page 40: Initializing The Unit
Initializing the unit Reset the settings of the unit to the factory presets. Turn off the unit. Touch and hold | and z on the unit until all indicators flash. Flash (initialized) -
Page 41: Appendix
If the power still turns off frequently, unplug the contact the nearest authorized Yamaha dealer or service center. power cord from the AC wall outlet and contact the nearest... - Page 42 Unplug the power cord from the AC wall outlet and plug it the power cord from the AC wall outlet and contact the nearest again. authorized Yamaha dealer or service center. The unit turns on by itself No operations can be performed from the l Another Bluetooth device is being operated nearby.
- Page 43 When the unit is turned off, video and/or The unit cannot be operated using the audio from a playback device are not TV’s remote control output to the TV l The HDMI control function is incorrect. Confirm the settings are properly configured as follows. l The HDMI control function is disabled.
-
Page 44: When Any Problem Appears (Audio)
l The HDMI control function is disabled. When any problem appears (Audio) When connecting a TV that supports ARC (Audio Return Channel) to the unit using an HDMI cable only, enable the HDMI control function. No sound To output audio signals from the unit with the HDMI control function disabled, connect the TV’s audio output jack to the l Another input source is selected. - Page 45 The volume decreases when the unit is Noise is heard turned on l The unit is too close to another digital or high-frequency device. l The automatic volume adjustment function is activated. Move those devices away from the unit. To prevent excessive loudness, the unit automatically controls its volume within a certain level when the unit is turned on.
-
Page 46: When Any Problem Appears (Bluetooth®)
l The unit is already connected to another Bluetooth device. When any problem appears (Using a Bluetooth device that has never been connected to the unit.) (Bluetooth®) Terminate the current Bluetooth connection, and then connect to the new device. The unit cannot be connected to a l The unit is already connected to two Bluetooth devices. - Page 47 l A device emitting electromagnetic waves (such as a microwave oven, a wireless device and so on) may be located nearby. Do not use the unit near devices that emit electromagnetic waves. l Audio from another Bluetooth device is playing. Stop playback on the Bluetooth device from which audio is currently being played, and start playback on the other Bluetooth device.
-
Page 48: Specifications
Specifications Decoder Specifications Supported audio signal PCM (up to 5.1ch) The specifications of the unit are as follows. Dolby Digital (up to 5.1ch) DTS Digital Surround (up to 5.1ch) Amplifier Section Input Jacks Maximum Rated Output Power • Front L/R 30 W ×... -
Page 49: Supported Hdmi Audio And Video Formats
• Maximum Output Power (EIRP) 20 dBm (100 mW) The contents of this manual apply to the latest specifications as of the publishing date. To obtain the latest manual, access the Yamaha website then download the General manual file. Power Supply Supported HDMI audio and video •... -
Page 50: Supported Digital Audio Formats
The contents of this manual apply to the latest specifications as of the publishing appropriately. date. To obtain the latest manual, access the Yamaha website then download the manual file. ▪ When CPPM copy-protected DVD-Audio is played back, video and audio signals may not be output depending on the type of the DVD player. -
Page 51: Information For Qualified Contractors Or Dealers
▪ Do not lean on the unit or apply excessive force to the top of the unit. Doing so may cause the unit to fall. ▪ Check that the unit is fixed securely after the installation. Yamaha will bear no responsibility for any accidents caused by improper installations. - Page 52 Remove the mounting template from the wall, and Hang the unit on the screws. then install screws (sold separately) at the points marked on the wall. 457 mm (18") Mounting holes on the bottom of the unit 4 to 5 mm 7 to 9 mm (#8 to #10) (1/4"...
- Page 53 For detailed guarantee information about this Yamaha product, and Pan-EEA* and Switzerland warranty service, please either visit the website address below (Printable file is available at our website) or contact the Yamaha representative office for your country. * EEA: European Economic Area http://europe.yamaha.com/warranty/...