Advertisement
Advertisement

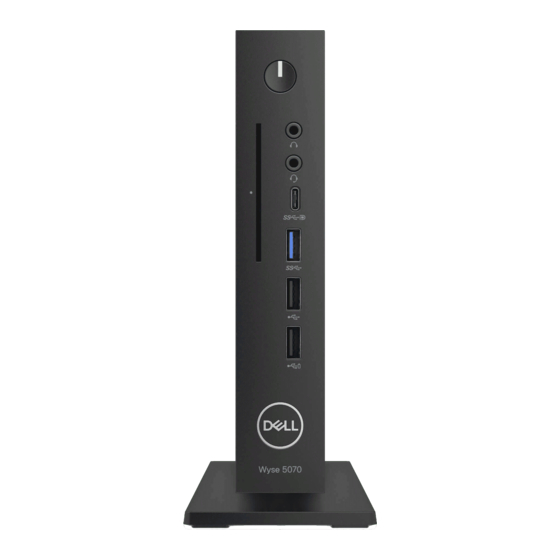
Related Manuals for Dell Wyse 5070


Summary of Contents for Dell Wyse 5070
- Page 1 Dell Wyse 5070 and 5070 Extended Thin Client Accessories Setup Guide...
- Page 2 A WARNING indicates a potential for property damage, personal injury, or death. © 2018 Dell Inc. or its subsidiaries. All rights reserved. Dell, EMC, and other trademarks are trademarks of Dell Inc. or its subsidiaries. Other trademarks may be trademarks of their respective owners.
-
Page 3: Table Of Contents
Contents 1 Supported displays ............................4 2 Mounting the thin client on the vertical stand....................5 3 Installing the thin client on the E-series VESA mount..................6 4 Installing the thin client on the VESA wall mount ..................10 5 Installing the thin client on the P and U series VESA mount................. 12 P and U series mount with display in vertical and horizontal orientation..............14 6 Installing the thin client on the Dual VESA mount..................16 Dual VESA mount display in vertical and horizontal orientation..................18... -
Page 4: Supported Displays
Supported displays The following Dell displays are supported by Dell Wyse 5070 thin client: • MR2416 • U2518D • U2718Q • U2419H/HC • U2415 • U2719D/DC • P2415Q • P2417H • P2317H • P2217H • P2016 • P2419H/HC • P2719H/HC •... -
Page 5: Mounting The Thin Client On The Vertical Stand
Mounting the thin client on the vertical stand Figure 1. Attaching the vertical stand Mounting the thin client on the vertical stand... -
Page 6: Installing The Thin Client On The E-Series Vesa Mount
Installing the thin client on the E-series VESA mount Figure 2. Removing the back cover plates Installing the thin client on the E-series VESA mount... - Page 7 Figure 3. Fixing the E-series mount Figure 4. Routing the cables Installing the thin client on the E-series VESA mount...
- Page 8 Figure 5. Tightening the shoulder screws Figure 6. Inserting the cables into the adapter box Figure 7. Locking the adapter box Installing the thin client on the E-series VESA mount...
- Page 9 Figure 8. Attaching the thin client and adapter box Figure 9. Attaching the cable cover Installing the thin client on the E-series VESA mount...
-
Page 10: Installing The Thin Client On The Vesa Wall Mount
Installing the thin client on the VESA wall mount Figure 10. Insert the thin client into the metal bracket Figure 11. Inserting the cables into the adapter box Installing the thin client on the VESA wall mount... - Page 11 Figure 12. Attaching the cable cover Installing the thin client on the VESA wall mount...
-
Page 12: Installing The Thin Client On The P And U Series Vesa Mount
Installing the thin client on the P and U series VESA mount Figure 13. Assembling the P/U mount holder Figure 14. Engaging the P/U mount into the stand with the pocket clip Installing the thin client on the P and U series VESA mount... - Page 13 Figure 15. Assembling the stand with the P/U mount to the display Figure 16. Tightening the shoulder screws Figure 17. Attaching the cable cover Installing the thin client on the P and U series VESA mount...
-
Page 14: P And U Series Mount With Display In Vertical And Horizontal Orientation
P and U series mount with display in vertical and horizontal orientation Figure 18. Display in vertical orientation Installing the thin client on the P and U series VESA mount... - Page 15 Figure 19. Display in horizontal orientation Installing the thin client on the P and U series VESA mount...
-
Page 16: Installing The Thin Client On The Dual Vesa Mount
NOTE: Always mount the Wyse 5070 thin client in a vertical position as shown in the images. Do not mount the thin client in any other orientation. However, you can rotate the display to either a horizontal or vertical orientation before mounting the thin client. - Page 17 Figure 21. Inserting the cables into the adapter box Figure 22. Locking the adapter box Figure 23. Mounting the thin client and adapter box Installing the thin client on the Dual VESA mount...
-
Page 18: Dual Vesa Mount Display In Vertical And Horizontal Orientation
Figure 24. Attaching the cable cover and display stand Dual VESA mount display in vertical and horizontal orientation Figure 25. Display in vertical orientation Installing the thin client on the Dual VESA mount... - Page 19 Figure 26. Display in horizontal orientation Installing the thin client on the Dual VESA mount...