Garmin Dakota 20 User Manual
Hide thumbs
Also See for Dakota 20:
- Owner's manual (48 pages) ,
- Quick start manual (8 pages) ,
- Declaration of conformity (6 pages)
Advertisement
Quick Links
Download this manual
See also:
Owner's Manual
Thank you for hiring your Garmin Dakota 20 GPS(aka Wilson) device from Trail Outlaws.
Hire includes:-
2 X AA Alkaline Batteries
1 X Dakota 20 GPS Unit with Map and route loaded.
1 X Protective Cover
1 X User Guide
Hire d oes not i nclude:-
Extra batteries, make sure you carry one set of extra batteries, and leave some in drop bags.
1.
Turn on GPS Device
1.1.
Hold the Power key button shown in Figure 1 below.
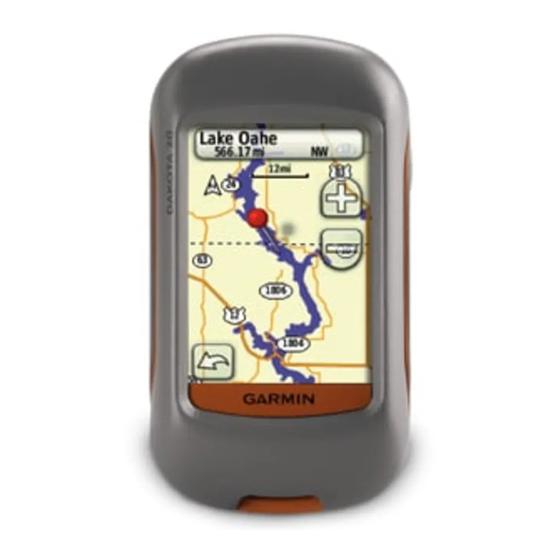
1.2.
Once powered on the GPS unit will show the main menu screen as shown in Figure 2 and 3.
1.3.
The battery shaped indicator
1.4.
The Satellite Signal indicator
couple of bars in red(Figure 2), you need to be stood outside and wait a couple of minutes for a
green connection to show up(Figure 3). Wait for the satellite indicator to show green before
selecting a route.
Version: 01
G armin Dakota 20 GPS Hire - User Guide
FIGURE 1
has 3 green lights when a new battery is added.
.When you first turn on the device it will only show a
FIGURE 2
FIGURE 3
Page 1 of 3
Advertisement

Related Manuals for Garmin Dakota 20


Summary of Contents for Garmin Dakota 20
- Page 1 G armin Dakota 20 GPS Hire - User Guide Thank you for hiring your Garmin Dakota 20 GPS(aka Wilson) device from Trail Outlaws. Hire includes:- 2 X AA Alkaline Batteries 1 X Dakota 20 GPS Unit with Map and route loaded.
- Page 2 G armin Dakota 20 GPS Hire - User Guide Selecting a Route and Navigation 2.1. From the main menu select the Where To? Icon 2.2. Select Tracks (Figure 4) 2.3. Select the Route ie Saint Cuthbert’s Way, Sandstone Way (Figure 5) 2.4.
- Page 3 G armin Dakota 20 GPS Hire - User Guide Lock Screen 3.1. Once you have the correct zoom level and route set, you might want to use the lock screen to avoid the pinning issue mentioned in 2.7 when you accidently touch the screen without realising.