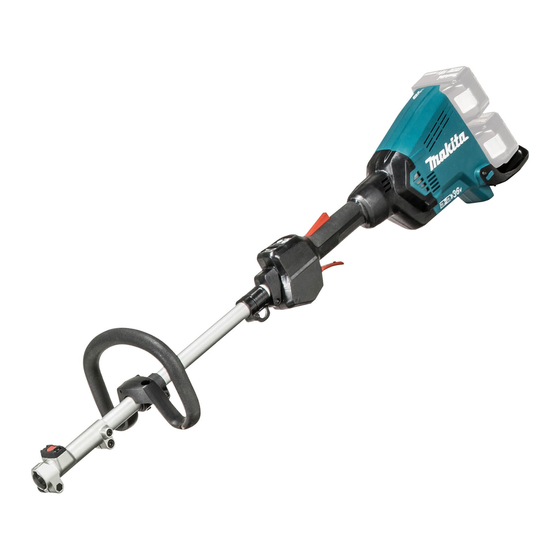
Makita DUX60 Instruction Manual
Cordless multi function power head
Hide thumbs
Also See for DUX60:
- Instruction manual (112 pages) ,
- Original instruction manual (56 pages) ,
- Instruction manual (73 pages)
Table of Contents
Advertisement
Quick Links
Advertisement
Table of Contents

Related Manuals for Makita DUX60


Summary of Contents for Makita DUX60
- Page 1 INSTRUCTION MANUAL Cordless Multi Function Power Head DUX60 Read before use.
-
Page 2: Specifications
SPECIFICATIONS Model: DUX60 No load speed 0 - 5,700 min (without attachment) Medium 0 - 8,200 min High 0 - 9,700 min Overall length 1,011 mm Rated voltage D.C. 36 V Net weight 4.1 kg - 11.9 kg without notice. -
Page 3: Intended Use
Symbols Intended use This cordless multi function power head is intended for driving an approved attachment listed in the section use. "SPECIFICATIONS" of this instruction manual. Never use the unit for the other purpose. Read instruction manual. WARNING: Read the instruction manual of the attachment as well as this instruction manual Take particular care and attention. -
Page 4: General Power Tool Safety Warnings
Vibration Attachment Left handle (Front grip) Right handle (Rear grip) Applicable standard ah (m/s Uncertainty K ah (m/s Uncertainty K (m/s (m/s EM401MP (as a brushcutter) EN11806 EM401MP (as a string trimmer) EN50636 EN401MP ISO10517, EN60745 EN401MP + LE400MP ISO10517, EN60745 EN410MP ISO10517,... - Page 5 Do not abuse the cord. Never use the cord for carrying, pulling or unplugging the power tool. Keep cord away from heat, oil, sharp edges or moving parts. Damaged or entangled cords increase the risk of electric shock. When operating a power tool outdoors, use an extension cord suitable for outdoor use.
- Page 6 SAVE THESE INSTRUCTIONS. manufacturer or authorized service providers. CAUTION: Only use genuine Makita batteries. Follow instruction for lubricating and chang- Use of non-genuine Makita batteries, or batteries that ing accessories. Important safety instructions for battery cartridge charger. Tips for maintaining maximum...
-
Page 7: Parts Description
PARTS DESCRIPTION Lock-off lever Switch trigger Hanger Handle Release button Speed indicator Power lamp Main power button Reverse button Shoulder harness FUNCTIONAL DESCRIPTION WARNING: Always be sure that the tool is switched off and the battery cartridge is removed before adjusting or checking function on the tool. start-up. - Page 8 Tool / battery protection system light up for a few seconds. Indicator lamps Remaining capacity placed under one of the following conditions: Lighted Blinking 75% to 100% Status Indicator lamps Blinking 50% to 75% Overload 25% to 50% 0% to 25% Overheat Charge the Over...
- Page 9 Switch action Indicator Mode High WARNING: For your safety, this tool is equipped with lock-off lever which prevents the tool from unin- tended starting. NEVER use the tool if it runs when you simply pull the switch trigger without pressing the Medium lock-off lever.
-
Page 10: Mounting The Handle
Electronic torque control function Mounting the attachment pipe CAUTION: Always check that the attachment pipe is secured after installation. Improper instal- To restart the tool, release the switch trigger. Clear the cause of sudden drop in the rotation speed and then turn the tool on. Mount the attachment pipe to the power unit. - Page 11 Make sure that the surface of the lever is parallel to the Attaching shoulder harness pipe. To remove the pipe, turn the lever toward the attach- WARNING: Be extremely careful to maintain ment and pull the pipe out while pressing down the control of the tool at all times.
-
Page 12: Maintenance
Hex wrench storage Battery guard CAUTION: WARNING: Be careful not to leave the hex Do not remove the battery wrench inserted in the tool head. guard. Do not use the tool with the battery guard removed or damaged. When not in use, store the hex wrench as illustrated to keep it from being lost. -
Page 13: Optional Accessories
OPTIONAL ACCESSORIES CAUTION: These accessories or attachments are recommended for use with your Makita tool accessories or attachments might present a risk of for its stated purpose. Center. Refer to "Approved attachment" section for the applica- ble models for this tool. - Page 16 Makita Corporation 3-11-8, Sumiyoshi-cho, Anjo, Aichi 446-8502 Japan 885603A895 20180409 www.makita.com...